Every August, I remember my childhood when I was chased by summer vacation homework.
During the summer vacation season in August, experiential workshops are held everywhere, and many family and children’s events are held in Kurashiki City.
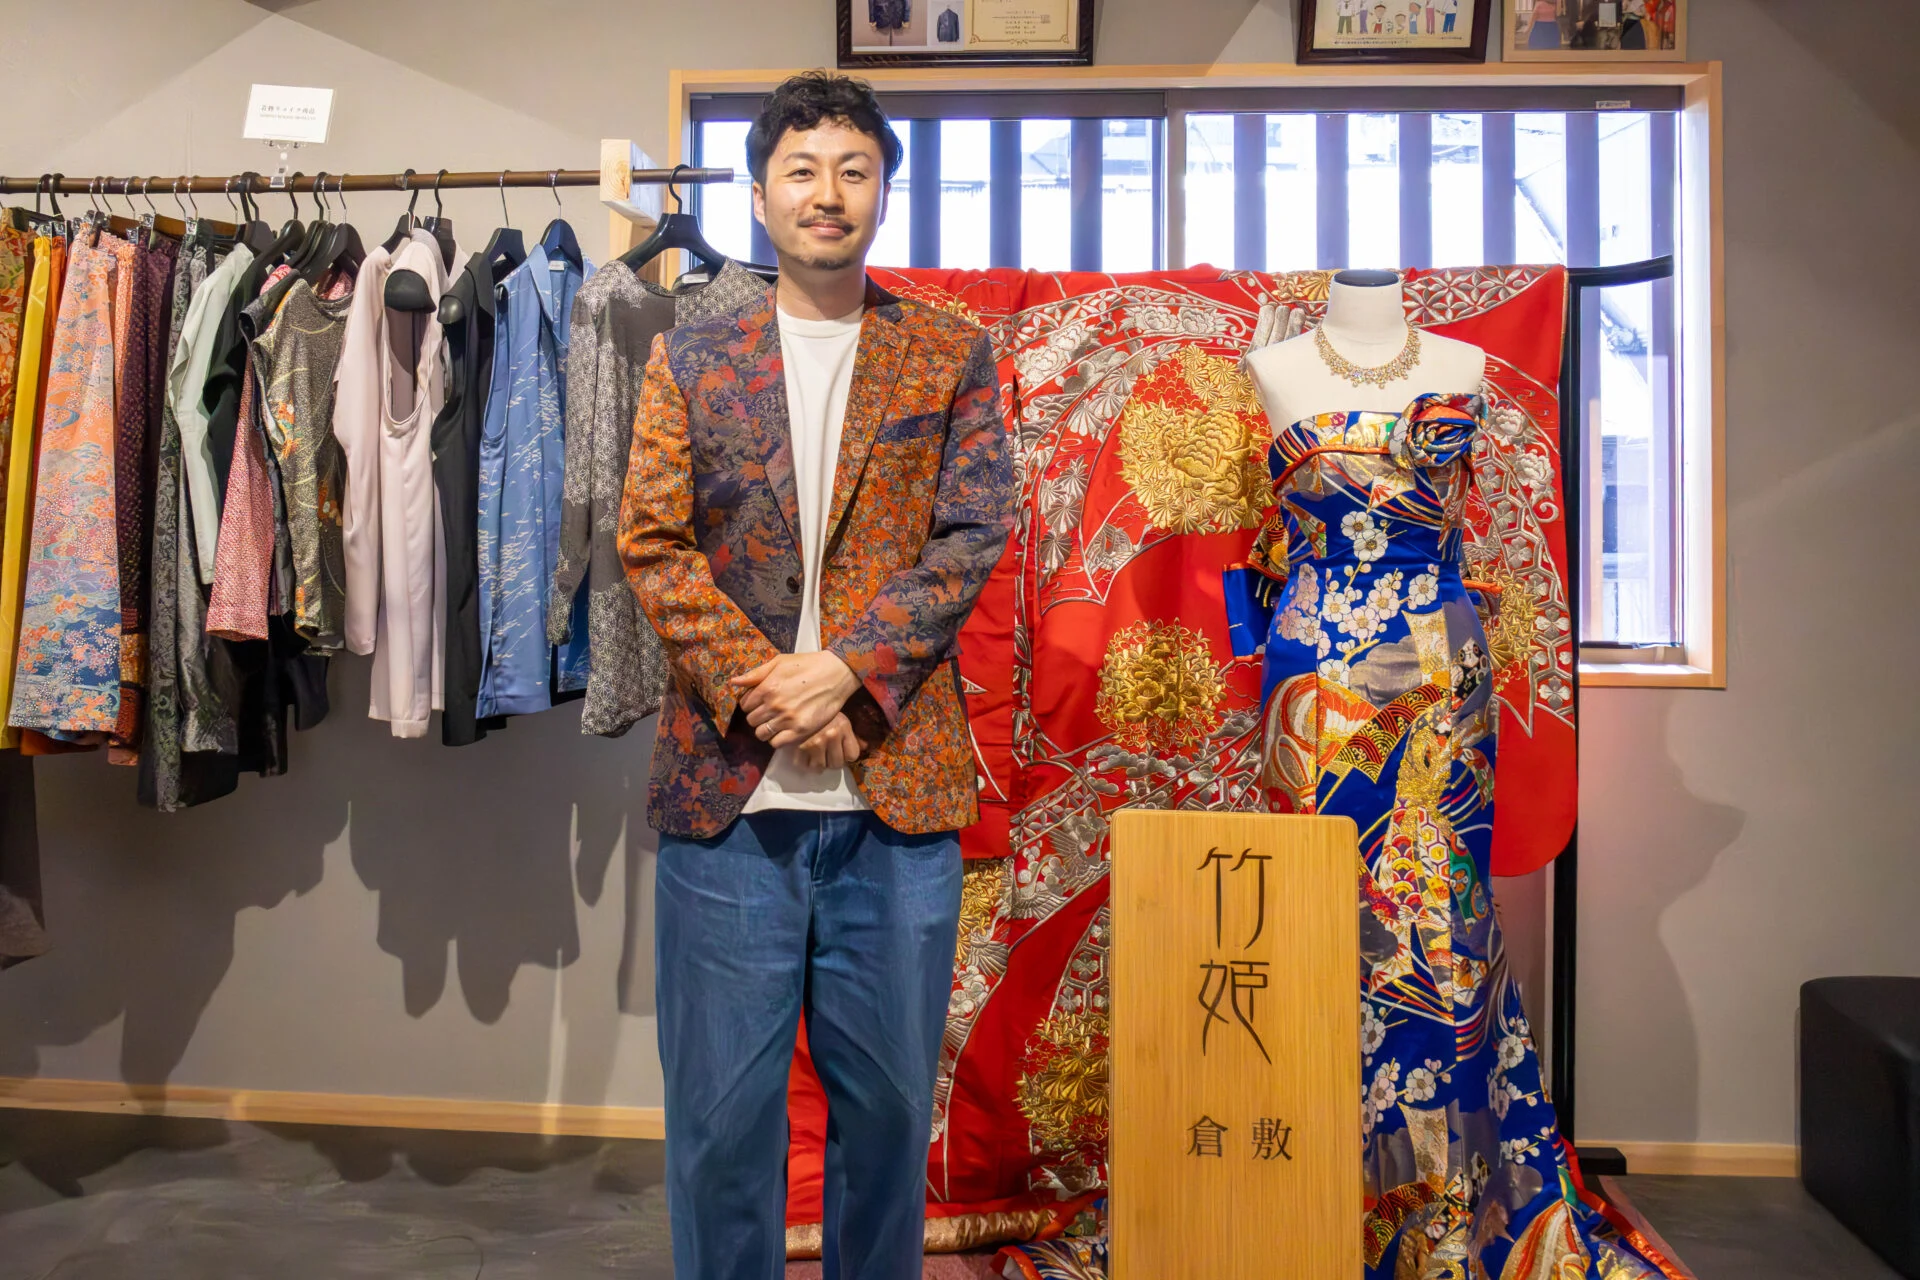
At the kimono remake brand “Takehime” located in the Bikan Historical Area, a workshop for “kimono torn paper art” was held.
While torn paper art using paper is commonly seen, kimono torn paper art is a unique event offered by Takehime, which creates remade kimono products.
I thought I could create a tasteful piece, so I also participated.
Let me introduce the state of the kimono torn paper art workshop.
What is the “kimono torn paper art” workshop?
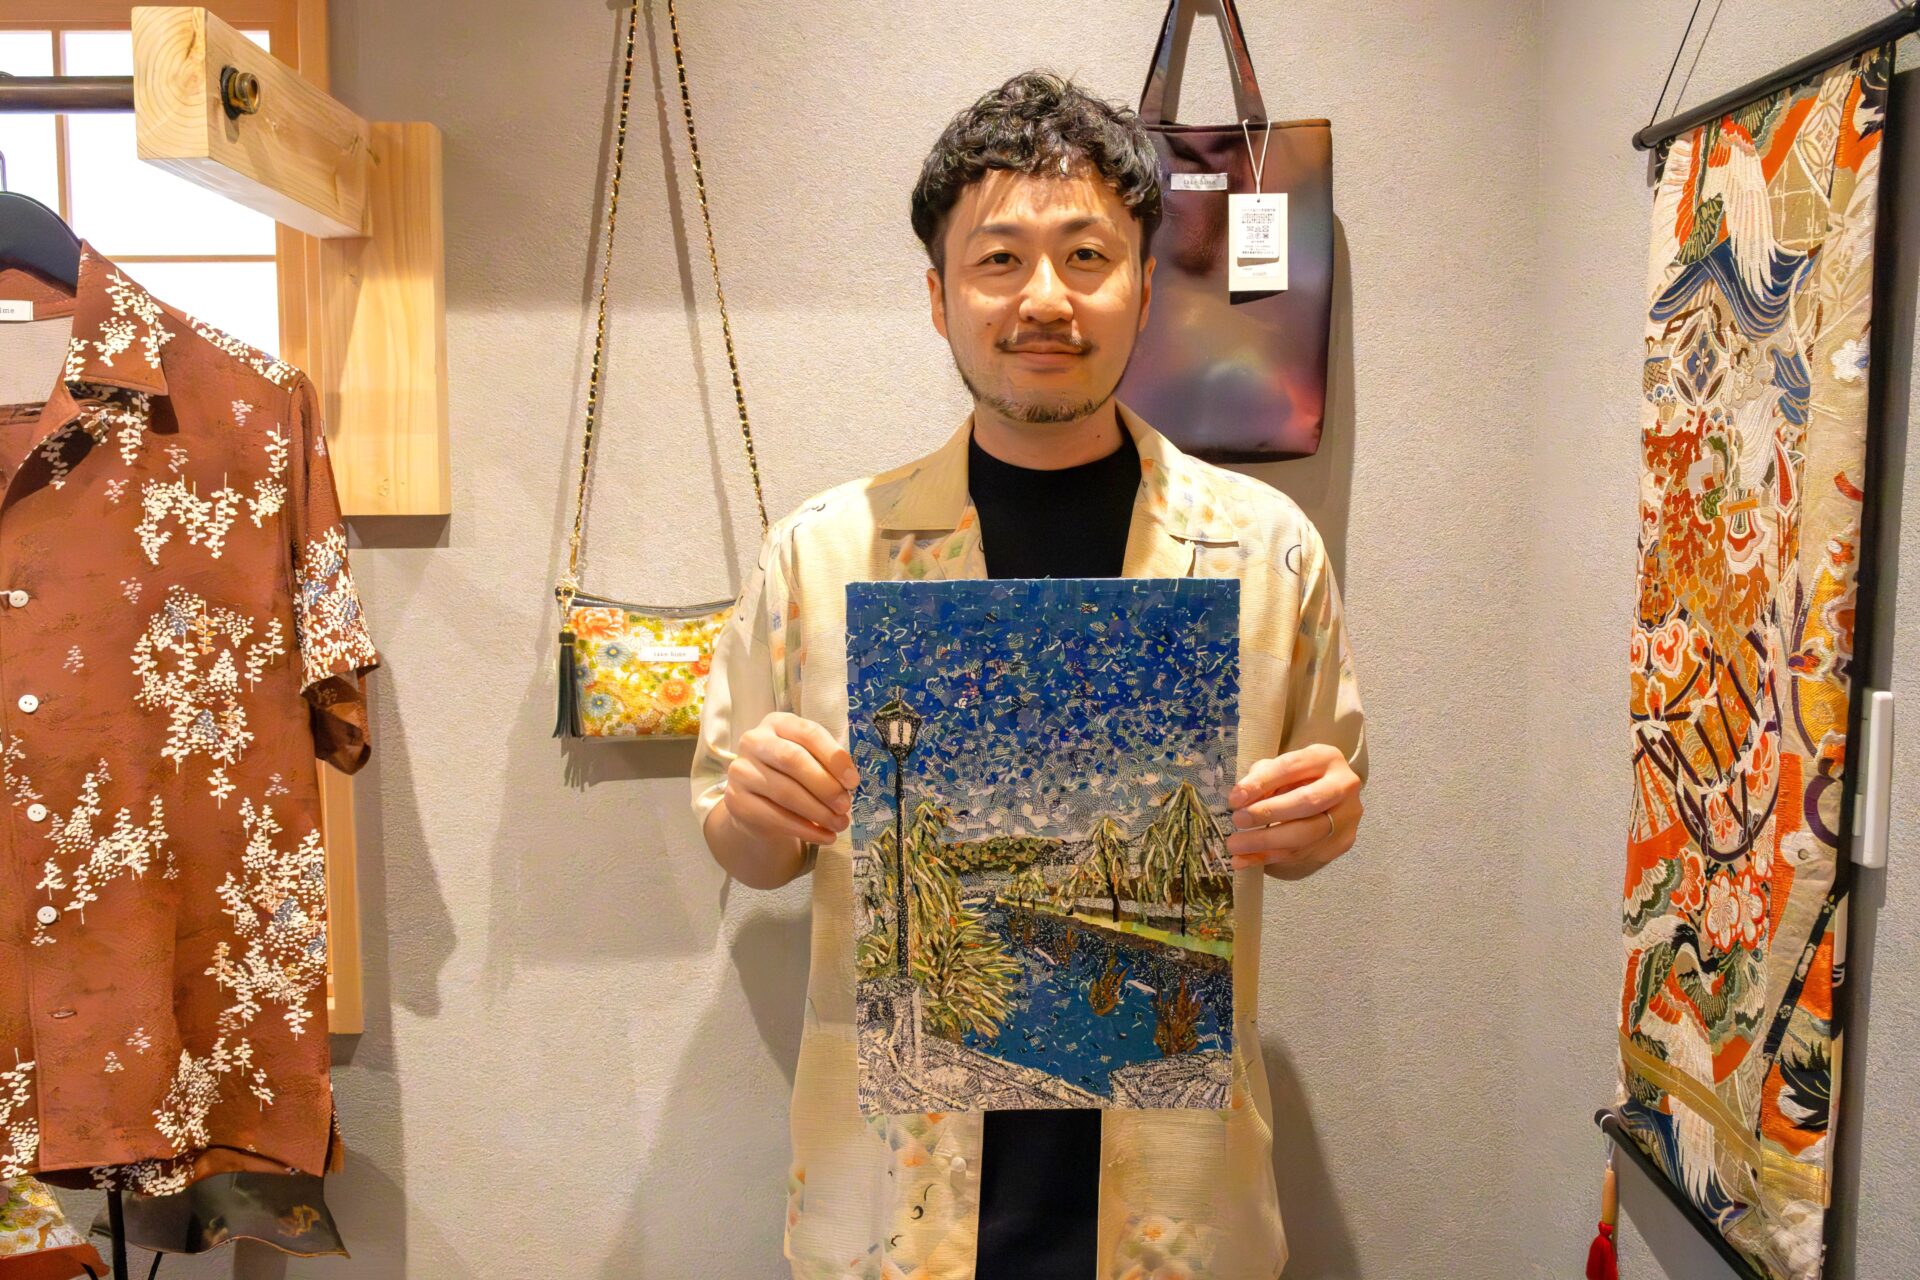
The kimono torn paper art workshop is an experiential event organized by the kimono remake brand “Takehime” located in the Bikan Historical Area.
The clothes and accessories displayed in Takehime are all remade from kimono. Participants can freely stick the kimono scraps, which are created while making such remade products, onto a pure white canvas or a fan, creating a one-of-a-kind piece.
There are several types of motif templates available as examples, and by drawing lines along the templates, it’s easy to create a rough sketch. This workshop is easy to challenge for those who are not good at drawing or for small children.
Originally, it was a limited event for one month in August 2024, but due to its popularity, it has become an all-year-round event. It seems that you can experience it anytime, so if you are interested in kimono torn paper art, please ask the store staff.
When I participated, it was during the summer vacation season, so I thought it was a perfect workshop for summer vacation homework. In fact, there were many child participants, and many families visited the store.
The participation fee is 1,100 yen (including tax).
There is no time limit, but if you cannot finish, you can take the kimono scraps home and continue working on it. Those who want to be particular can immerse themselves in the work.
The state of the day
I participated in the workshop on August 16 (Friday).
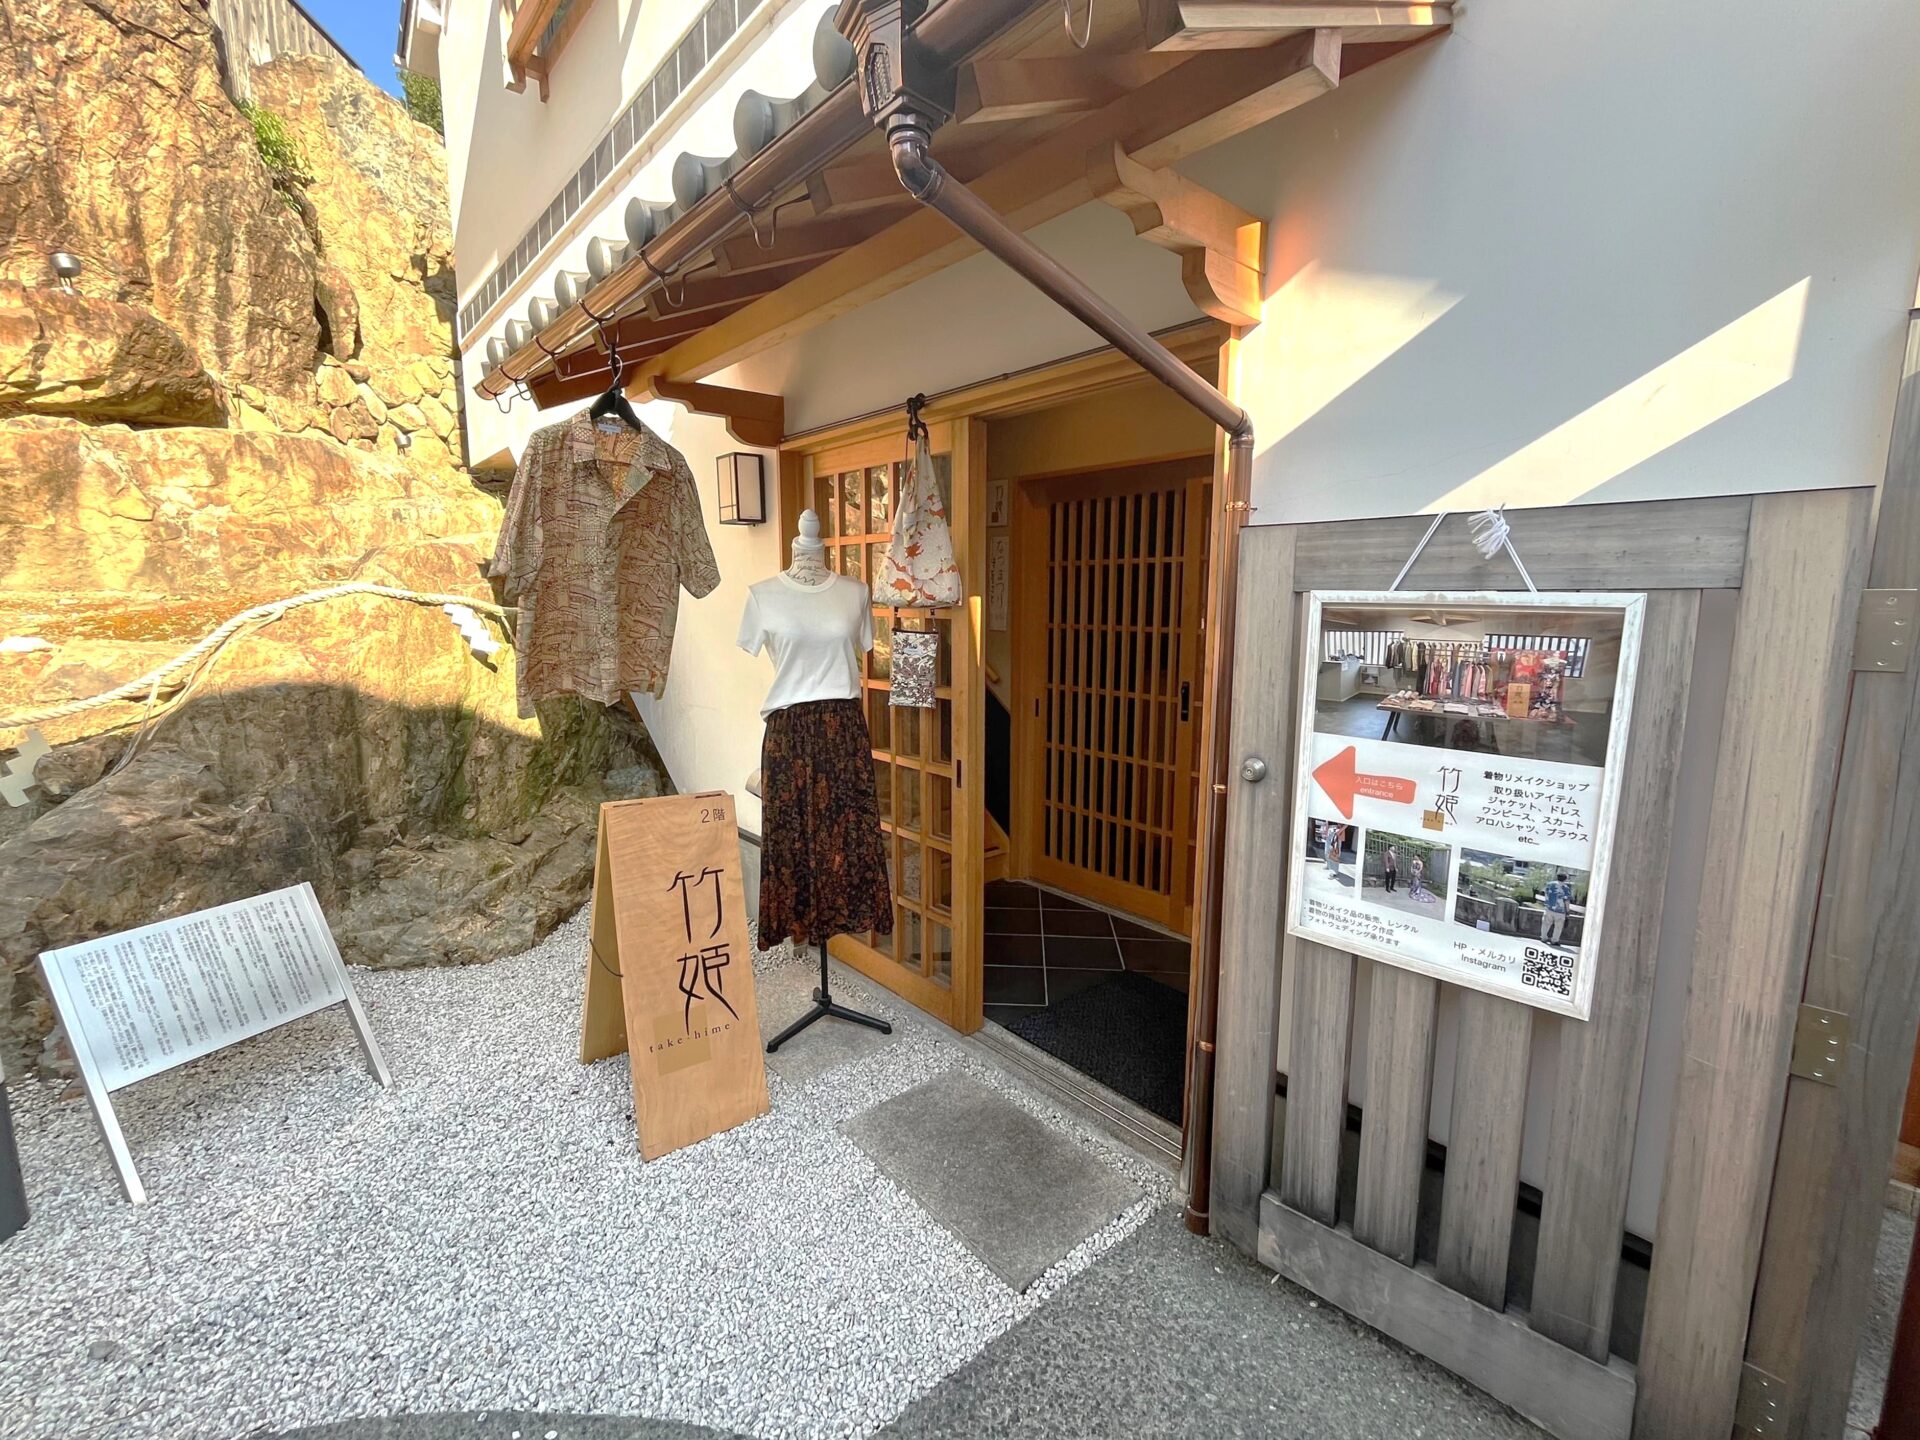
I walked from JR Kurashiki Station towards the Bikan Historical Area, and after passing through the shopping street, I saw the entrance to Takehime on the left. I quickly went up to the second floor.
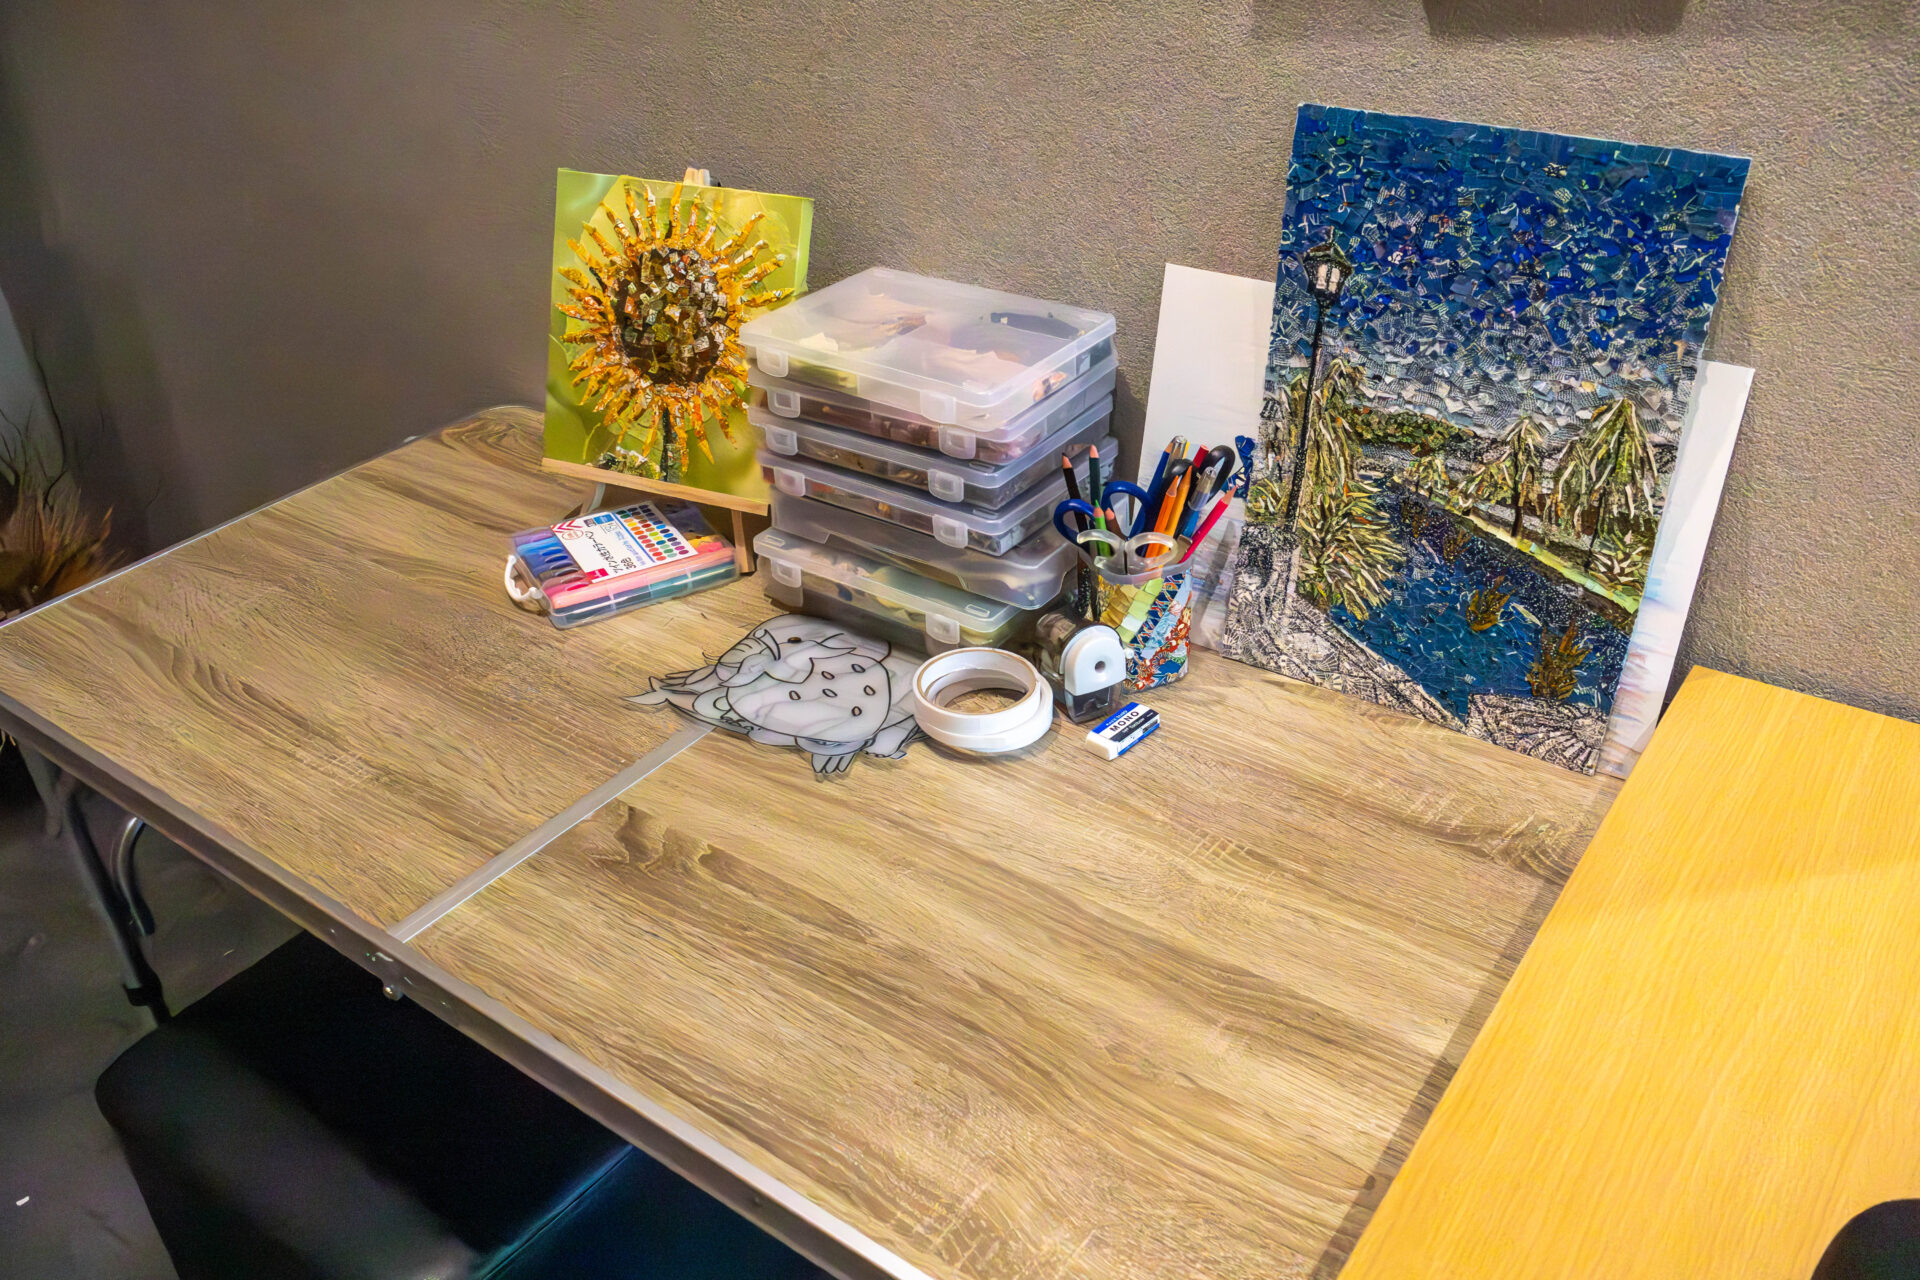
In one corner of the store, there was a space set up for doing kimono torn paper art. Since no reservation was required, it seemed easy for anyone who casually stopped by the store to experience it.
Deciding on a motif and drawing a rough sketch
First, we start by choosing the materials for the kimono torn paper art. You can choose from three types: drawing paper, a fan, and a canvas panel, and I decided to draw on a fan that seems easy to use in everyday life.
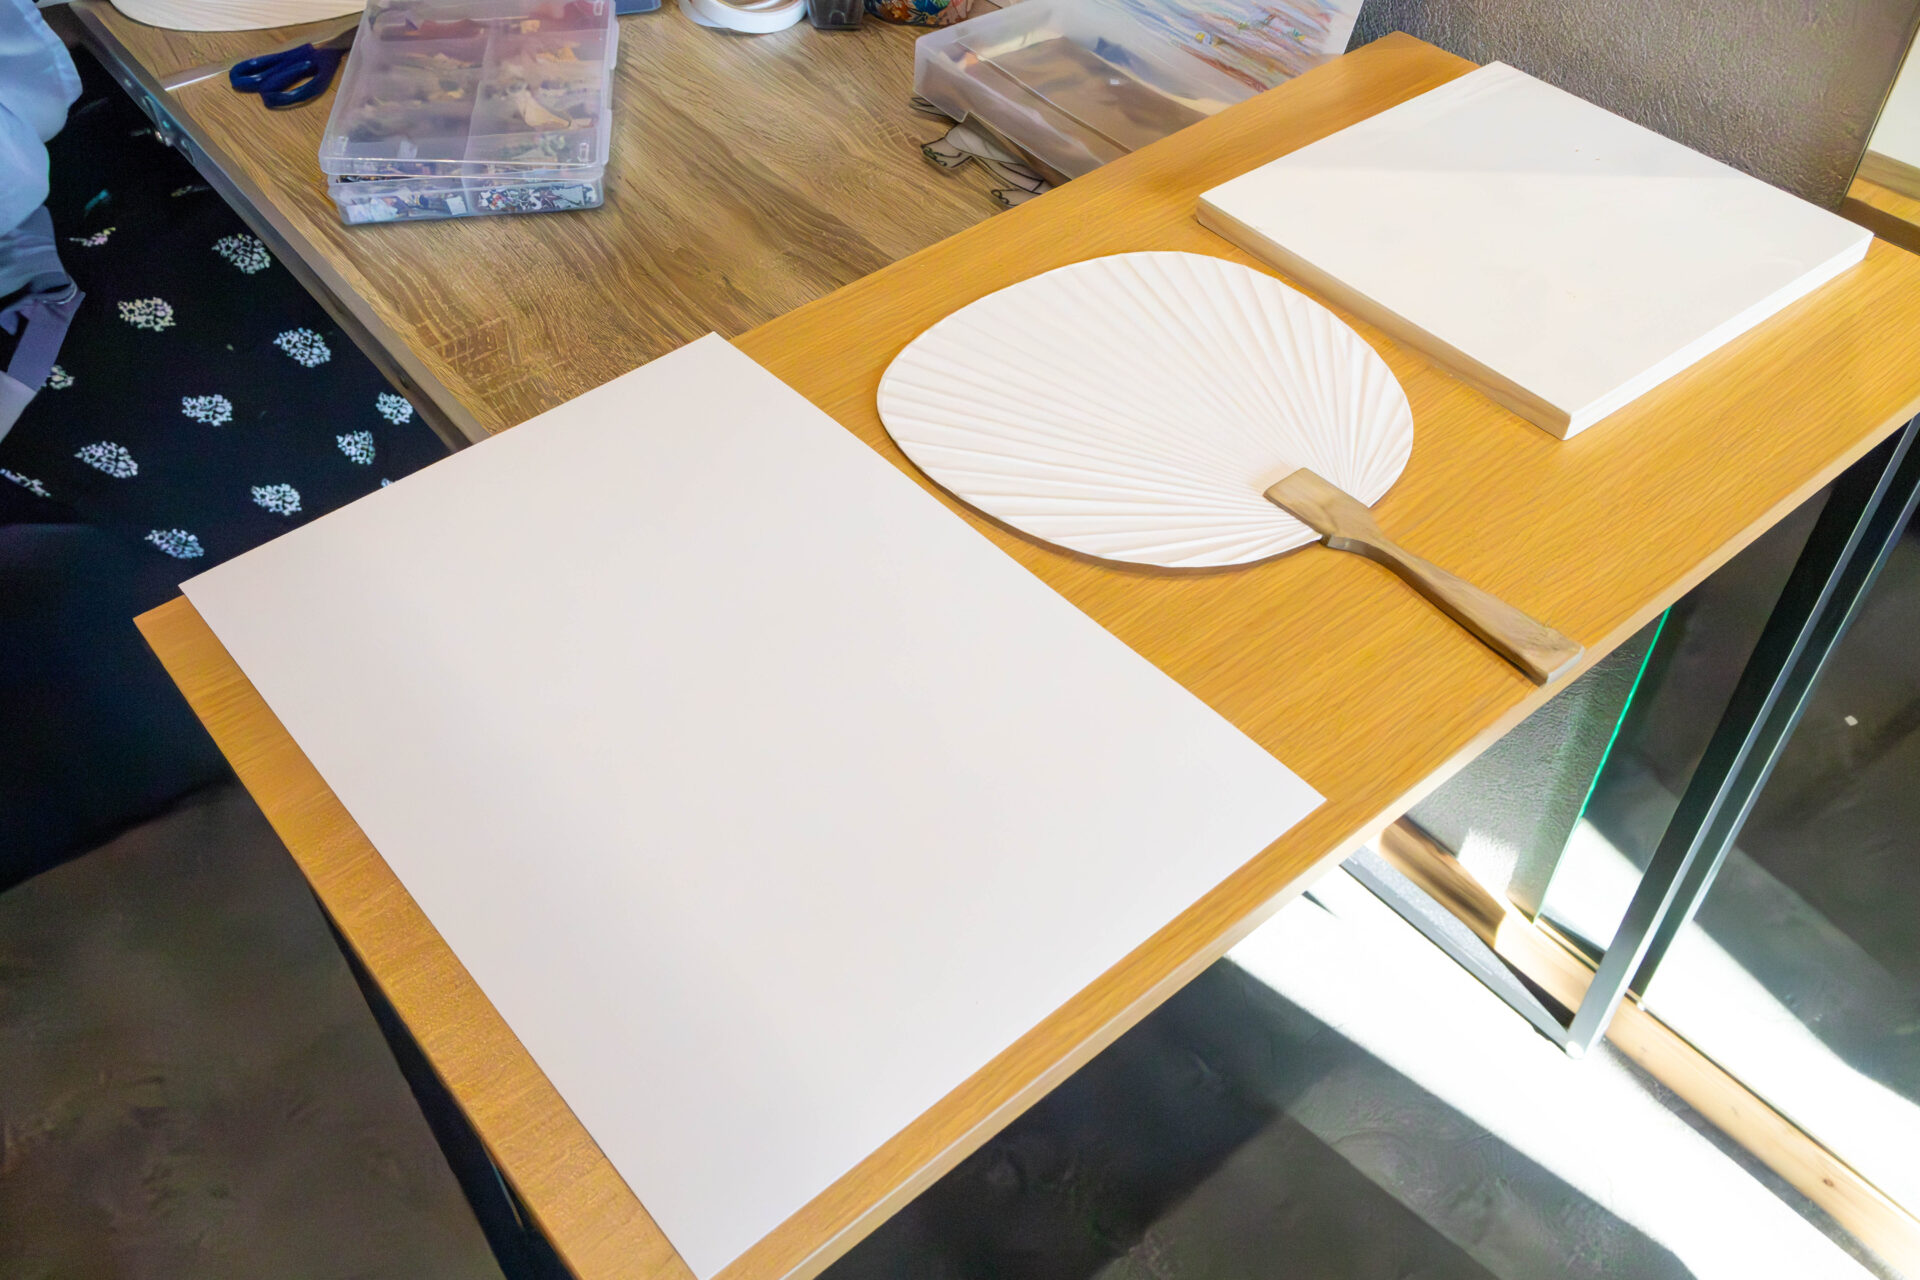
You can freely stick the kimono torn paper, but Warabino, the manager of Takehime, advised, “It’s easier to do the torn paper art if you draw a rough sketch with a pencil first.”
I picked up a pencil to try to draw a rough sketch, but I was unsure about what to create. I didn’t have confidence in drawing a complicated design.
While I was hesitating, I was handed a plastic template that could serve as a model. It was a welcome savior for me, who was struggling to decide on a motif.
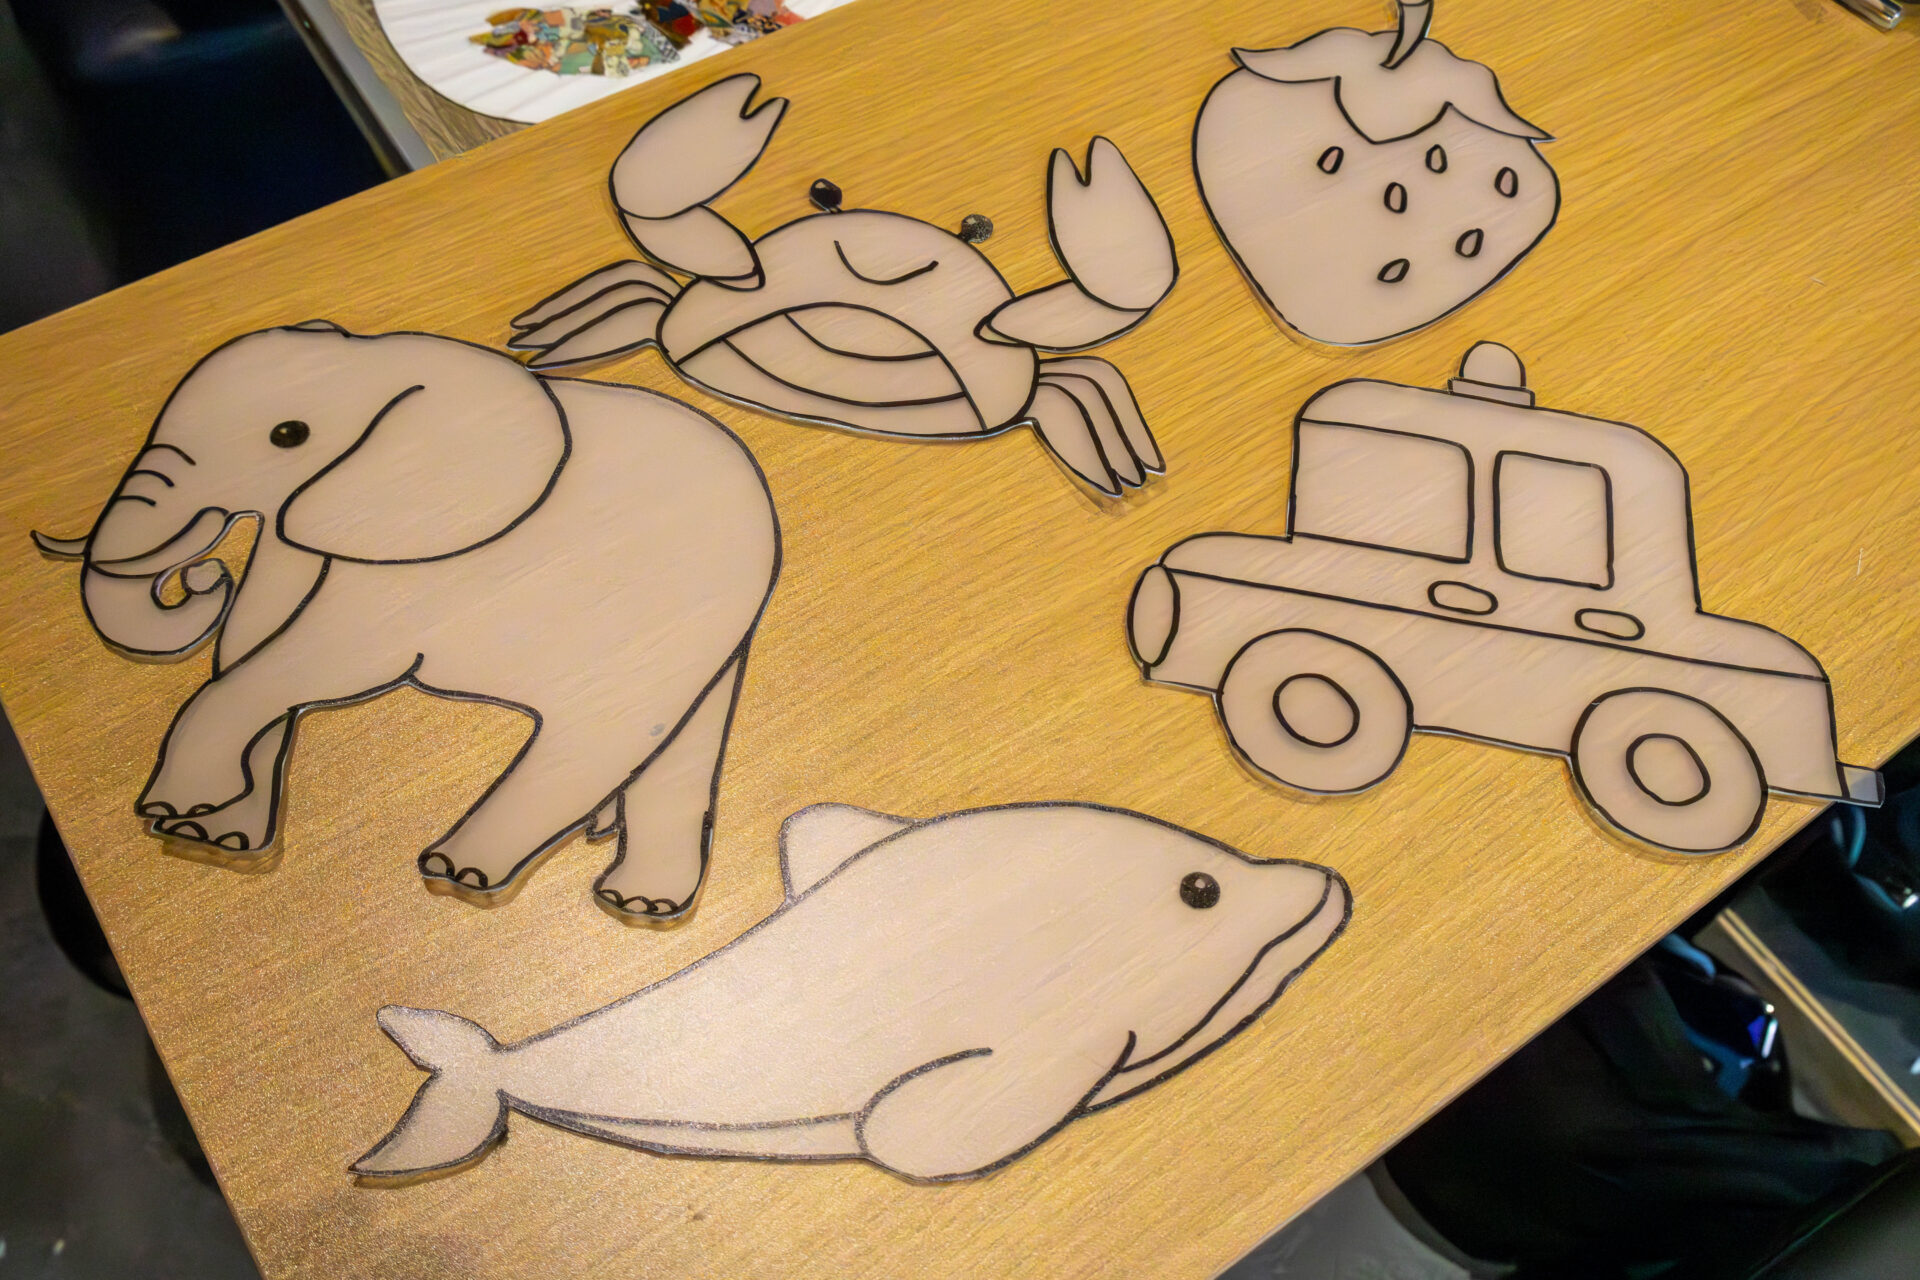
Since summer is associated with the sea, I decided on a crab. I am looking forward to seeing how the crab fan will turn out.
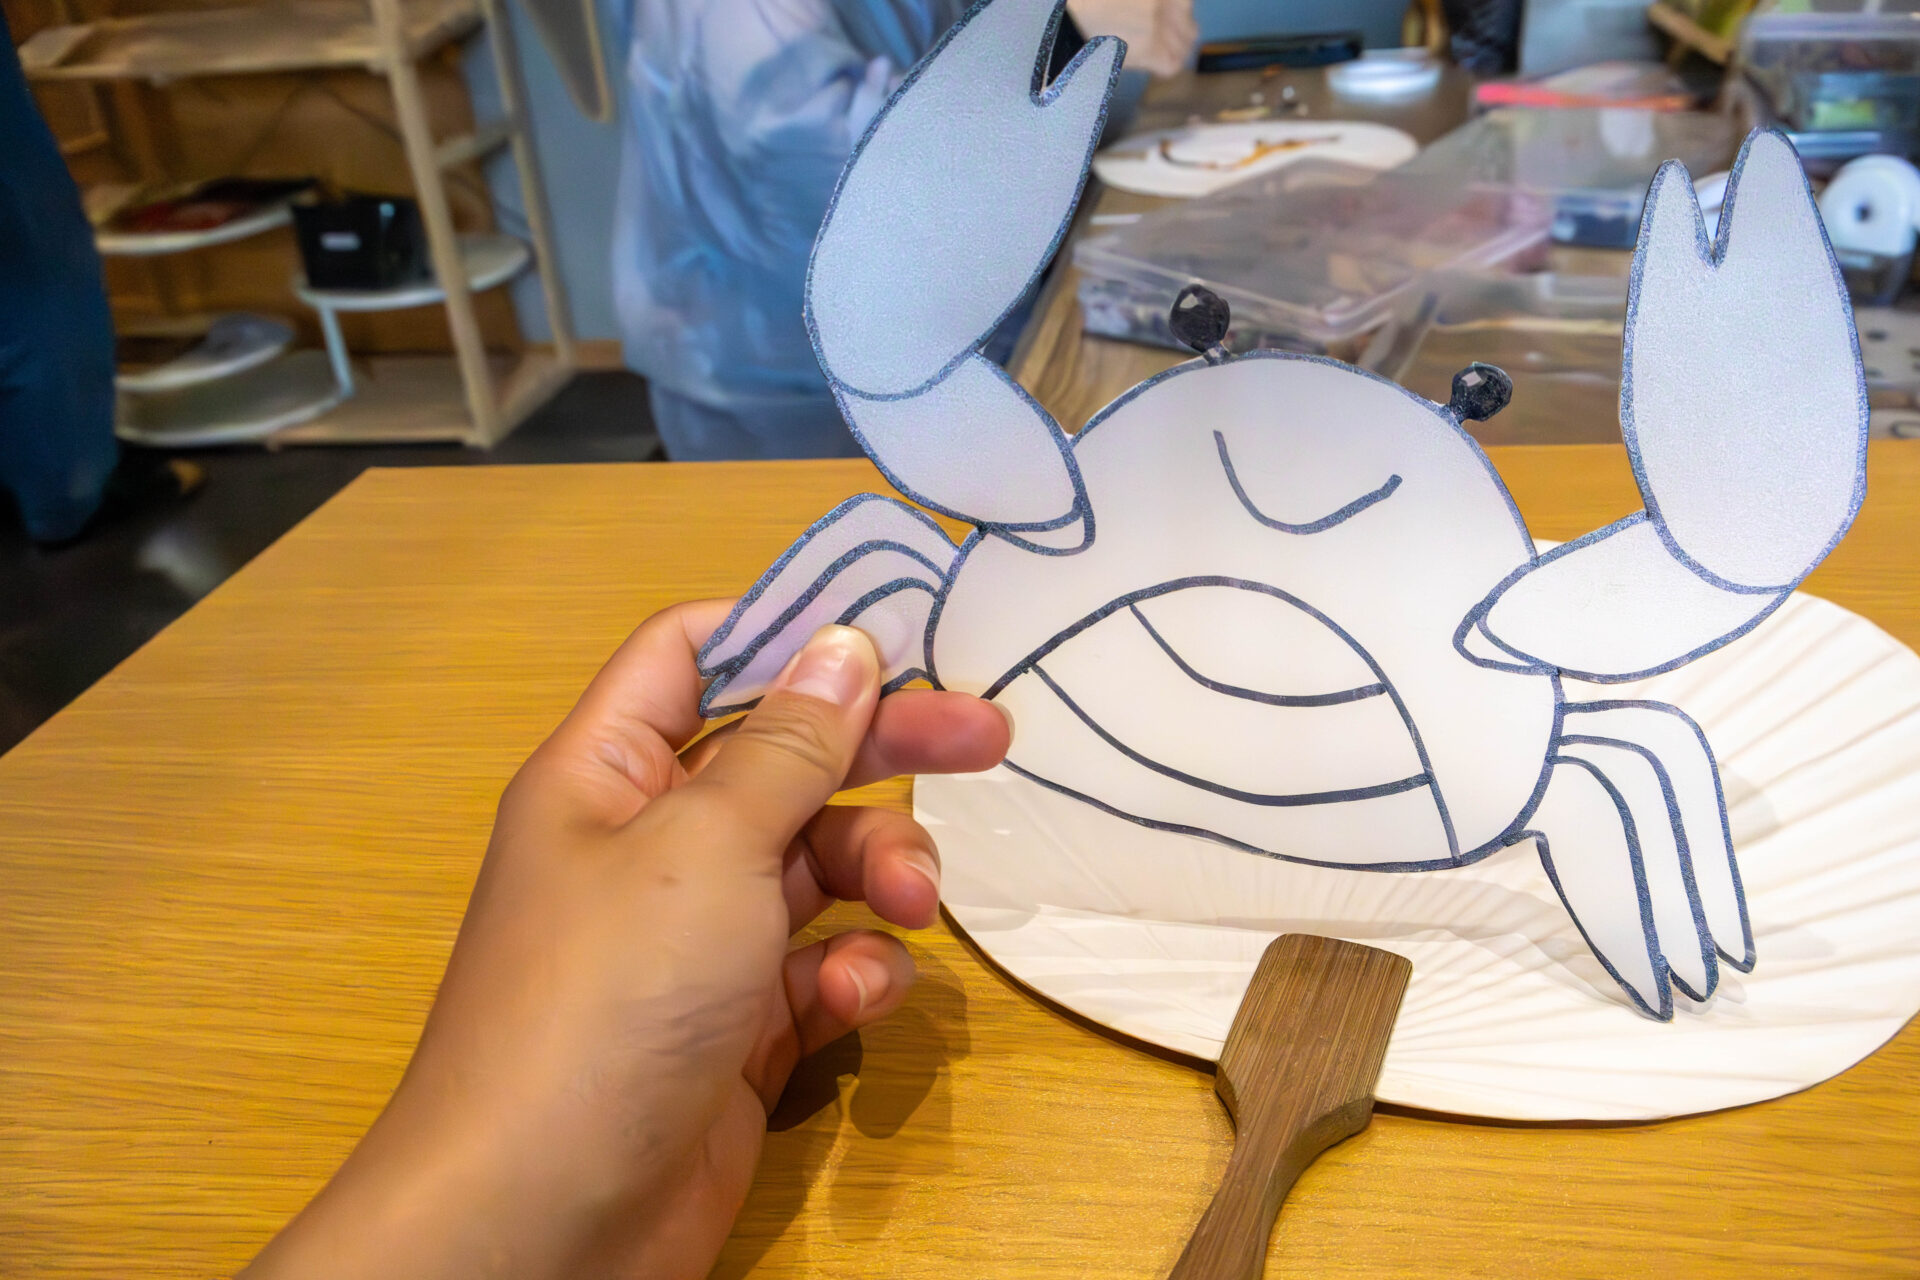
The rough sketch was completed just by drawing lines along the template. This seems easy enough for those who are not good at drawing.
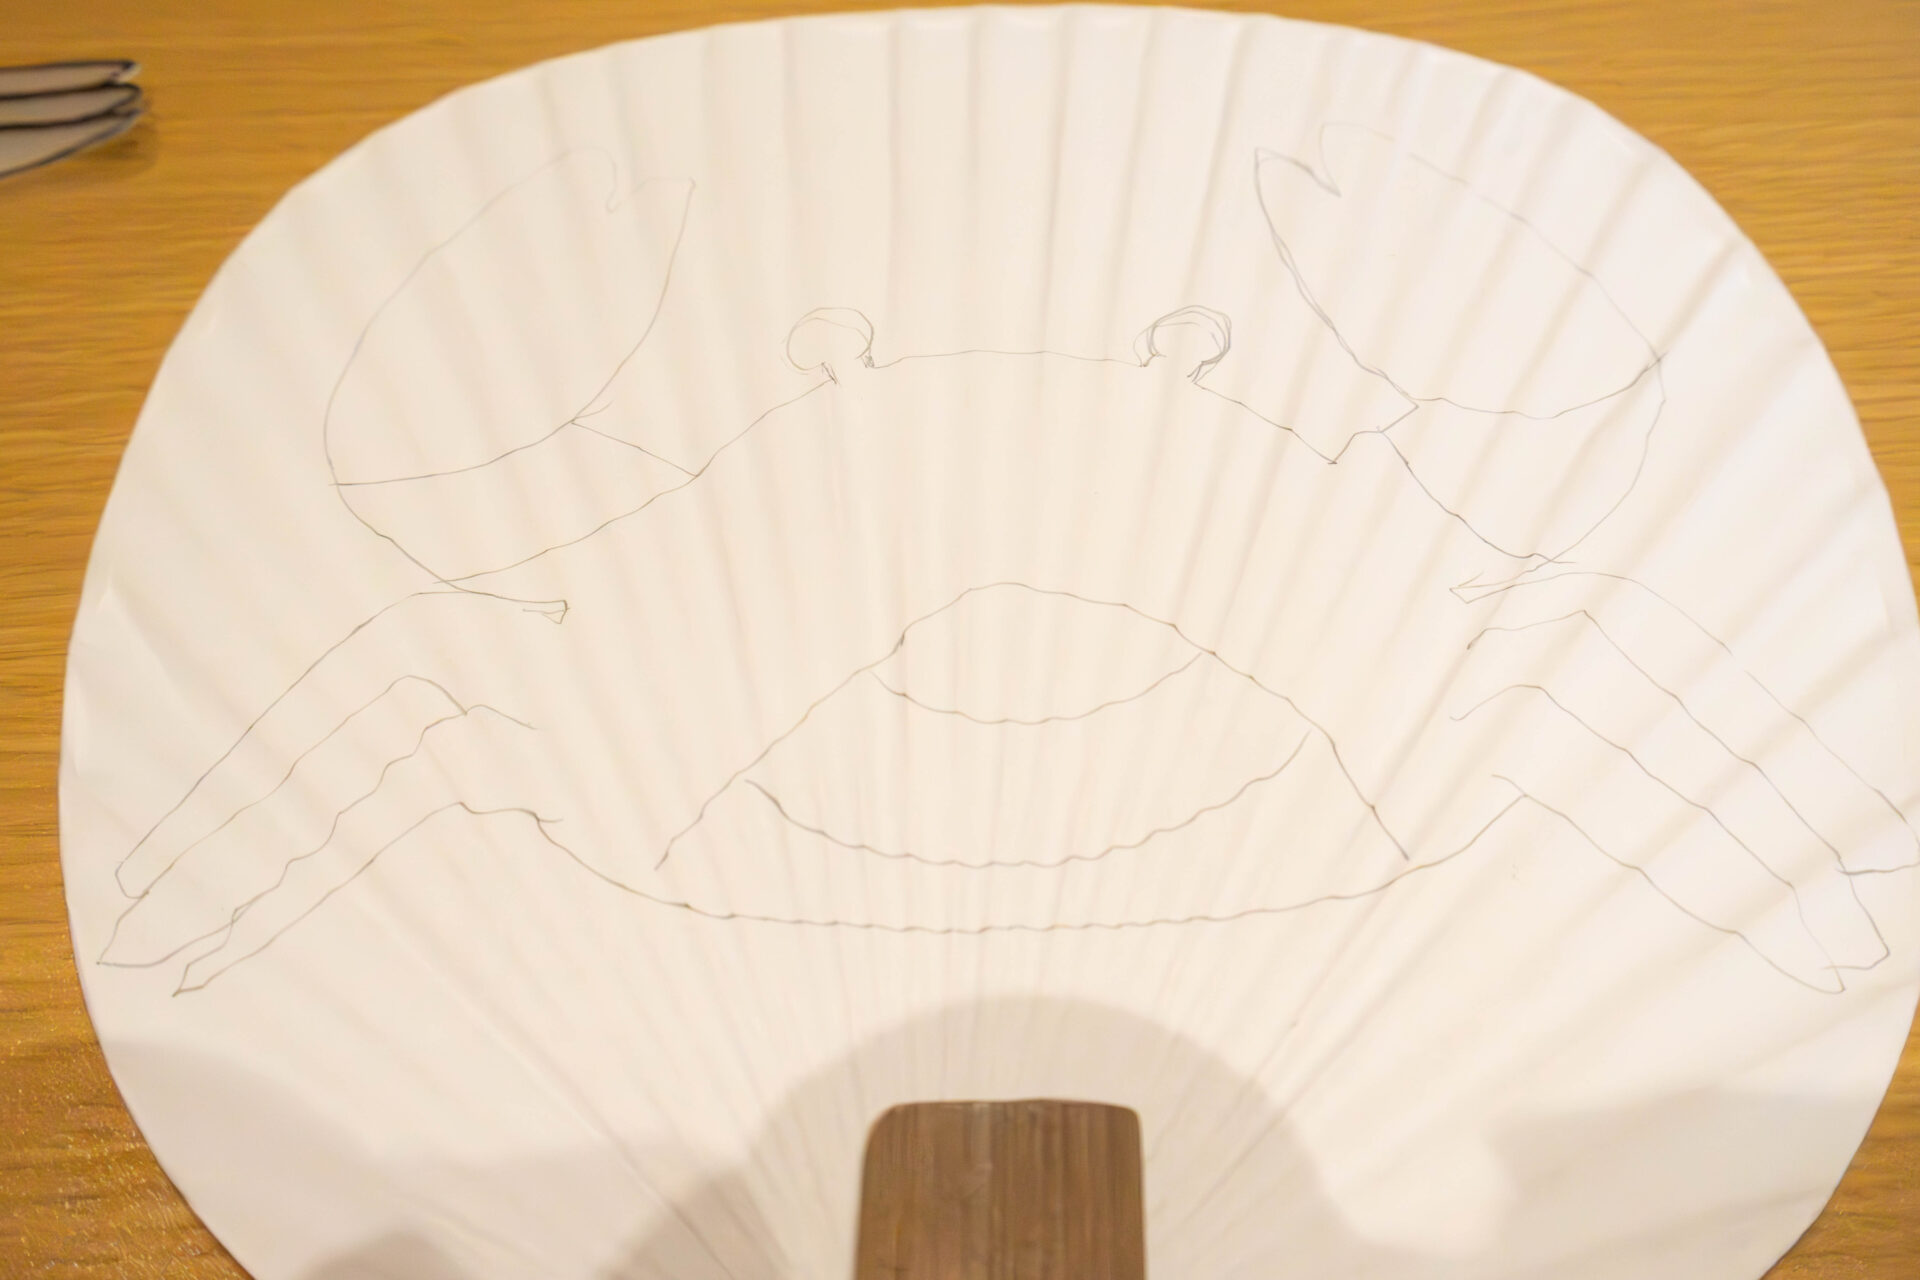
Finally, the preparations are complete. Let’s start sticking the kimono scraps.
Each piece has a different pattern! Sticking kimono scraps
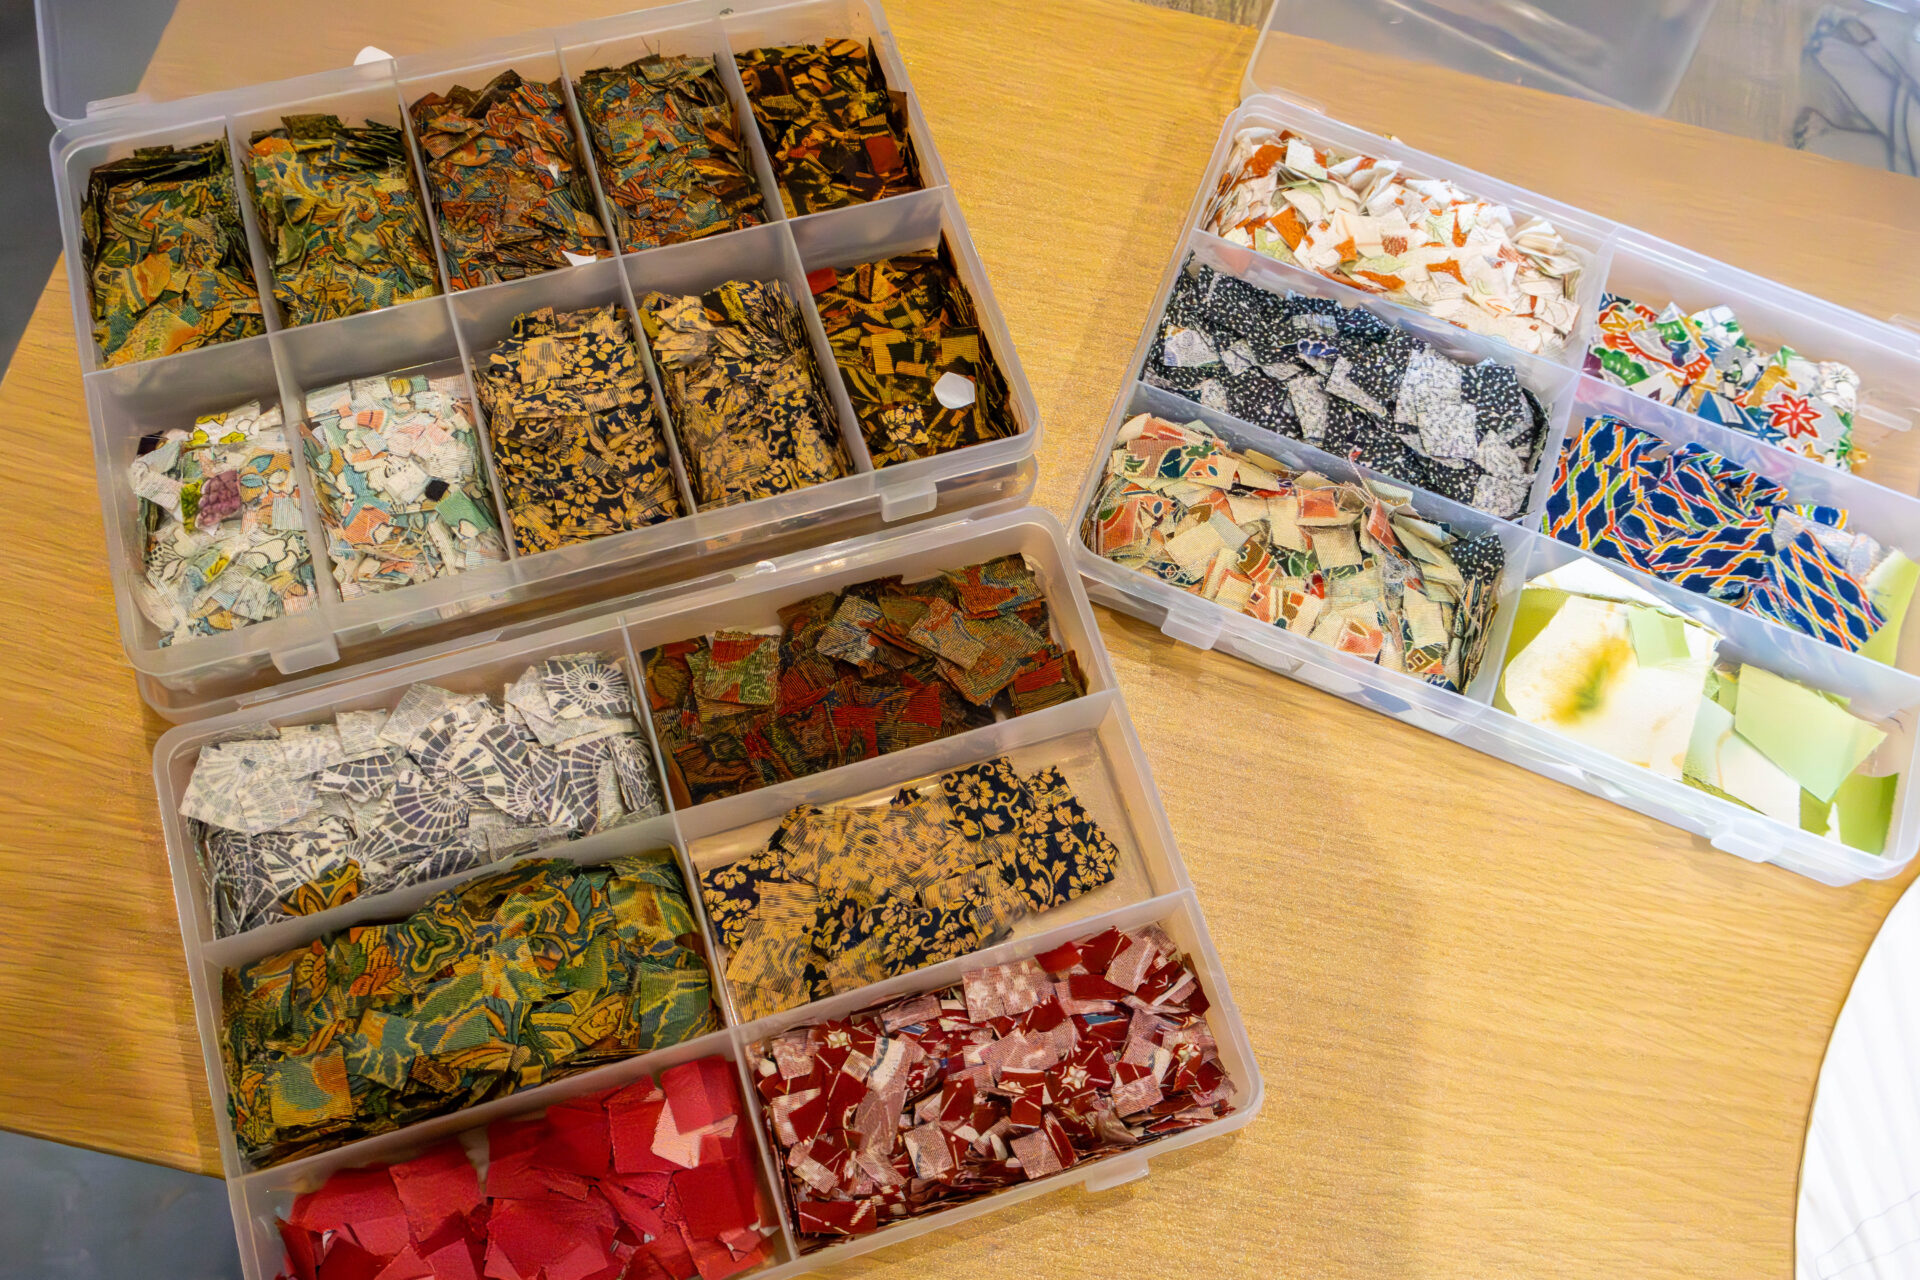
A variety of colorful kimono scraps were prepared. The sizes of the scraps vary, and you can also cut them freely with scissors.
There are about six boxes of small cases containing the scraps, and with a rich variety of patterns, I was unsure which scraps to use first.
For reference, I took a look at the torn paper art of a participant sitting next to me.
The person next to me was making a “kanahibi” (a type of lizard). I felt a sense of style in the elegant use of yellow and the design with plenty of white space.
In casual conversation, they mentioned, “I love reptiles, and I actually have a kanahibi as a pet.”
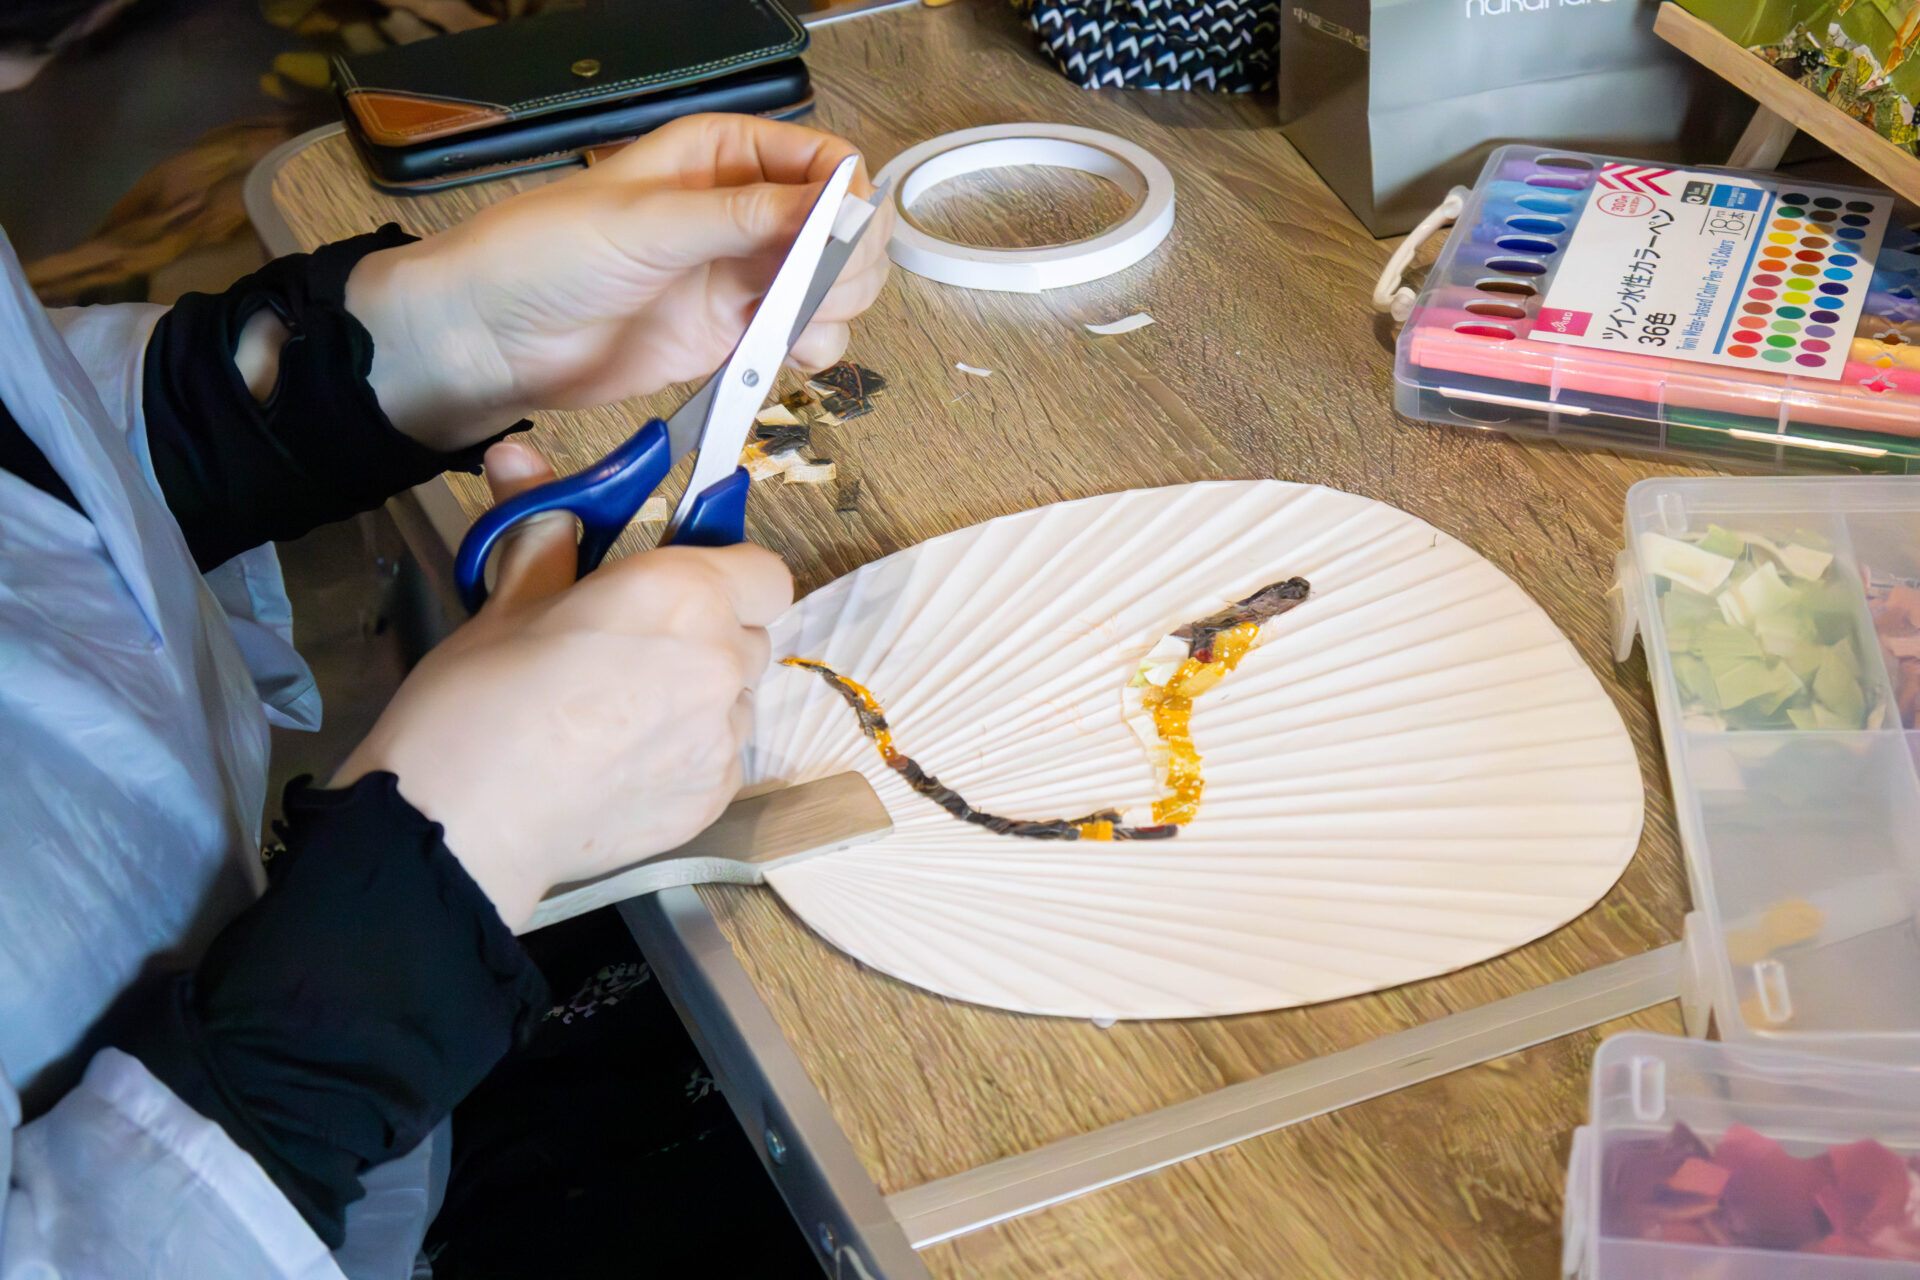
Encouraged by the participant, who said, “As you stick them, it naturally turns out well,” I decided to start sticking. I applied double-sided tape along the rough sketch lines and placed the scraps on top.
Since crabs are associated with a red color, I first stuck red scraps. I also layered pink scraps as an accent.
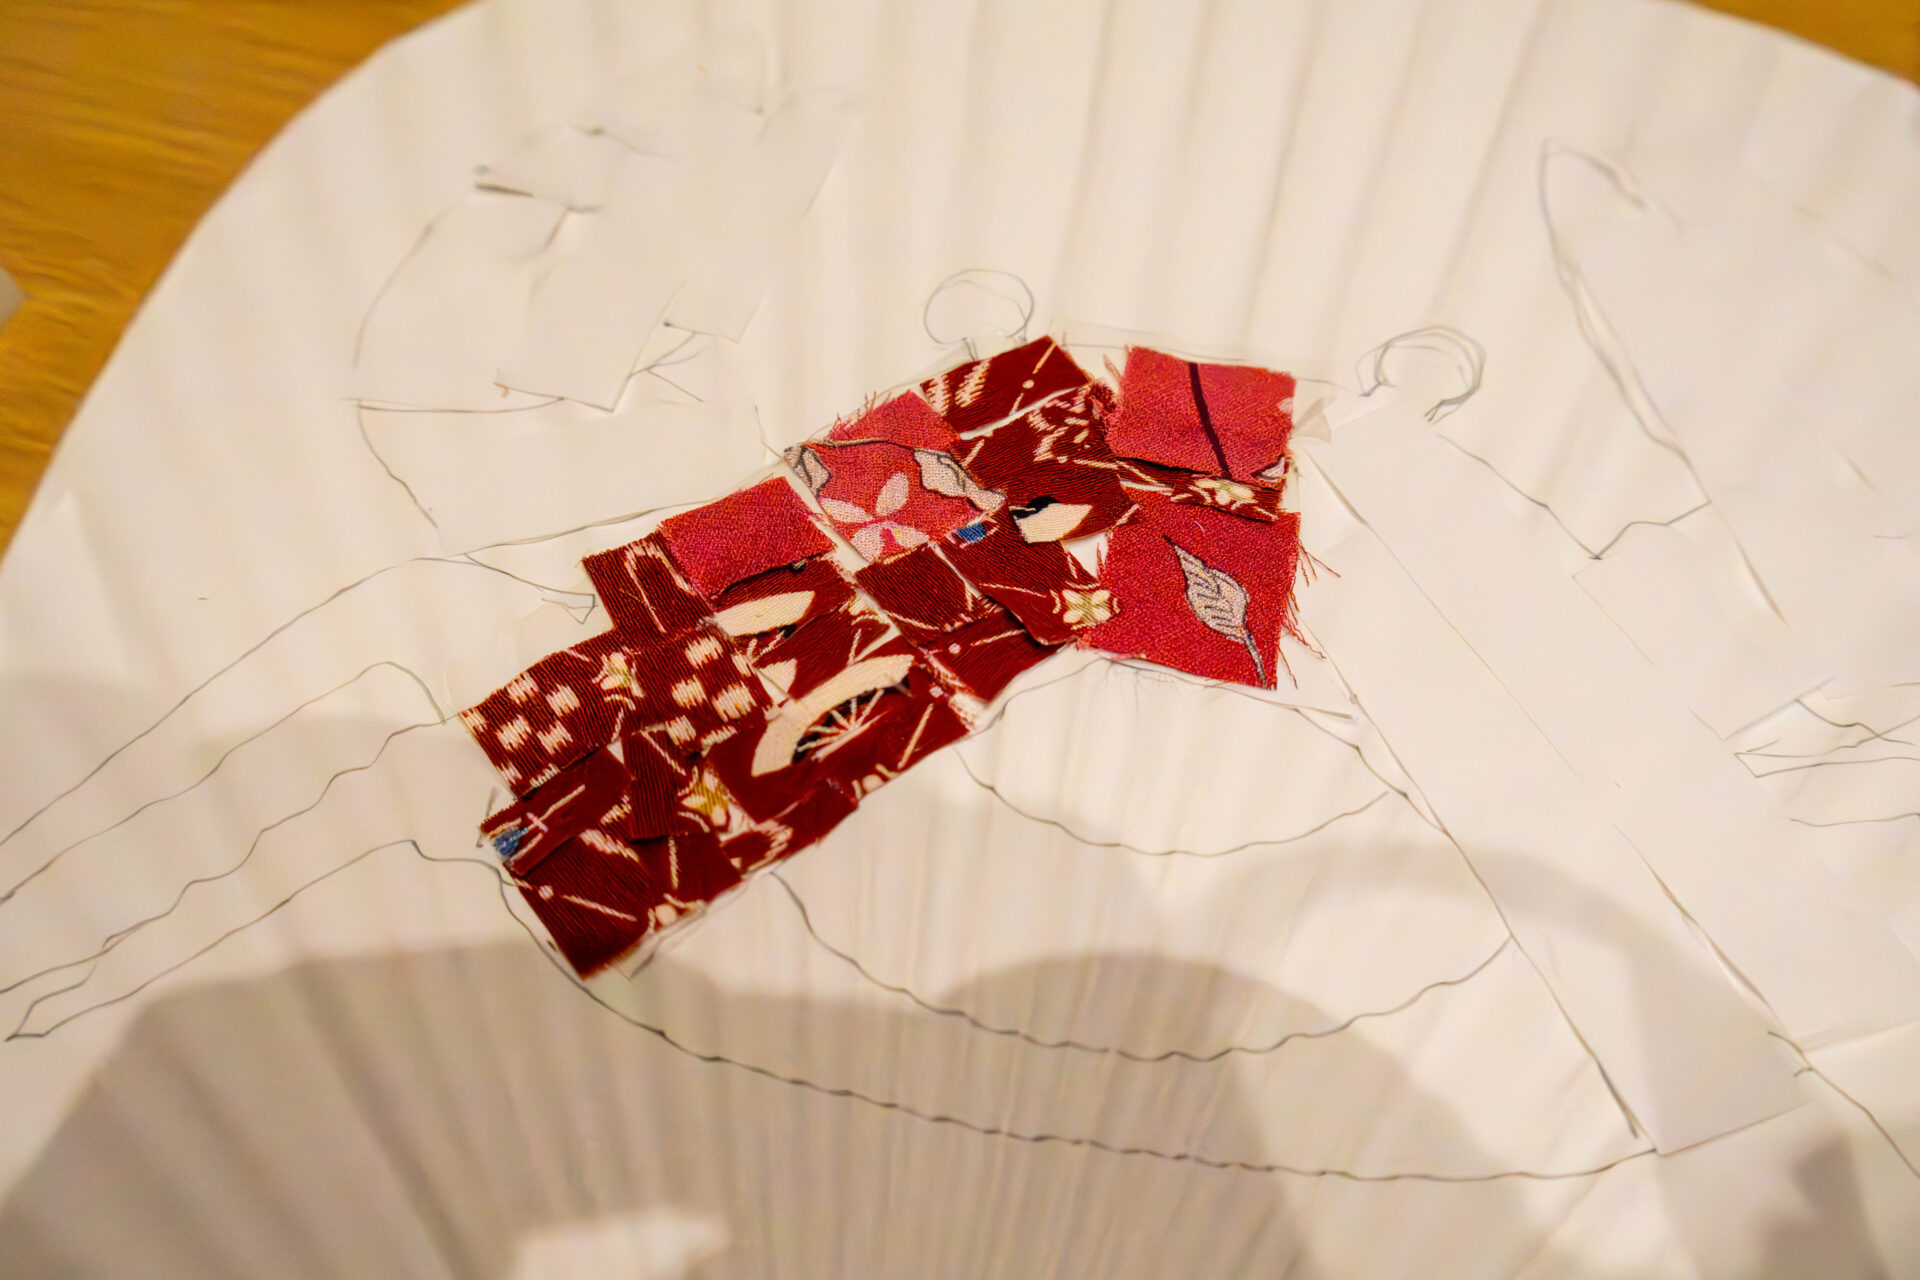
As I stuck the red and pink scraps, a crab-like atmosphere began to emerge.
While adjusting the sizes, I filled in the white gaps. Engaging in this meticulous work, which I rarely have the opportunity to do, brought back nostalgic memories of my art class in elementary school.
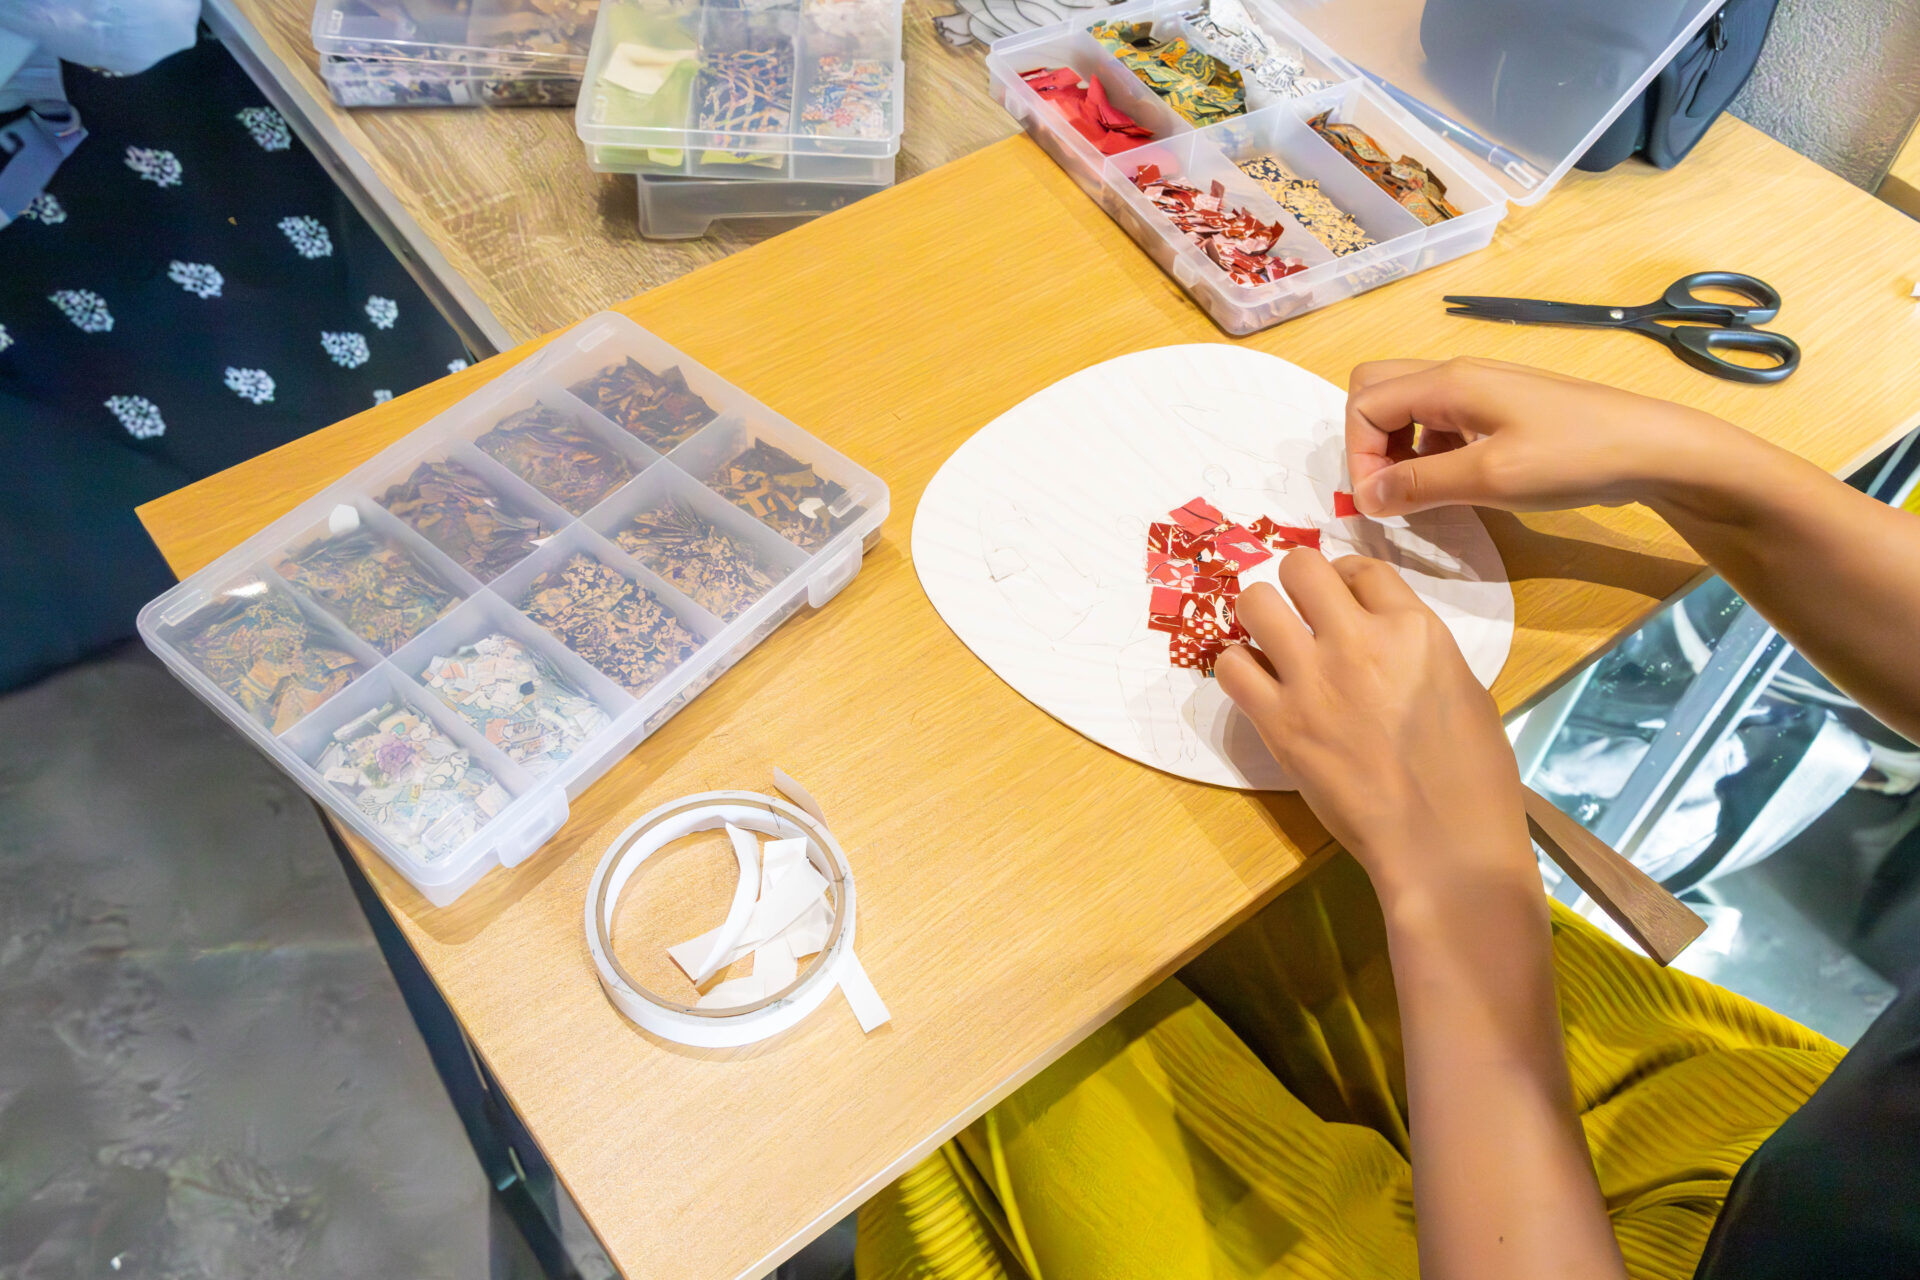
After finishing sticking the red part of the shell, I will next work on the eyes.
While searching for scraps that could be cut into a round shape, I discovered a pattern that seems just right for the eye part. It looks like an eyeball with a pupil drawn on it, but it originally was a scrap from an umbrella.
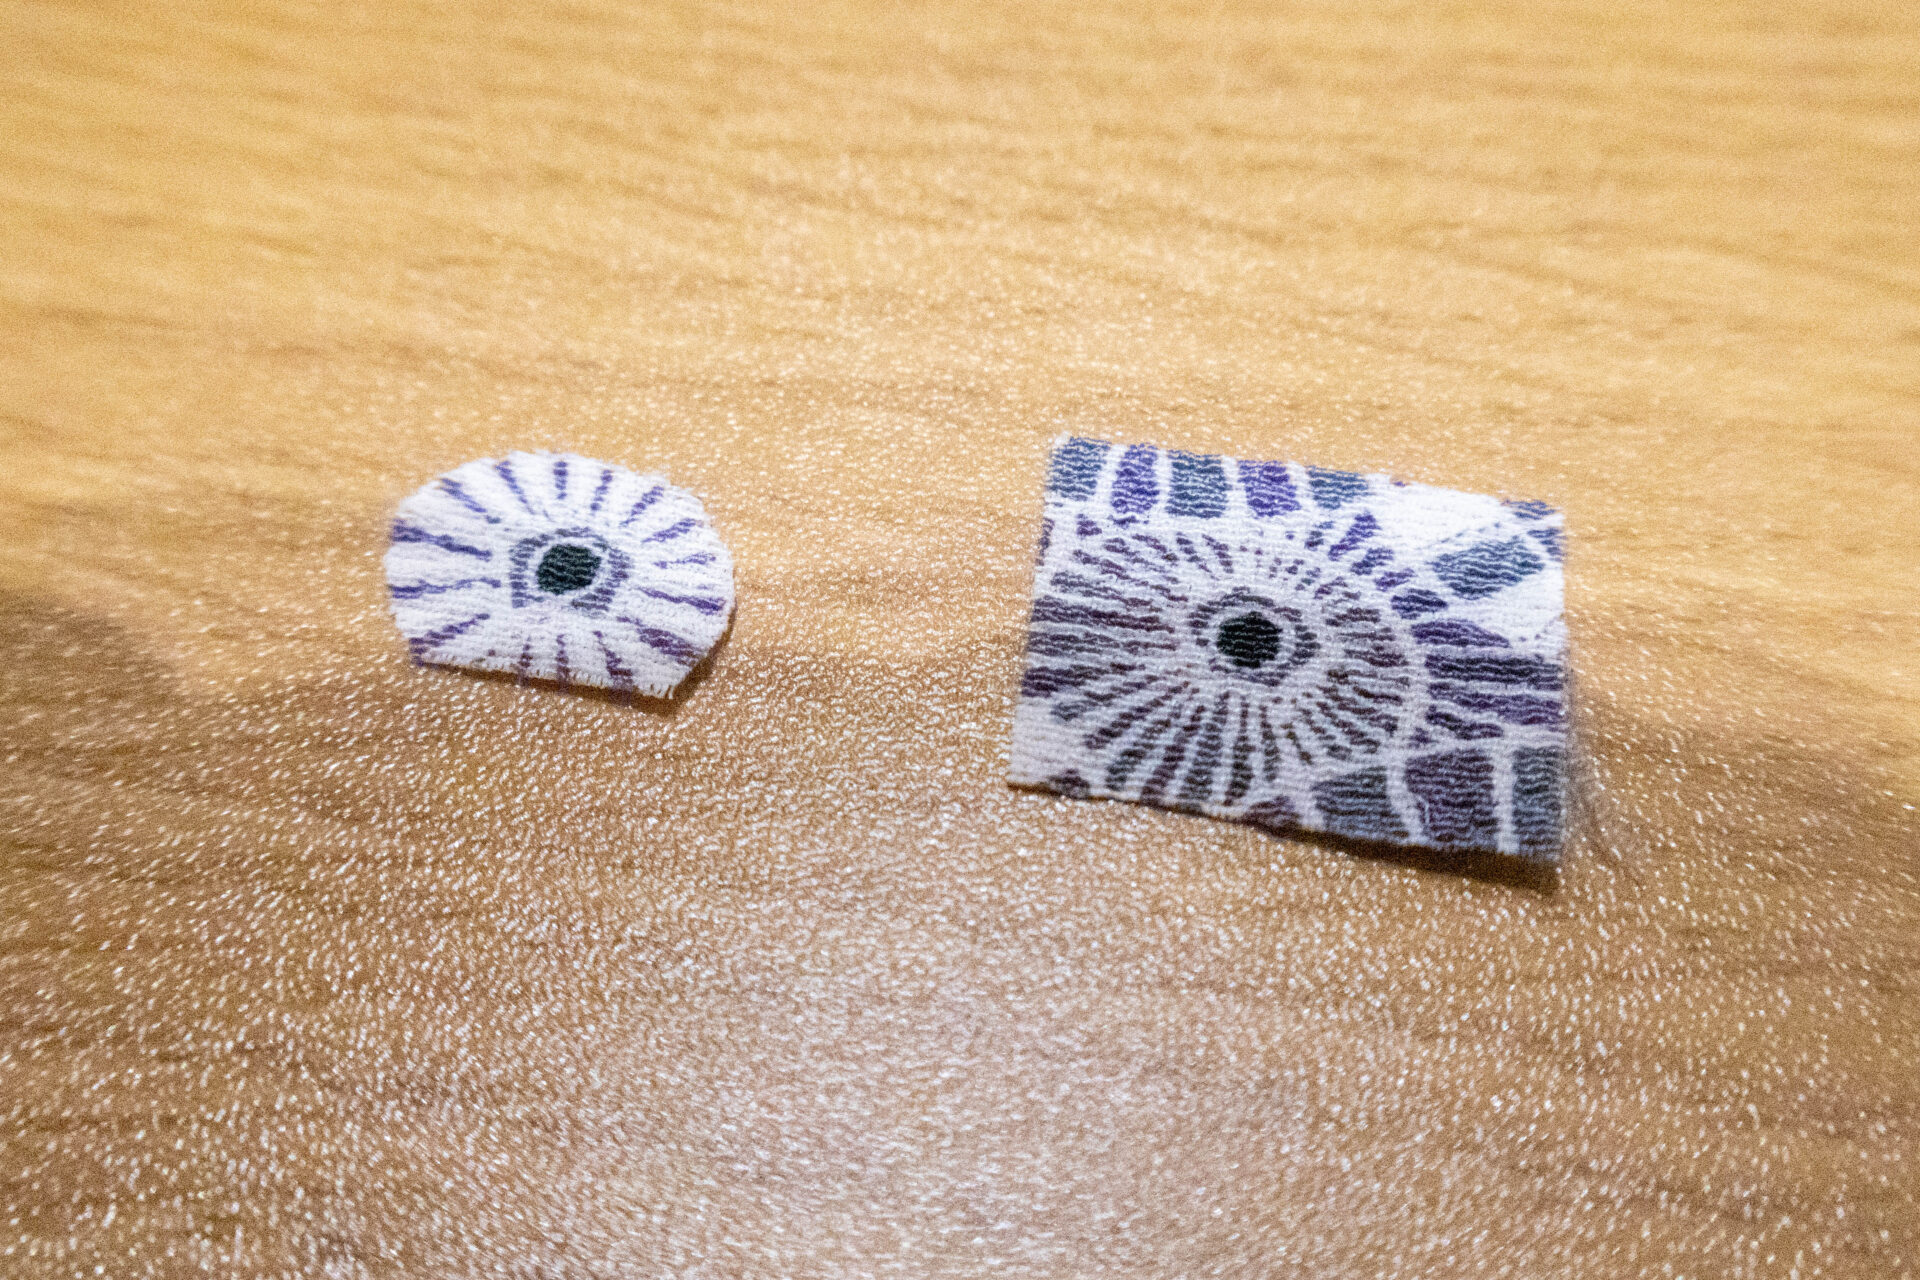
When I cut out and stuck the part of the umbrella pattern, it now looks just like a crab's eye. I feel good about finding the perfect scrap among many patterns.
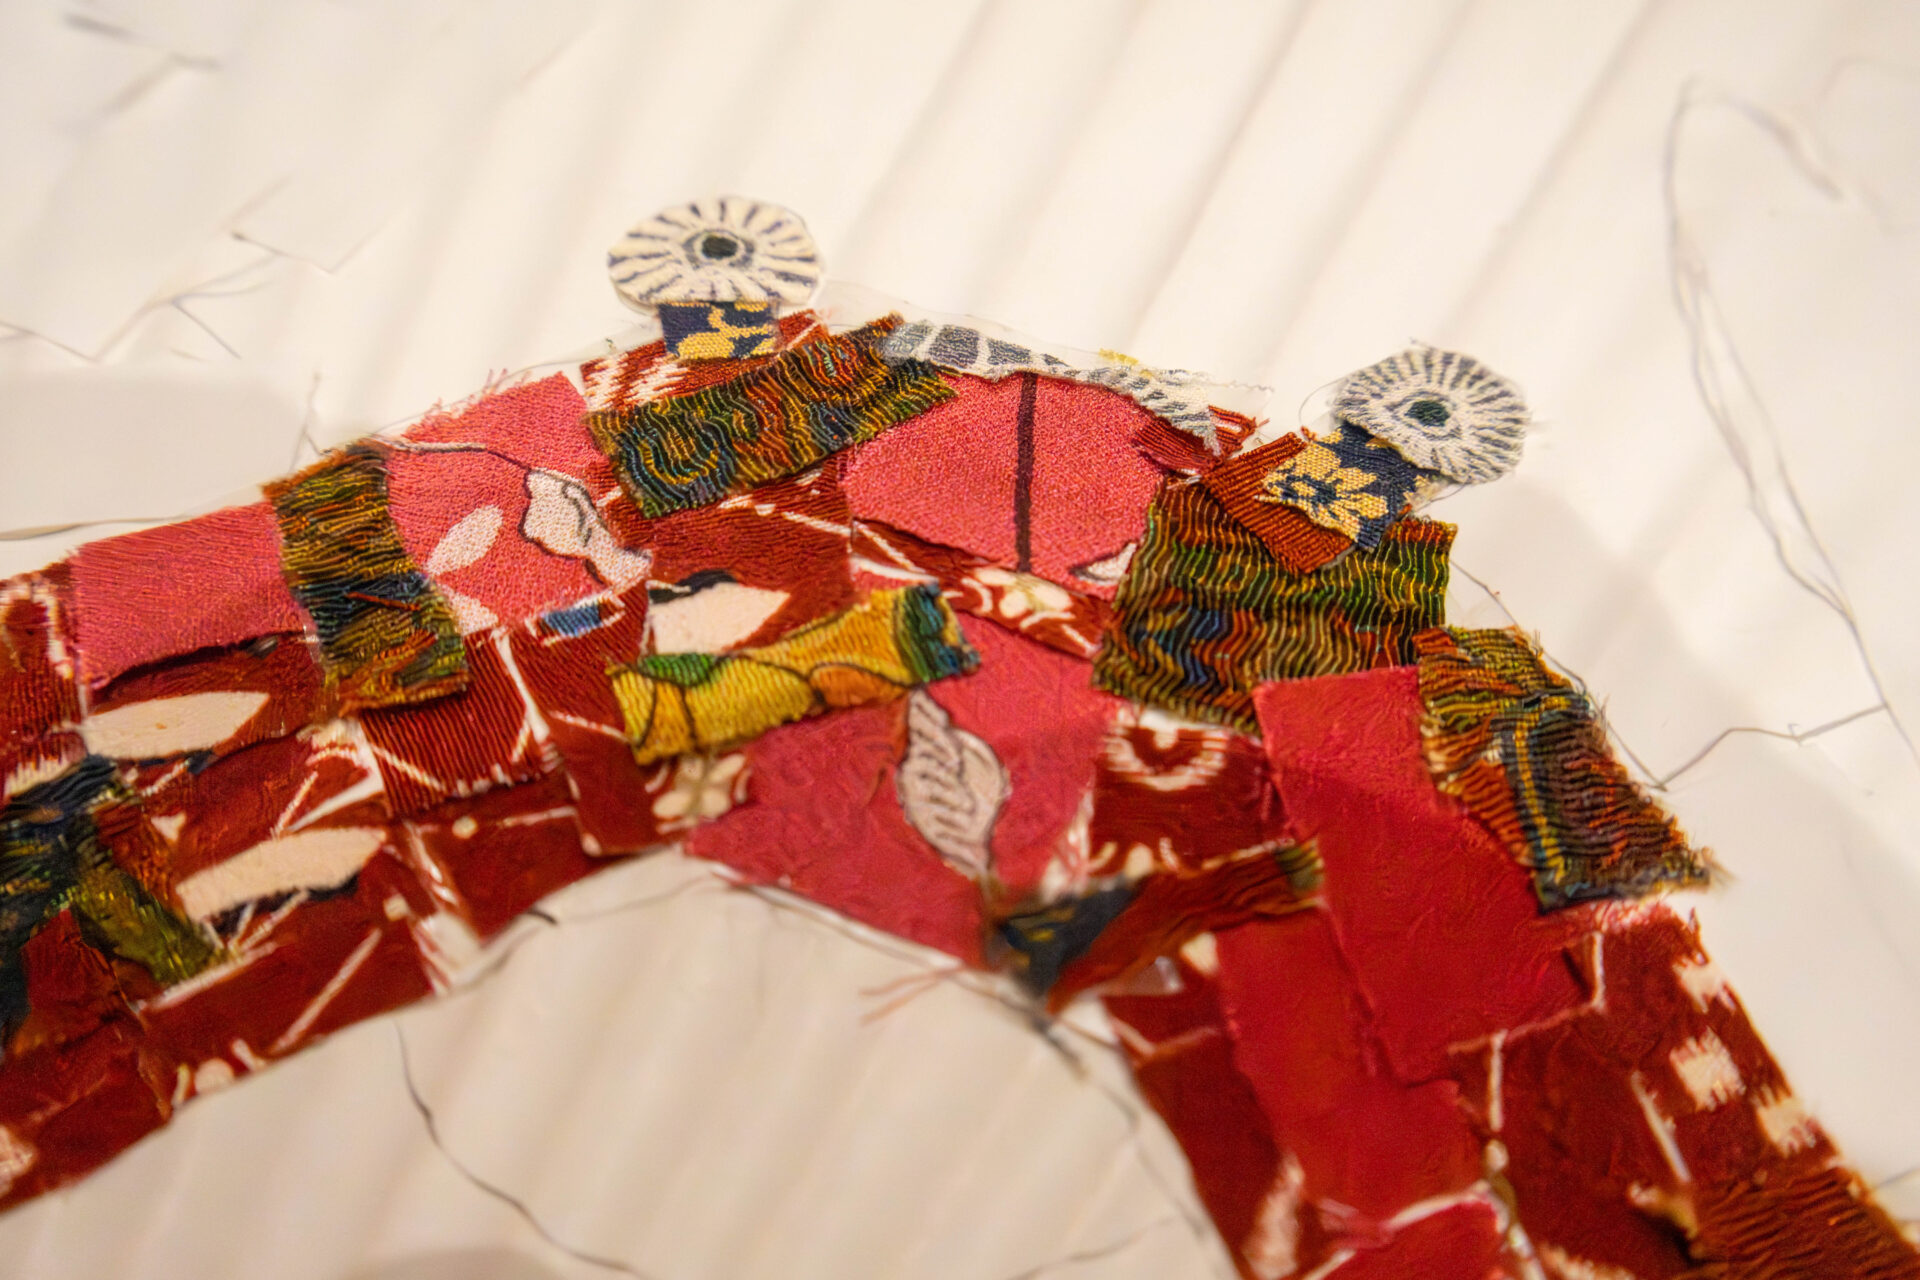
At the moment the author finished making the eyeball part, the neighboring person's torn paper art was completed, so I got to see it.
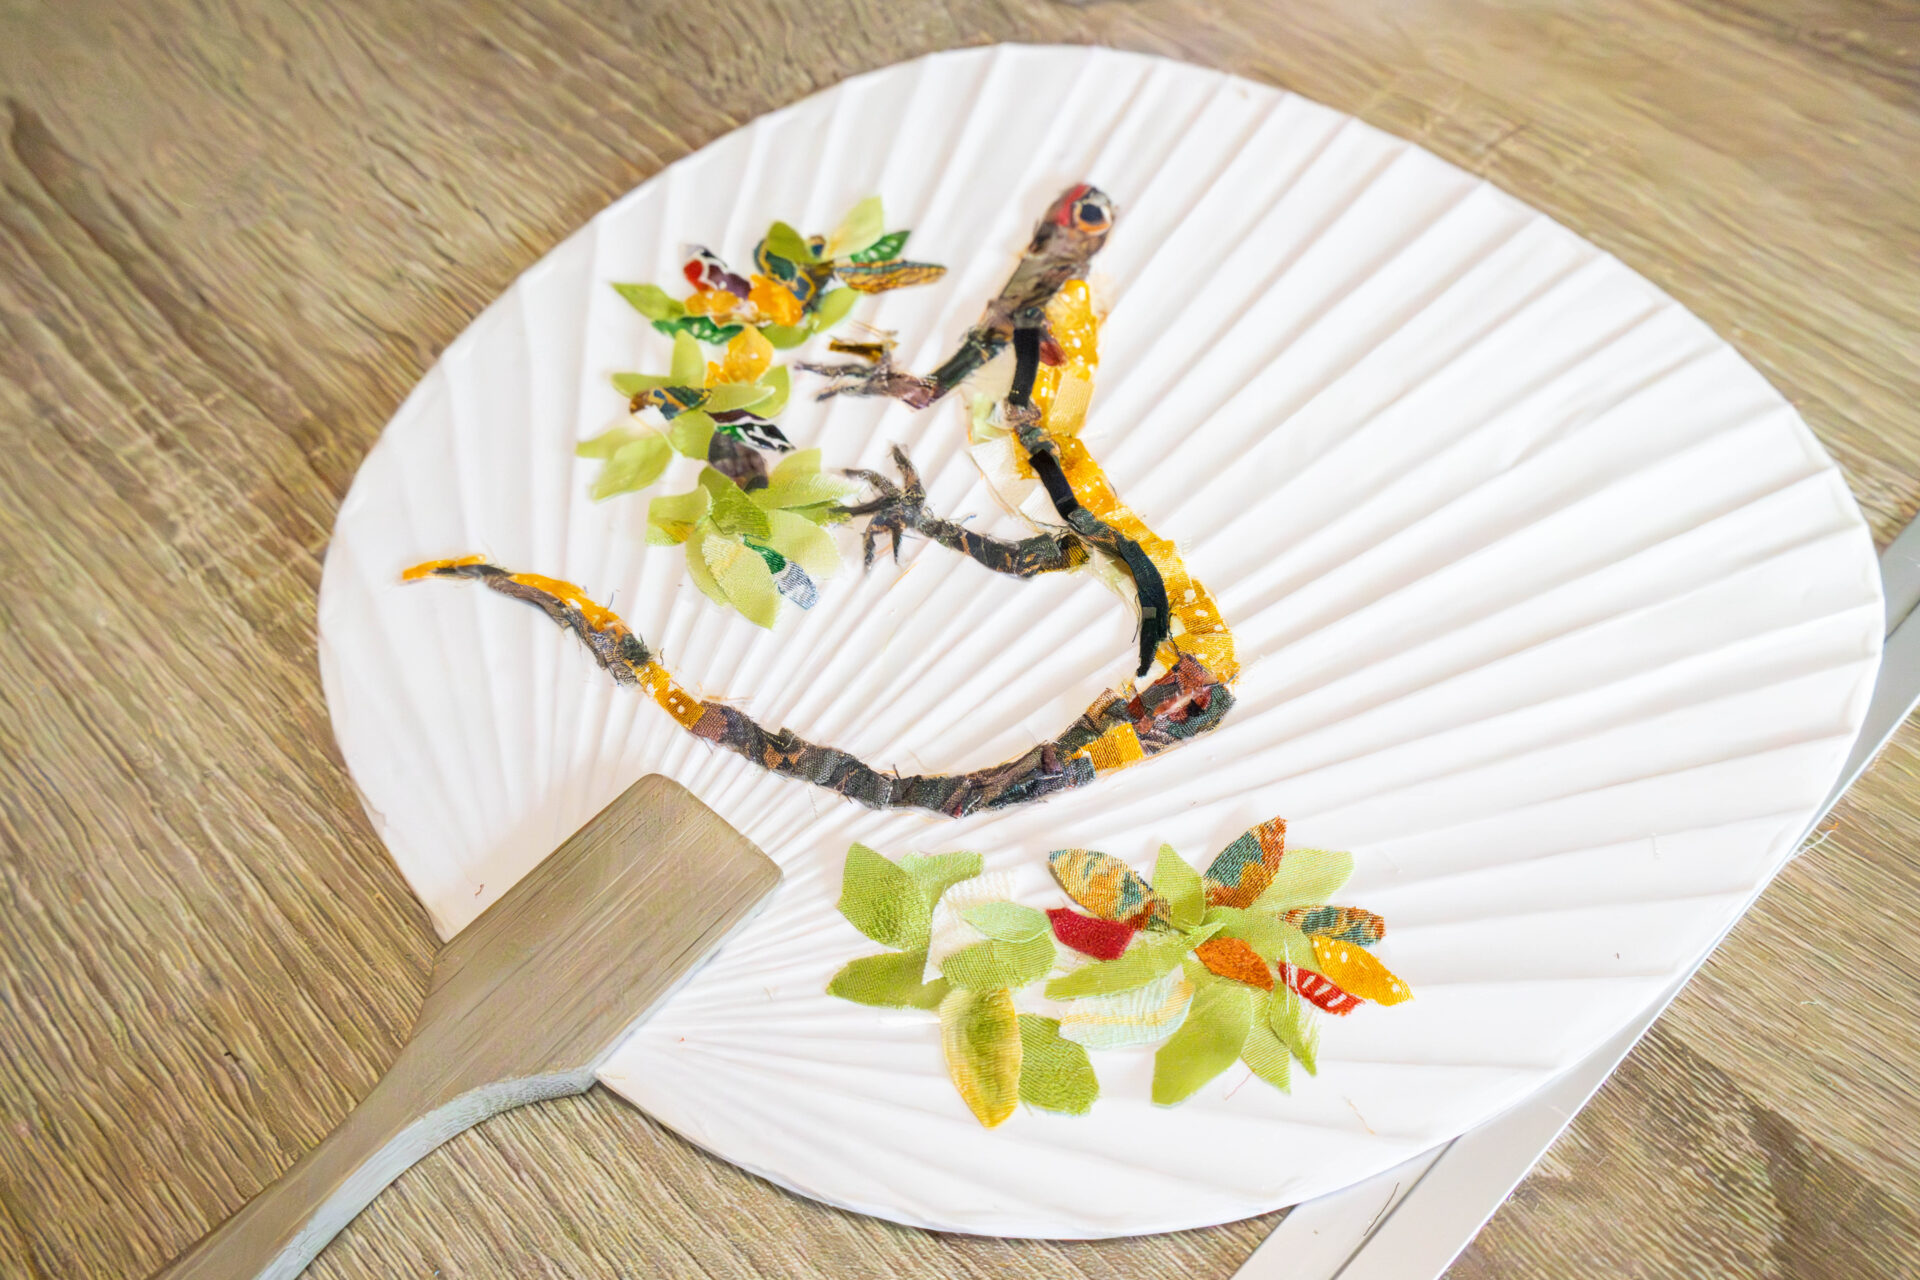
The hands, feet, and tail are all intricately covered with scraps, and you can feel the love for the Kanahibi in this work. The arrangement of leaves that enhances the Kanahibi is also wonderful, and I thought the design that makes use of the negative space is great.
The author is also motivated to complete a wonderful torn paper art.
I was thinking of making the main color red, but since there are so many patterns, I decided to try using various scraps without being limited to red.
For the claws, I will use gentle scraps in soft colors to completely change the image. Even though the scraps come from the same kimono, each piece has a different pattern, so I was particular about the selection process. Sticking the pointed parts of the claws turned out to be surprisingly difficult, and I carefully applied them while using scissors.
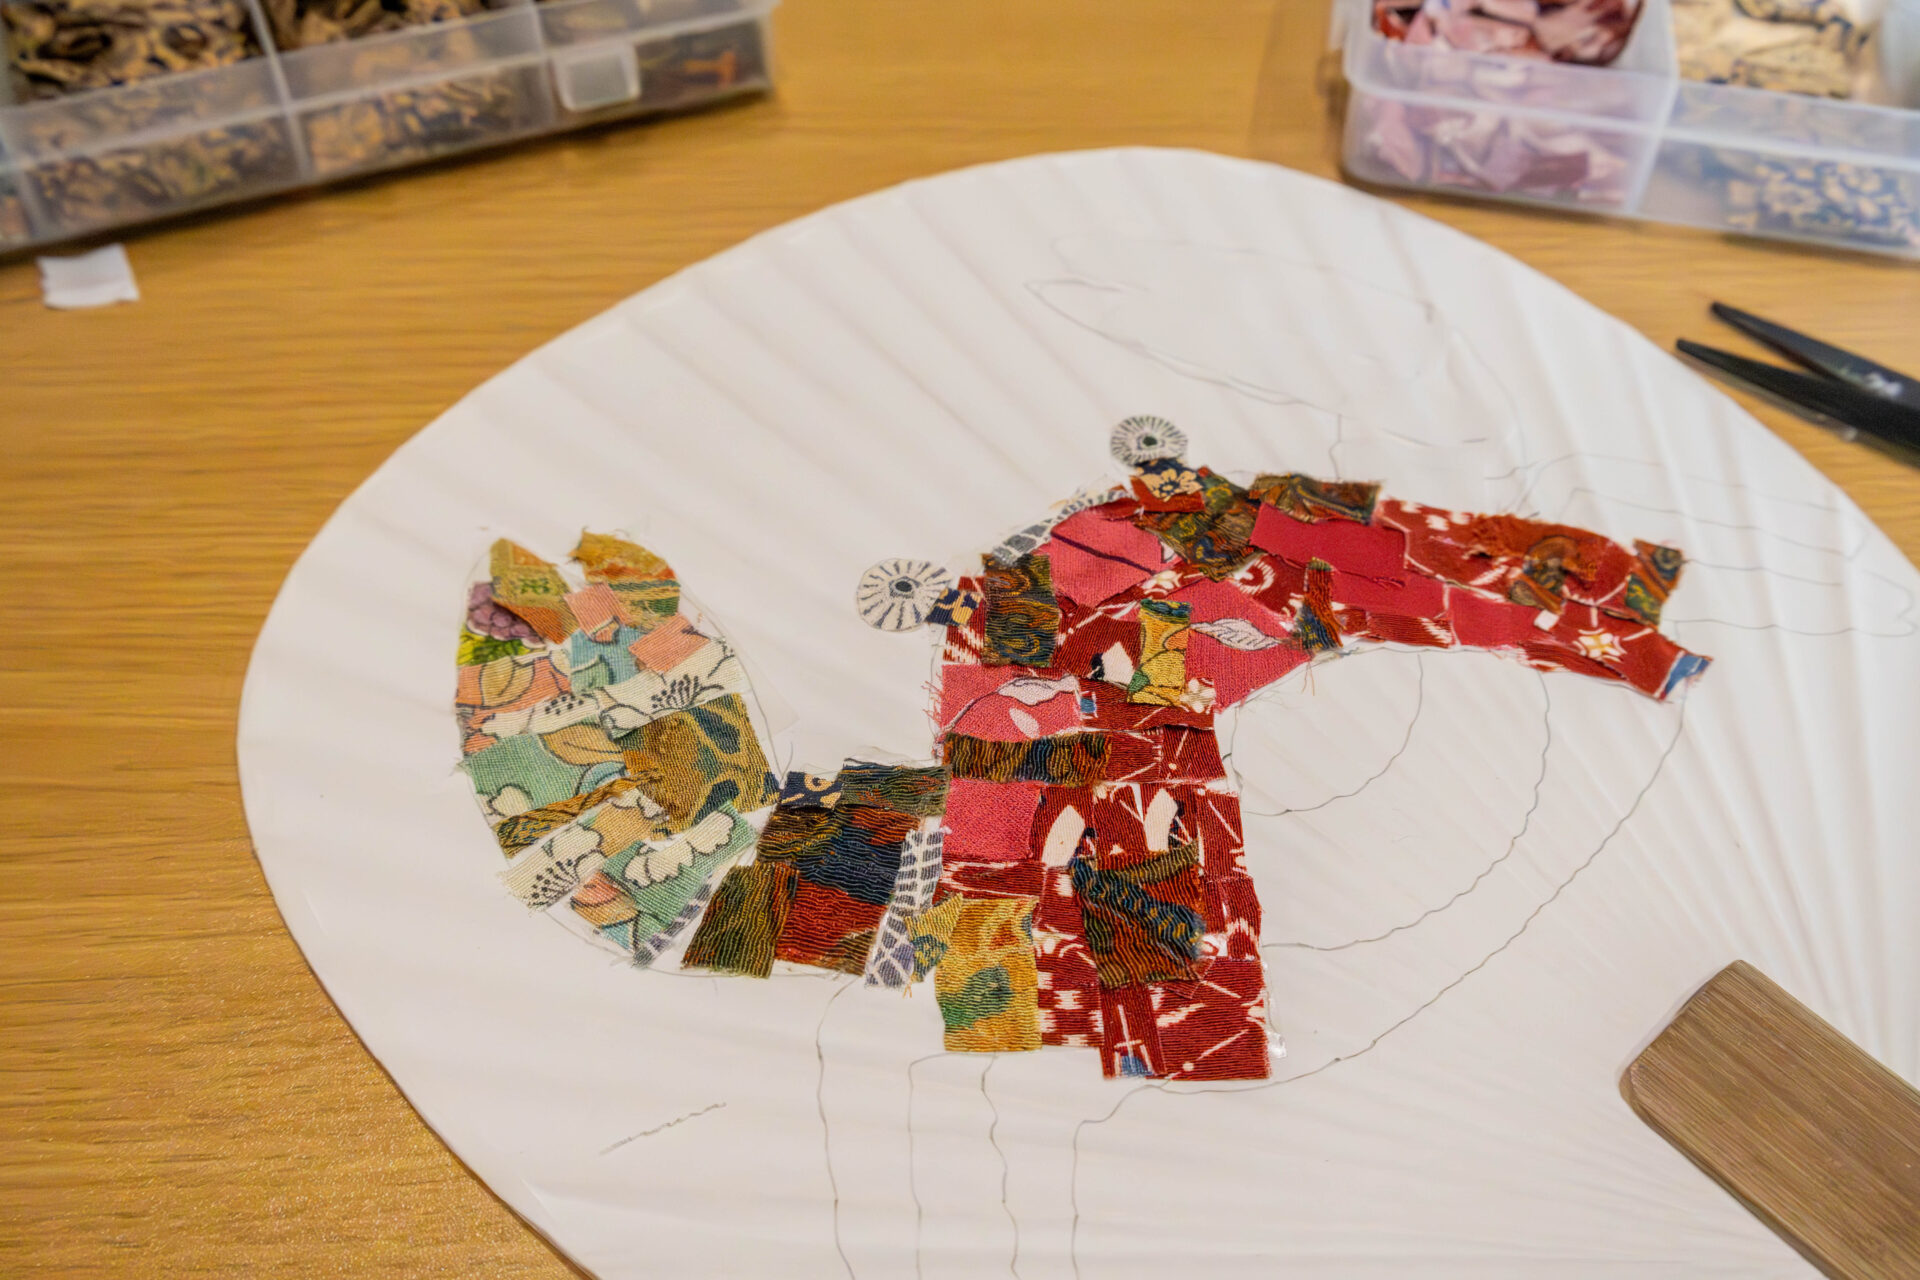
Looking at the crab that is becoming more and more cluttered, I started to worry, "Will it turn into a beautiful torn paper art?" However, after continuing to stick for a while, it started to come together nicely, just as the person next to me advised.
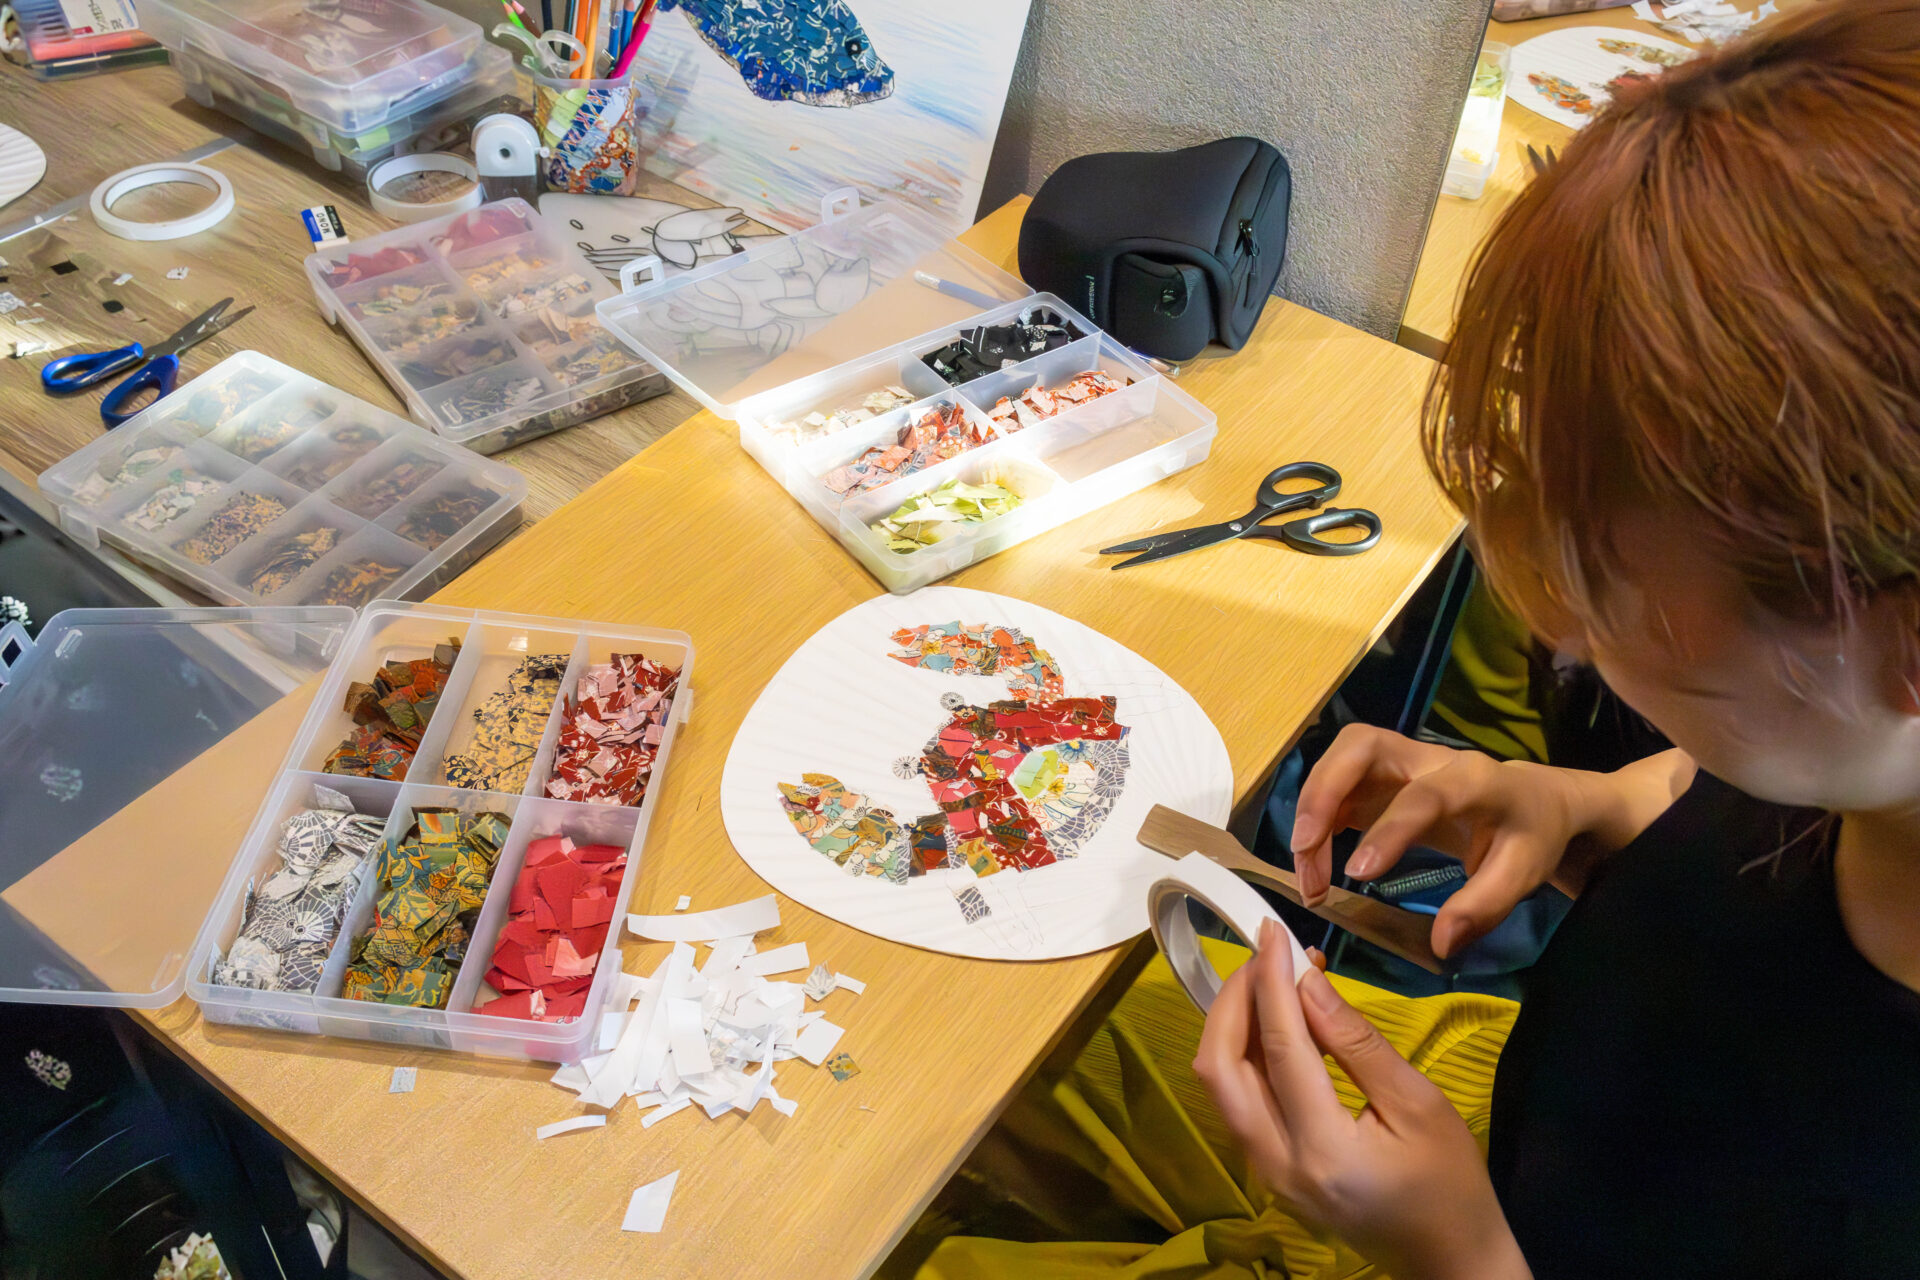
By combining various patterned scraps, the red color stands out, and I feel that a sense of depth has naturally emerged.
While working, I felt a gaze from the crab's eyes, but I continued to stick without worrying, and finally completed it.
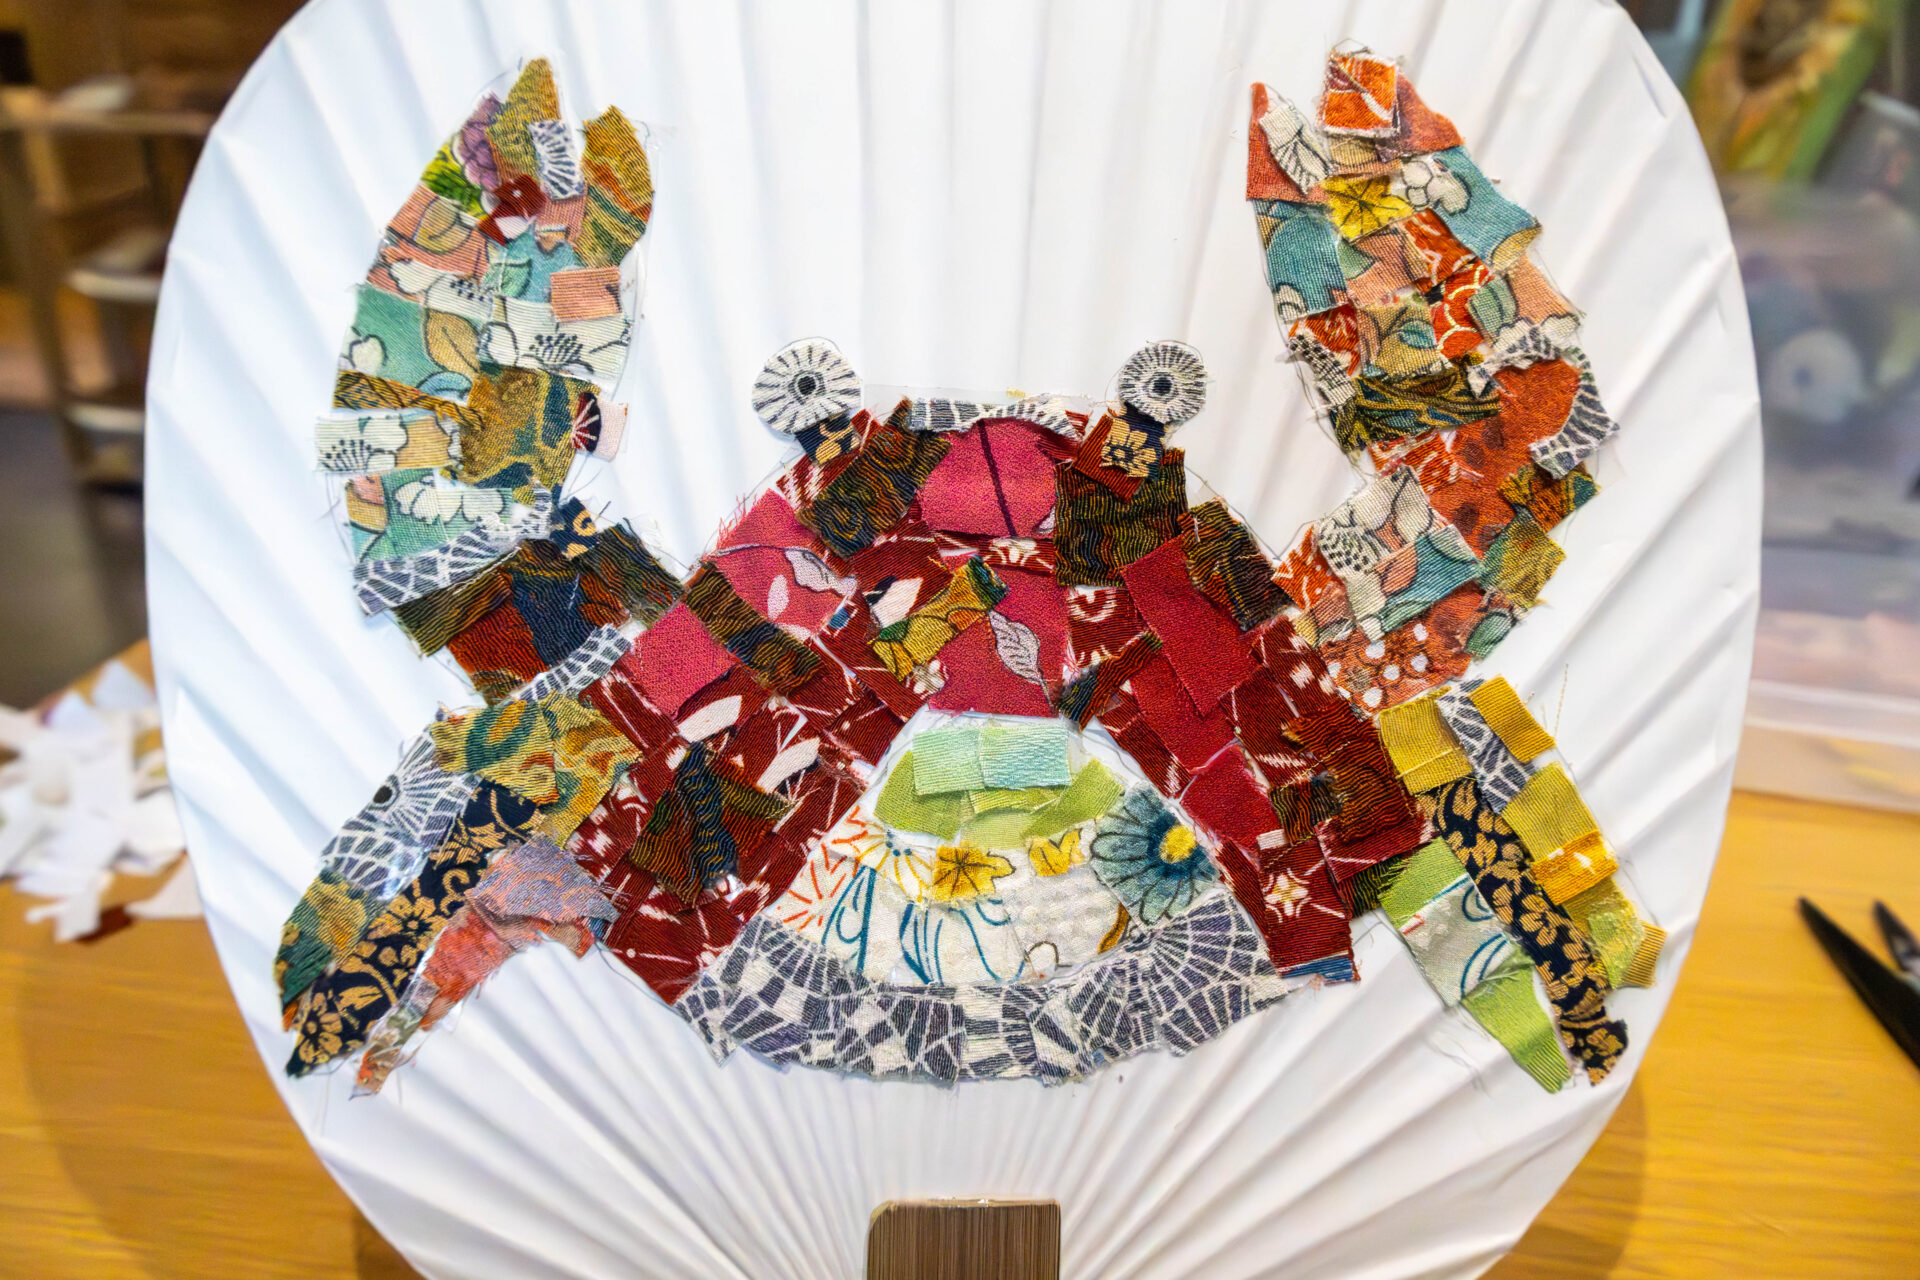
By combining scraps of various colors and patterns, a flashy yet rich crab was born. I want to praise my own work.
Perhaps because I used kimono fabric, it has a softer atmosphere than paper.
About two hours had passed since I started, but I was able to work while enjoying conversations with other participants and Mr. Warabino, so the time flew by. The store had a comfortable atmosphere, which may have made it easier to concentrate.
I have gained a strong ally to get through the hot summer.
Conclusion
The kimono torn paper art was an experience that made me forget the passage of time. If I were a child, it would likely remain a long-lasting memory from summer vacation.
Even though the scraps come from the same kimono, each pattern is different, so just changing the arrangement can slightly alter the color scheme and atmosphere. I wanted to be particular about the process of sticking the kimono as much as time allowed. It was interesting to stick them while feeling nervous, wondering, "Will I be able to do it well?" since I couldn't envision the final result.
Experiential events like this, where you can directly touch kimono, seem to make kimono feel more familiar.
Please visit Takehime, where various remade products utilizing kimono fabric are lined up.
Takehime 'Kimono Torn Paper Art' Workshop Data
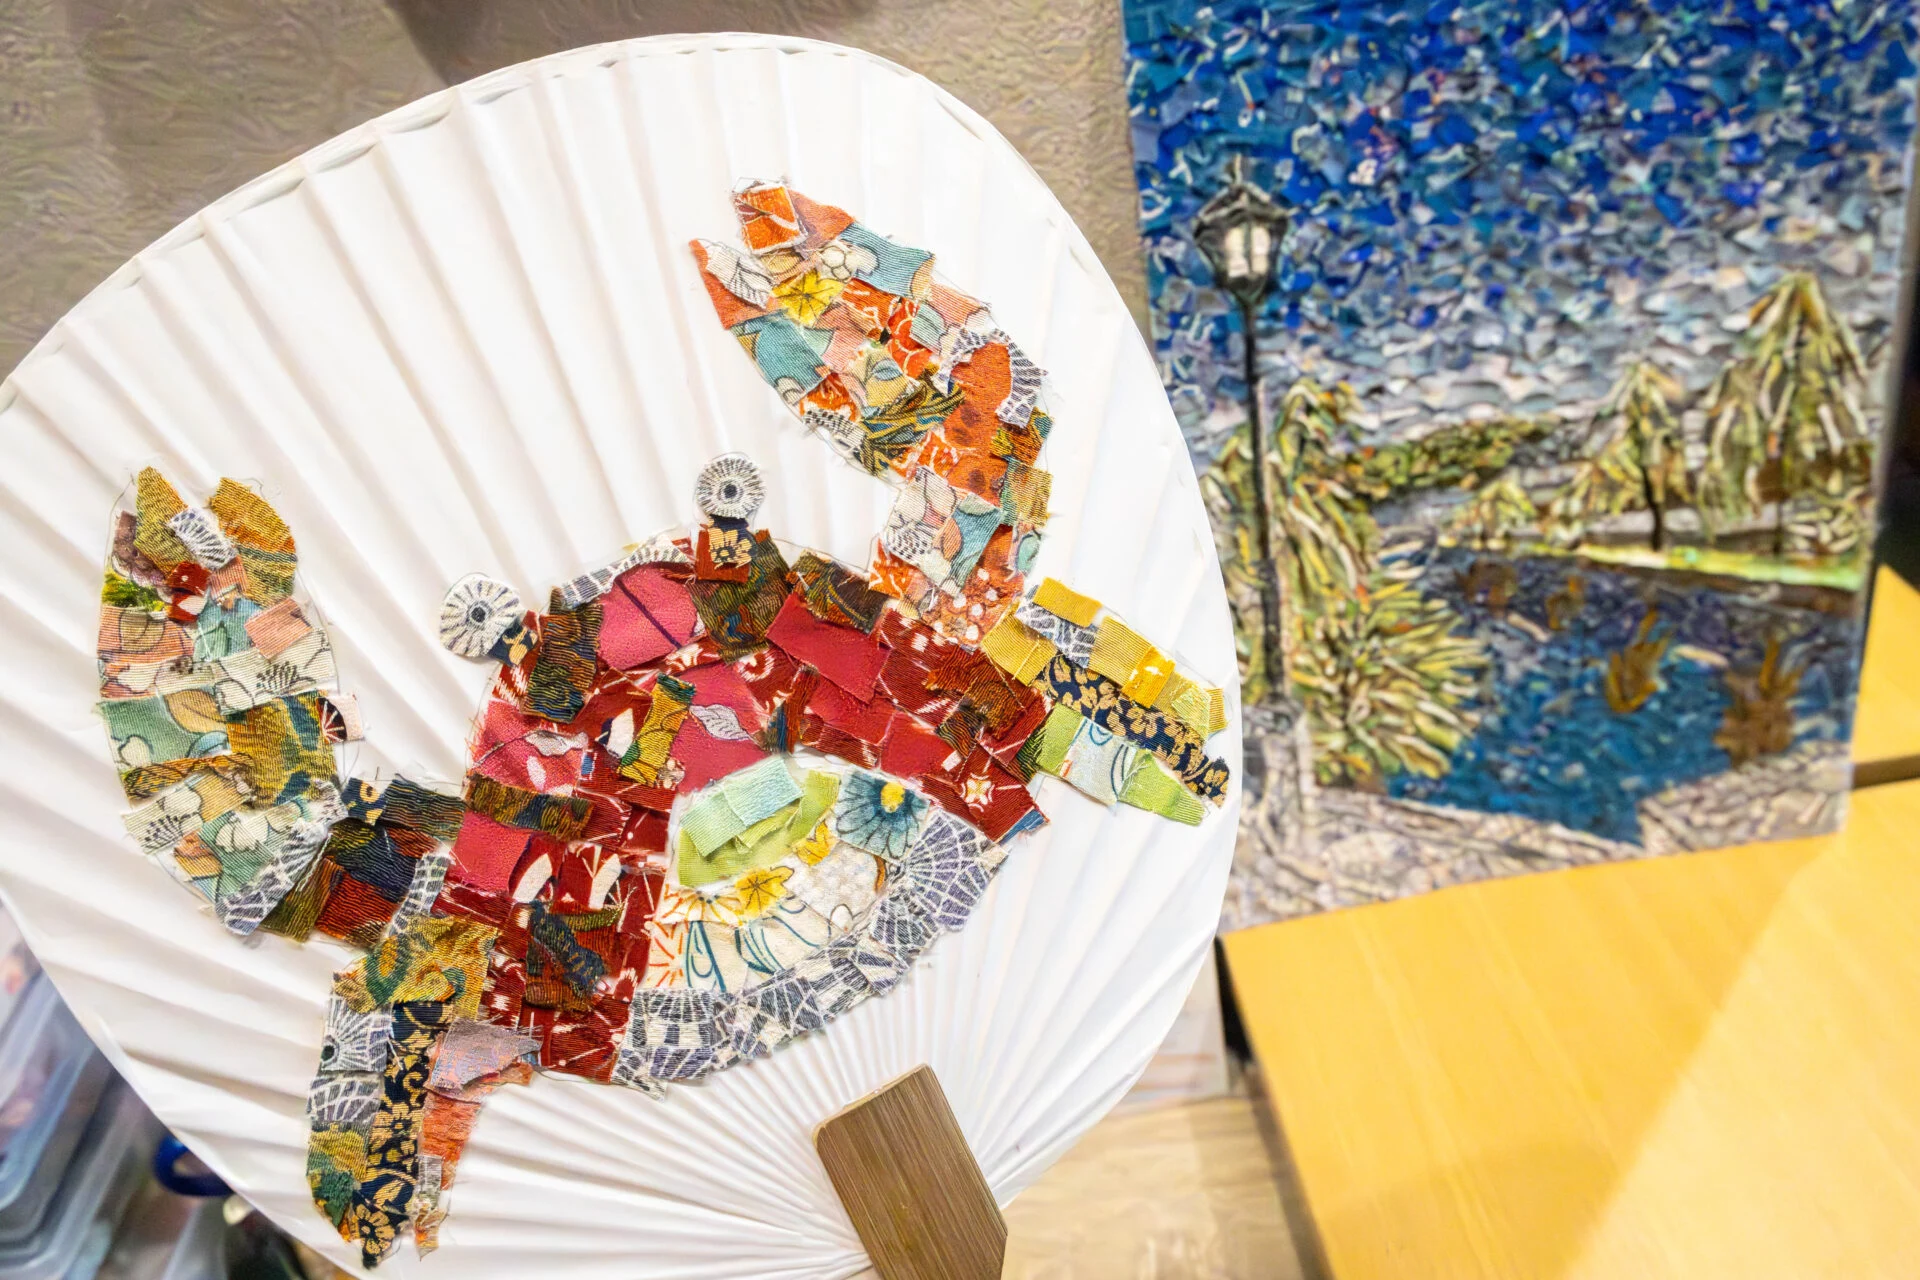
| Name | Takehime 'Kimono Torn Paper Art' Workshop |
|---|---|
| Date | No fixed date *If you wish to participate, please speak to the store staff. *From 10 AM to 6 PM |
| Location | 204, 25-45 Achi 2-chome, Kurashiki City |
| Participation Fee (including tax) | Participation fee: 1,100 yen (including tax) |
| Website | Takehime |