A disaster preparedness backpack to take to evacuation sites during disasters.
Also called an "emergency evacuation bag," it is recommended to prepare food and supplies to last for 2 to 3 days at the evacuation site.
However, even though you may understand in your head that "you need to prepare before a disaster occurs," some people may not know how to prepare and end up putting it off.
Upon researching, I found that Kurashiki City has published a checklist for emergency supplies to support the creation of disaster preparedness backpacks. Taking this as a good opportunity, I also tried making my own original disaster preparedness backpack using this checklist.
I will introduce the process of making the disaster preparedness backpack, along with advice I received from the Regional Disaster Prevention Promotion Division of the Kurashiki City Disaster Management Office.
About the Disaster Preparedness Backpack
A disaster preparedness backpack is an emergency backpack filled with items necessary during a disaster. When disasters such as earthquakes or floods occur, quickly putting it on and moving to an evacuation site can protect your life and support your living conditions at the evacuation site.
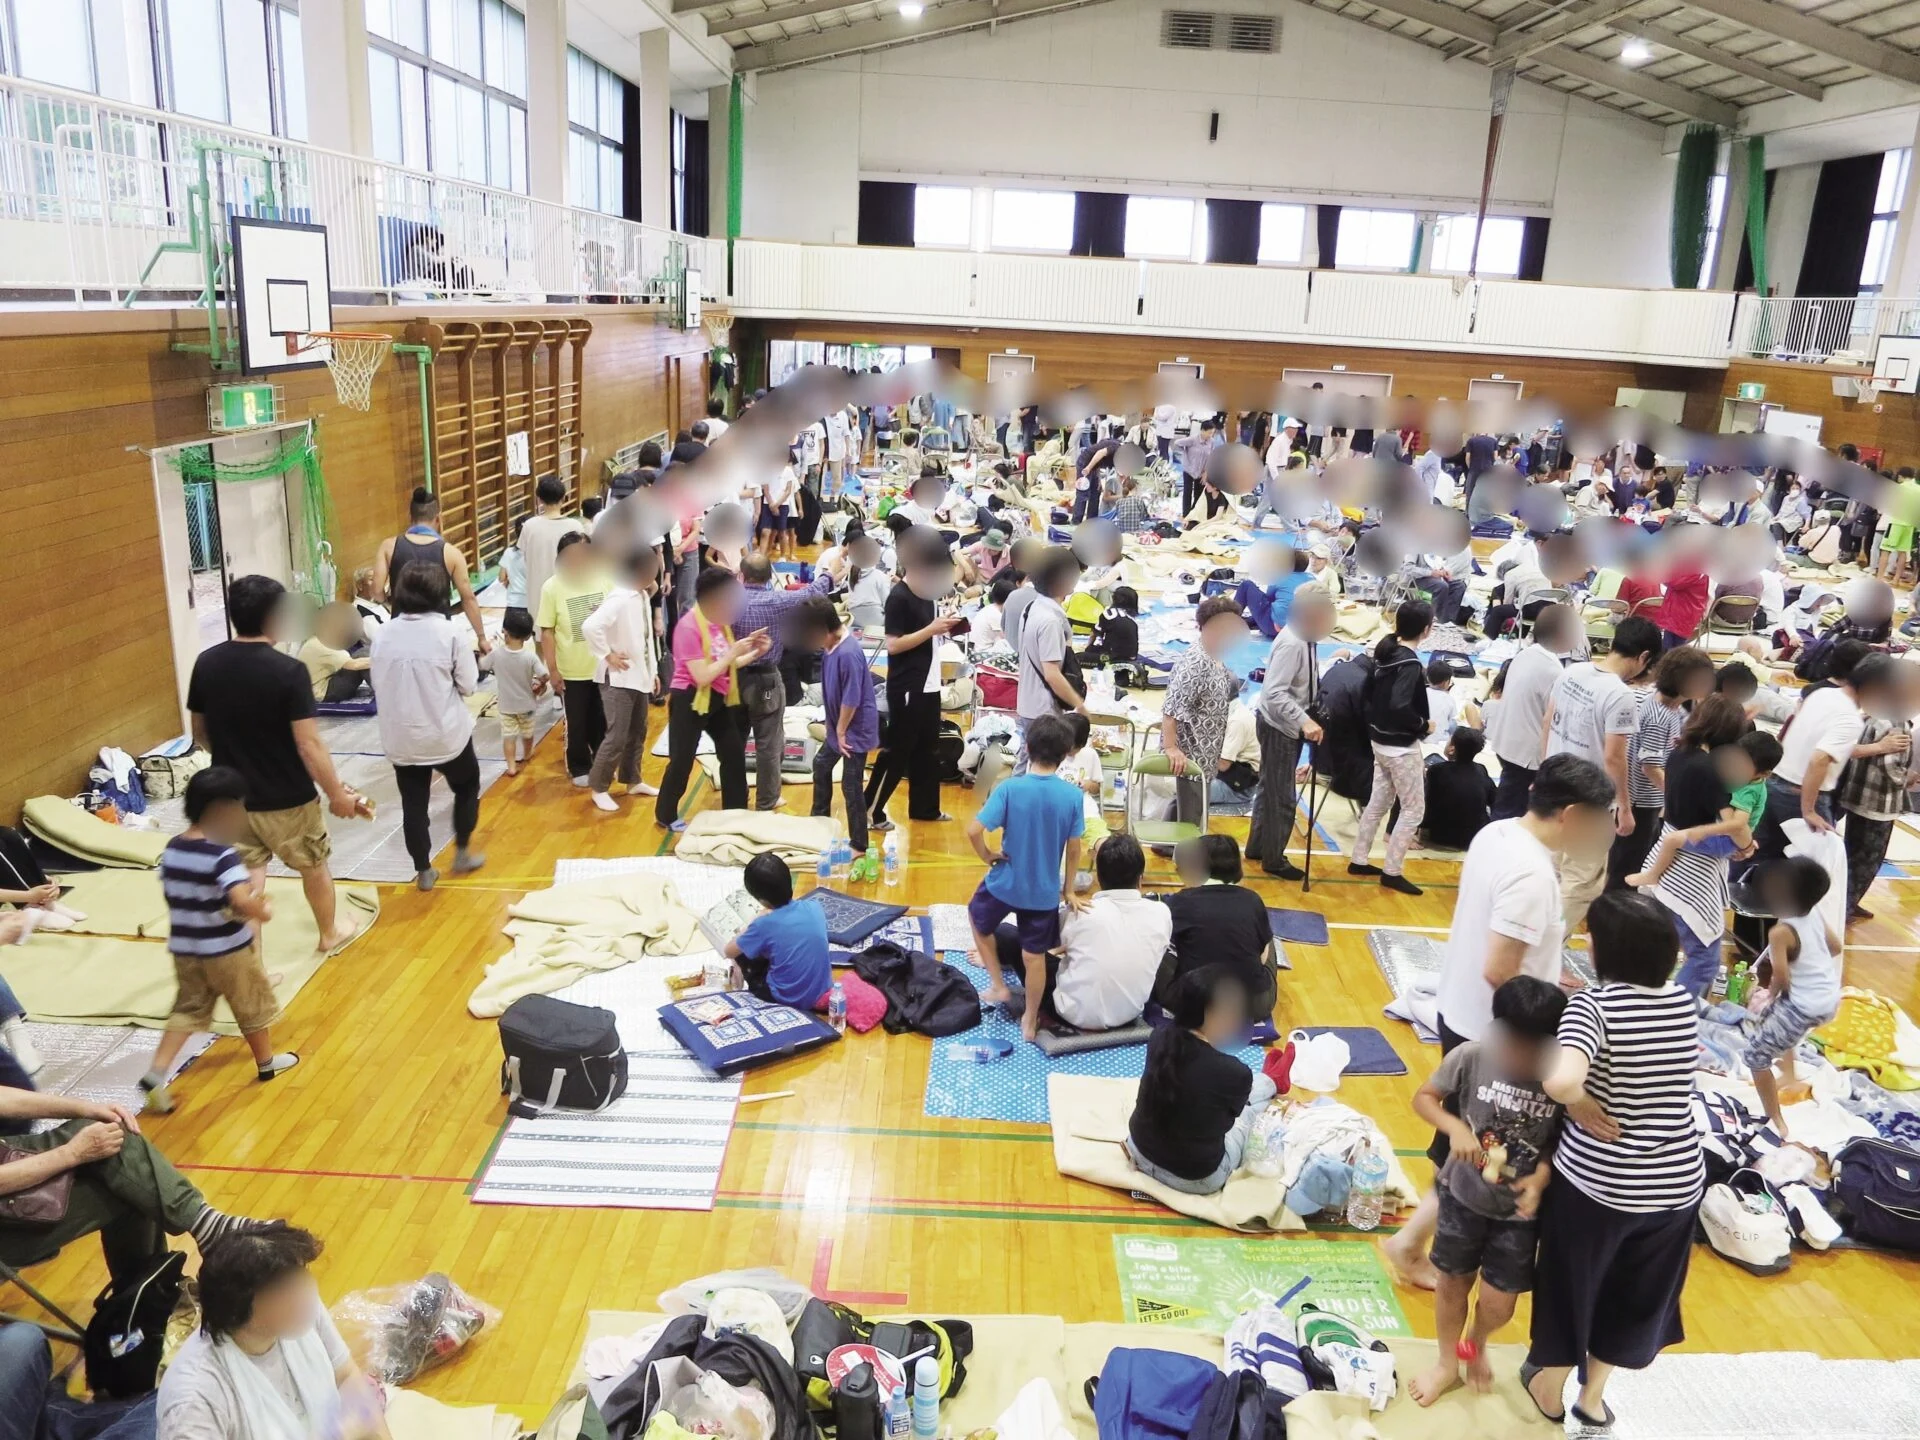
There are two types of evacuation sites: designated emergency evacuation locations and designated evacuation shelters.
- Designated Emergency Evacuation Locations
These are places opened temporarily as emergency evacuation sites when there is an imminent danger from a disaster. They are used as evacuation sites to protect lives. - Designated Evacuation Shelters
These are places (such as schools) opened for victims to live in when they cannot return home for an extended period due to the effects of a disaster.
If you think of the disaster preparedness backpack as something to prepare for spending 2 to 3 days at a designated emergency evacuation location, it becomes easier to plan what to prepare.
Since the contents of the disaster preparedness backpack will differ based on gender, age, and family composition, it is reassuring to customize the contents according to individual circumstances.
Making a Disaster Preparedness Backpack Using the Checklist Distributed by Kurashiki City
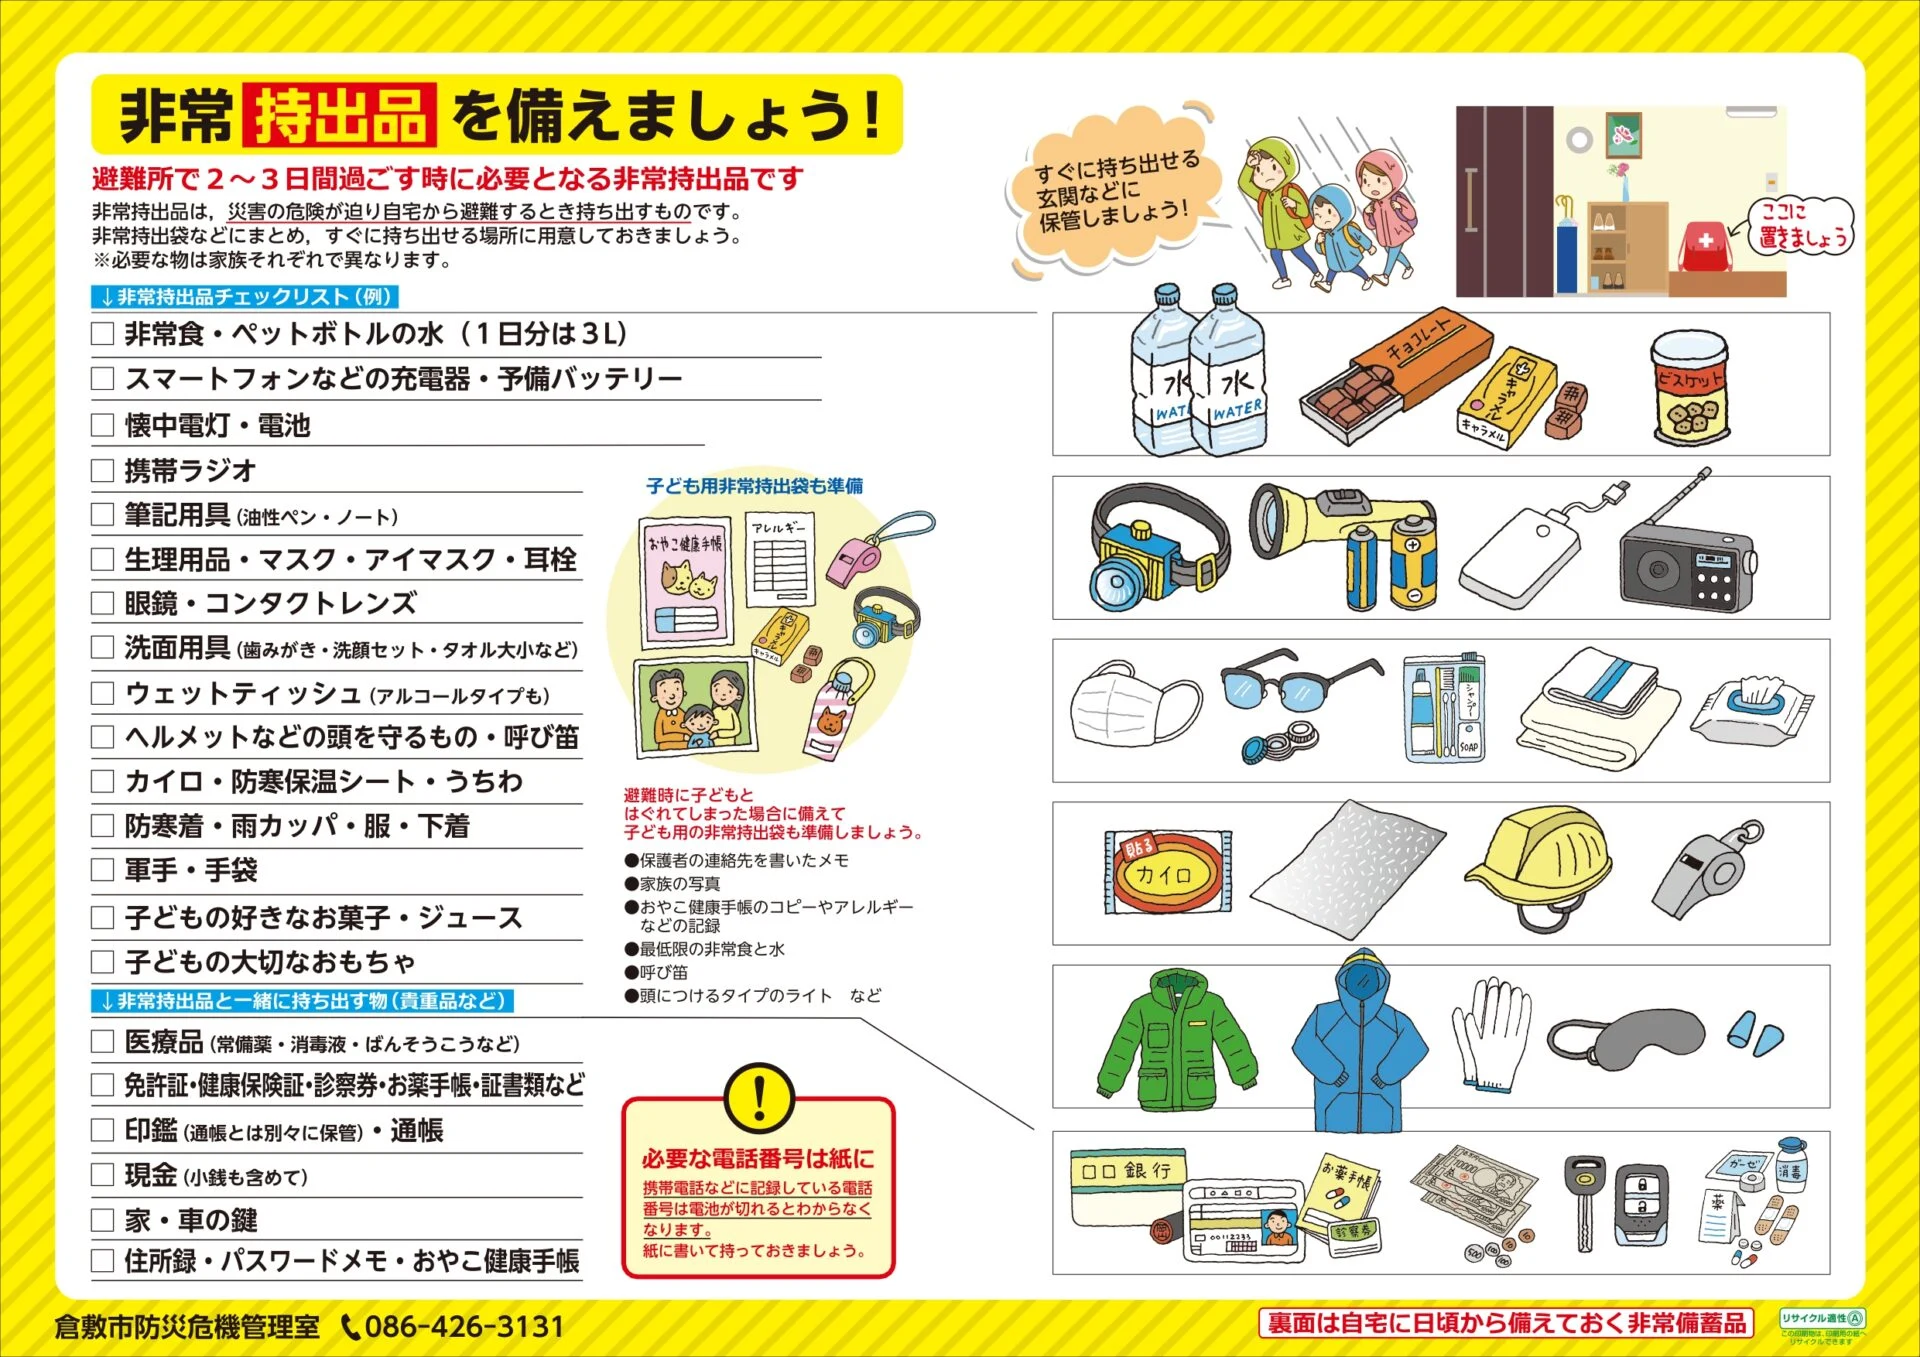
On the Kurashiki City website, there is detailed information about emergency supplies that families should prepare and emergency items to include in the disaster preparedness backpack on the page about disaster stockpiling.
I immediately used the checklist for emergency items as a reference to create my disaster preparedness backpack.
Food and Drinking Water
The first items I prepared were food and drinking water.
Depending on the type and scale of the disaster, it is possible that meals may not be provided at the designated emergency evacuation location. Therefore, you need to prepare your own meals for the few days until you can return home.
Emergency food for disasters is sold in the "disaster prevention corner" of home improvement stores and large general merchandise stores. The shelves are stocked with a variety of emergency foods, including Japanese, Western, and Chinese dishes, rice, pasta, and snacks, making it enjoyable to choose.
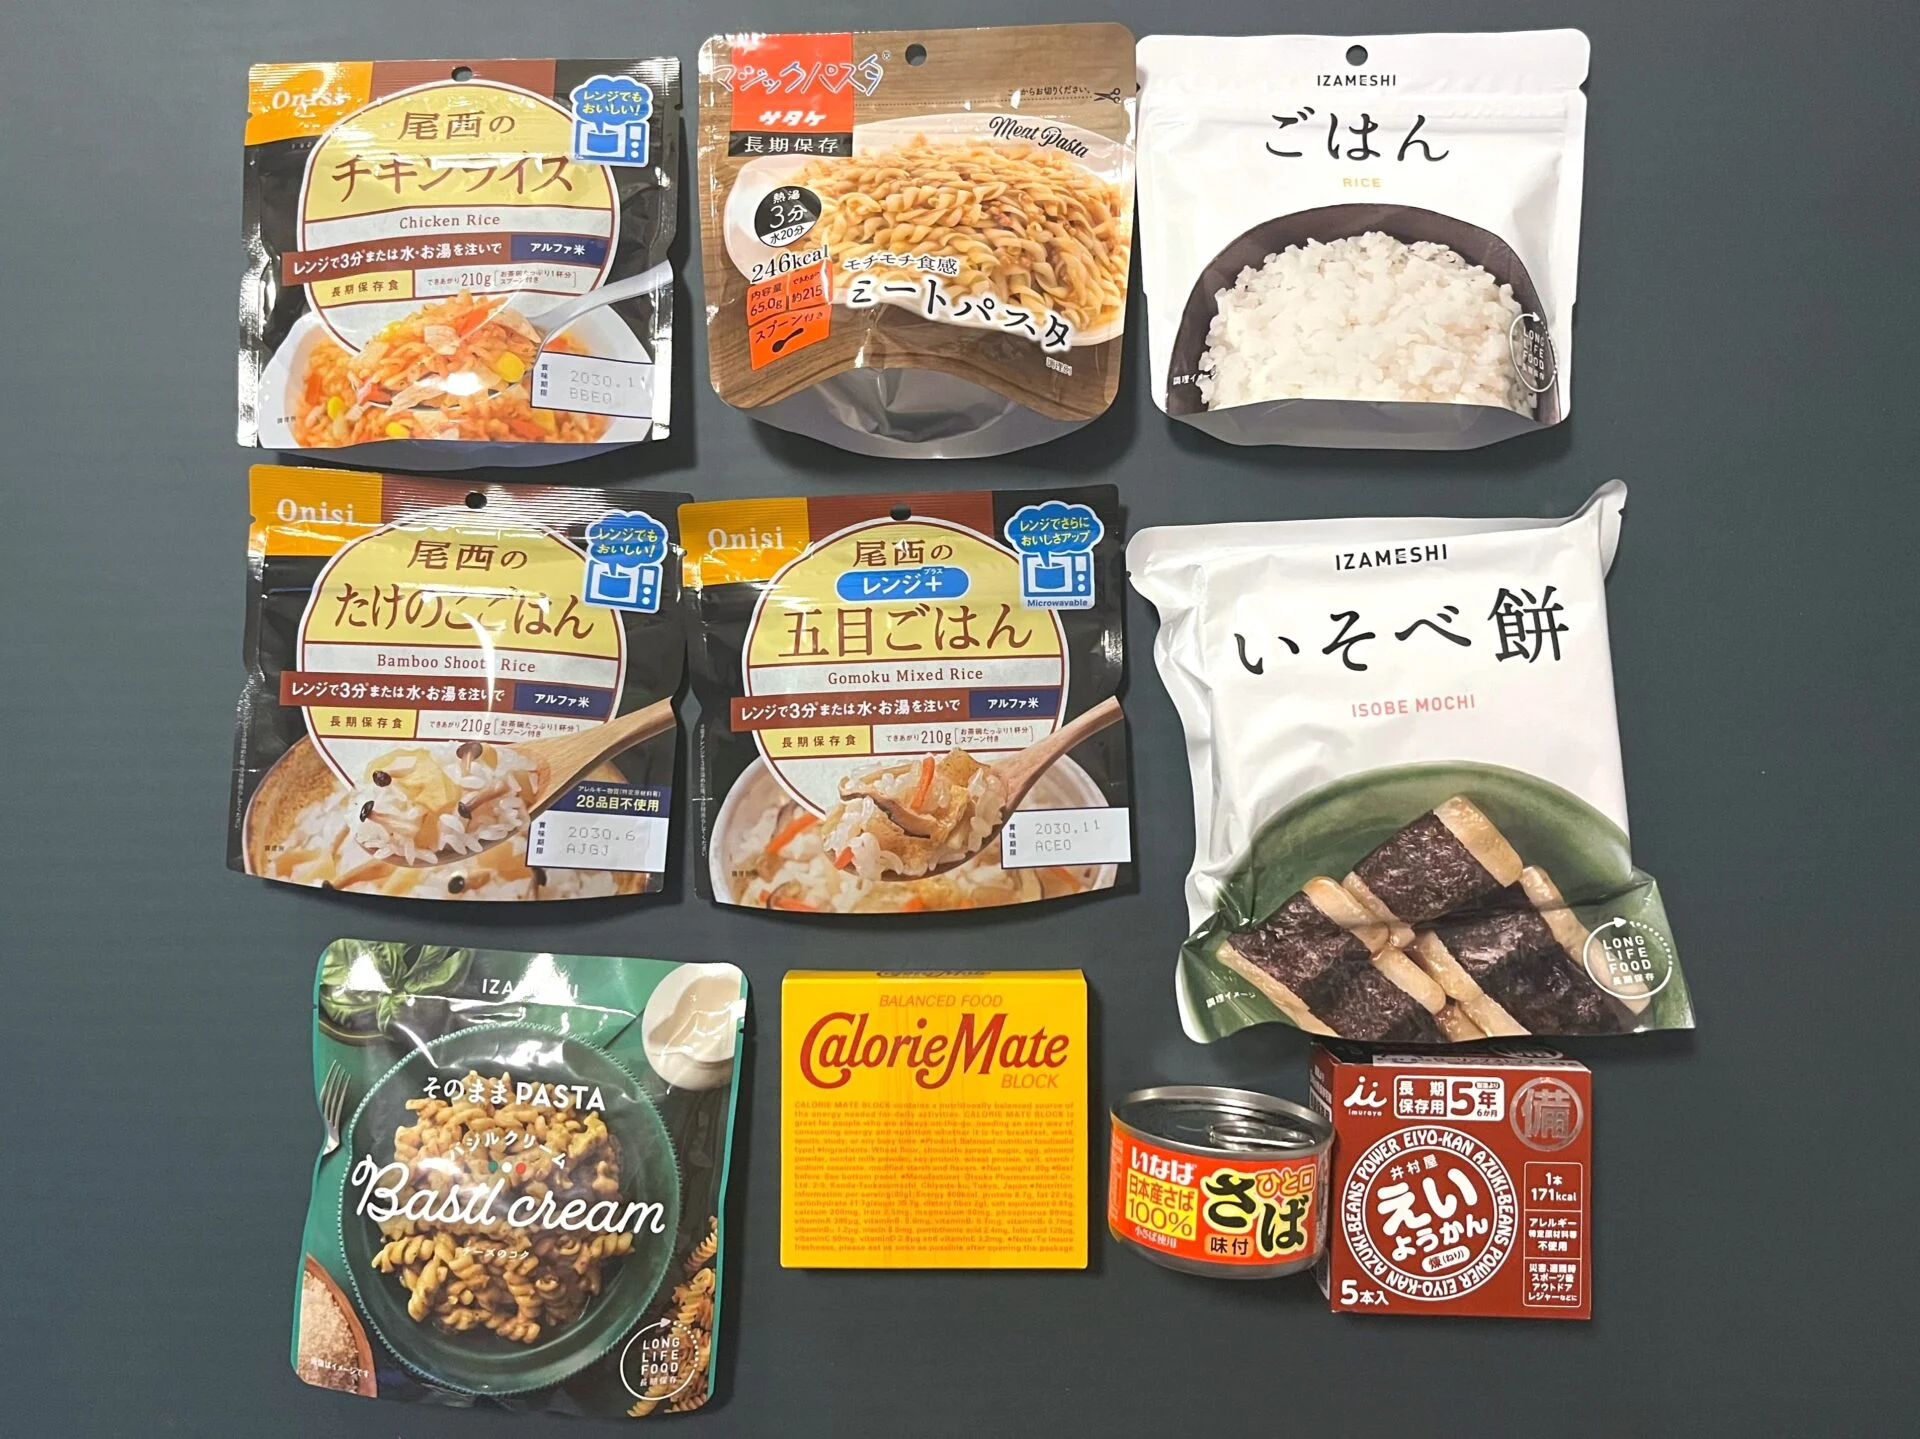
Sweet items that are compact and provide energy, such as yokan (sweet bean jelly) and caramel should also be included. Personally, I was surprised that isobe mochi (rice cakes) and pasta can be eaten just by adding water.
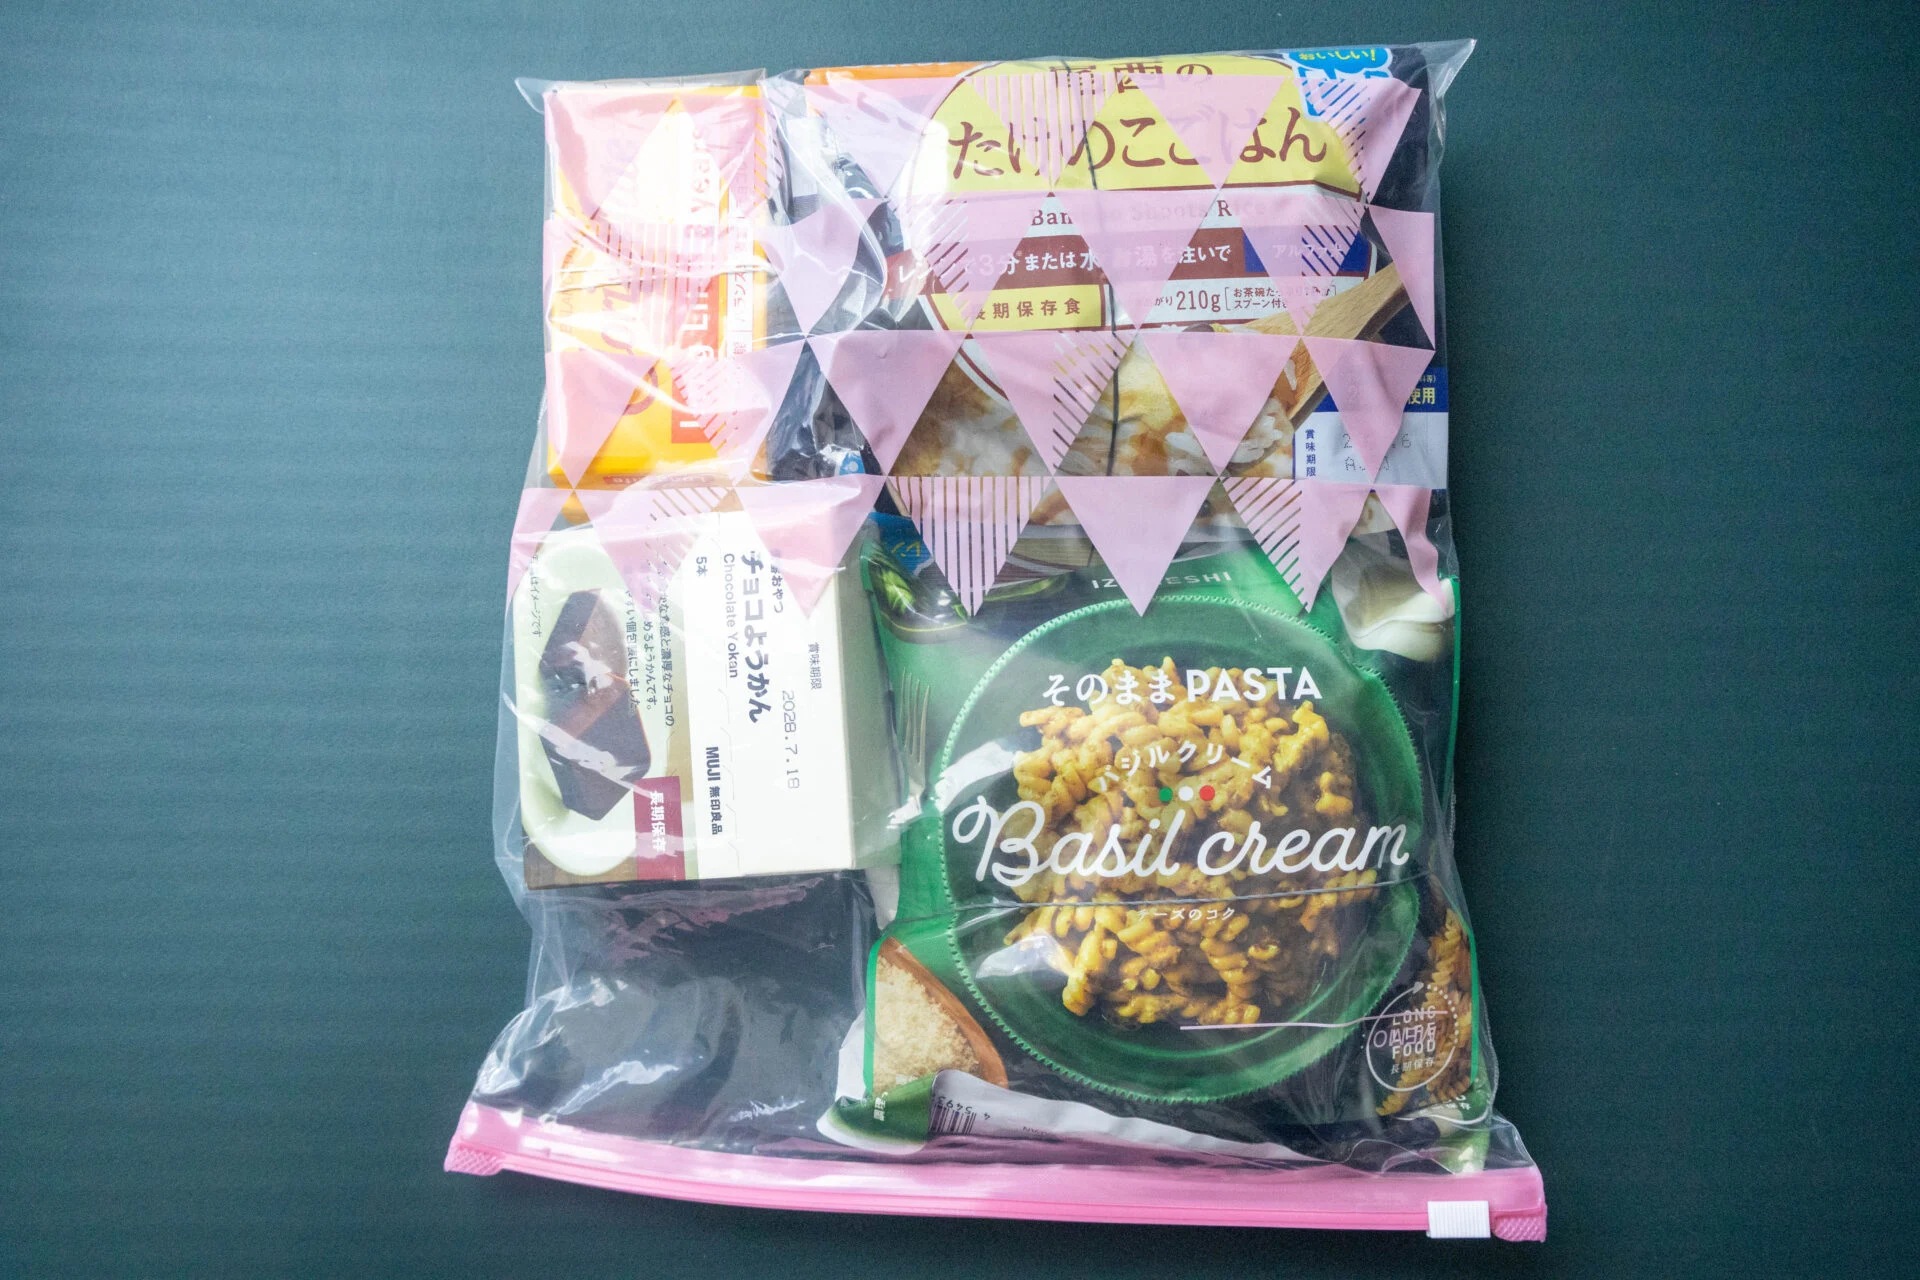
There were so many items I wanted to try that I ended up buying too much, but I packed three days' worth of selected meals and sweet snacks into sealed bags. The other emergency food will be stored at home as emergency stockpiles.
For drinking water, I prepared one 500ml plastic bottle that can be stored long-term and two standard 2L plastic bottles sold at supermarkets. I plan to use the 500ml bottle as a water bottle after drinking it.
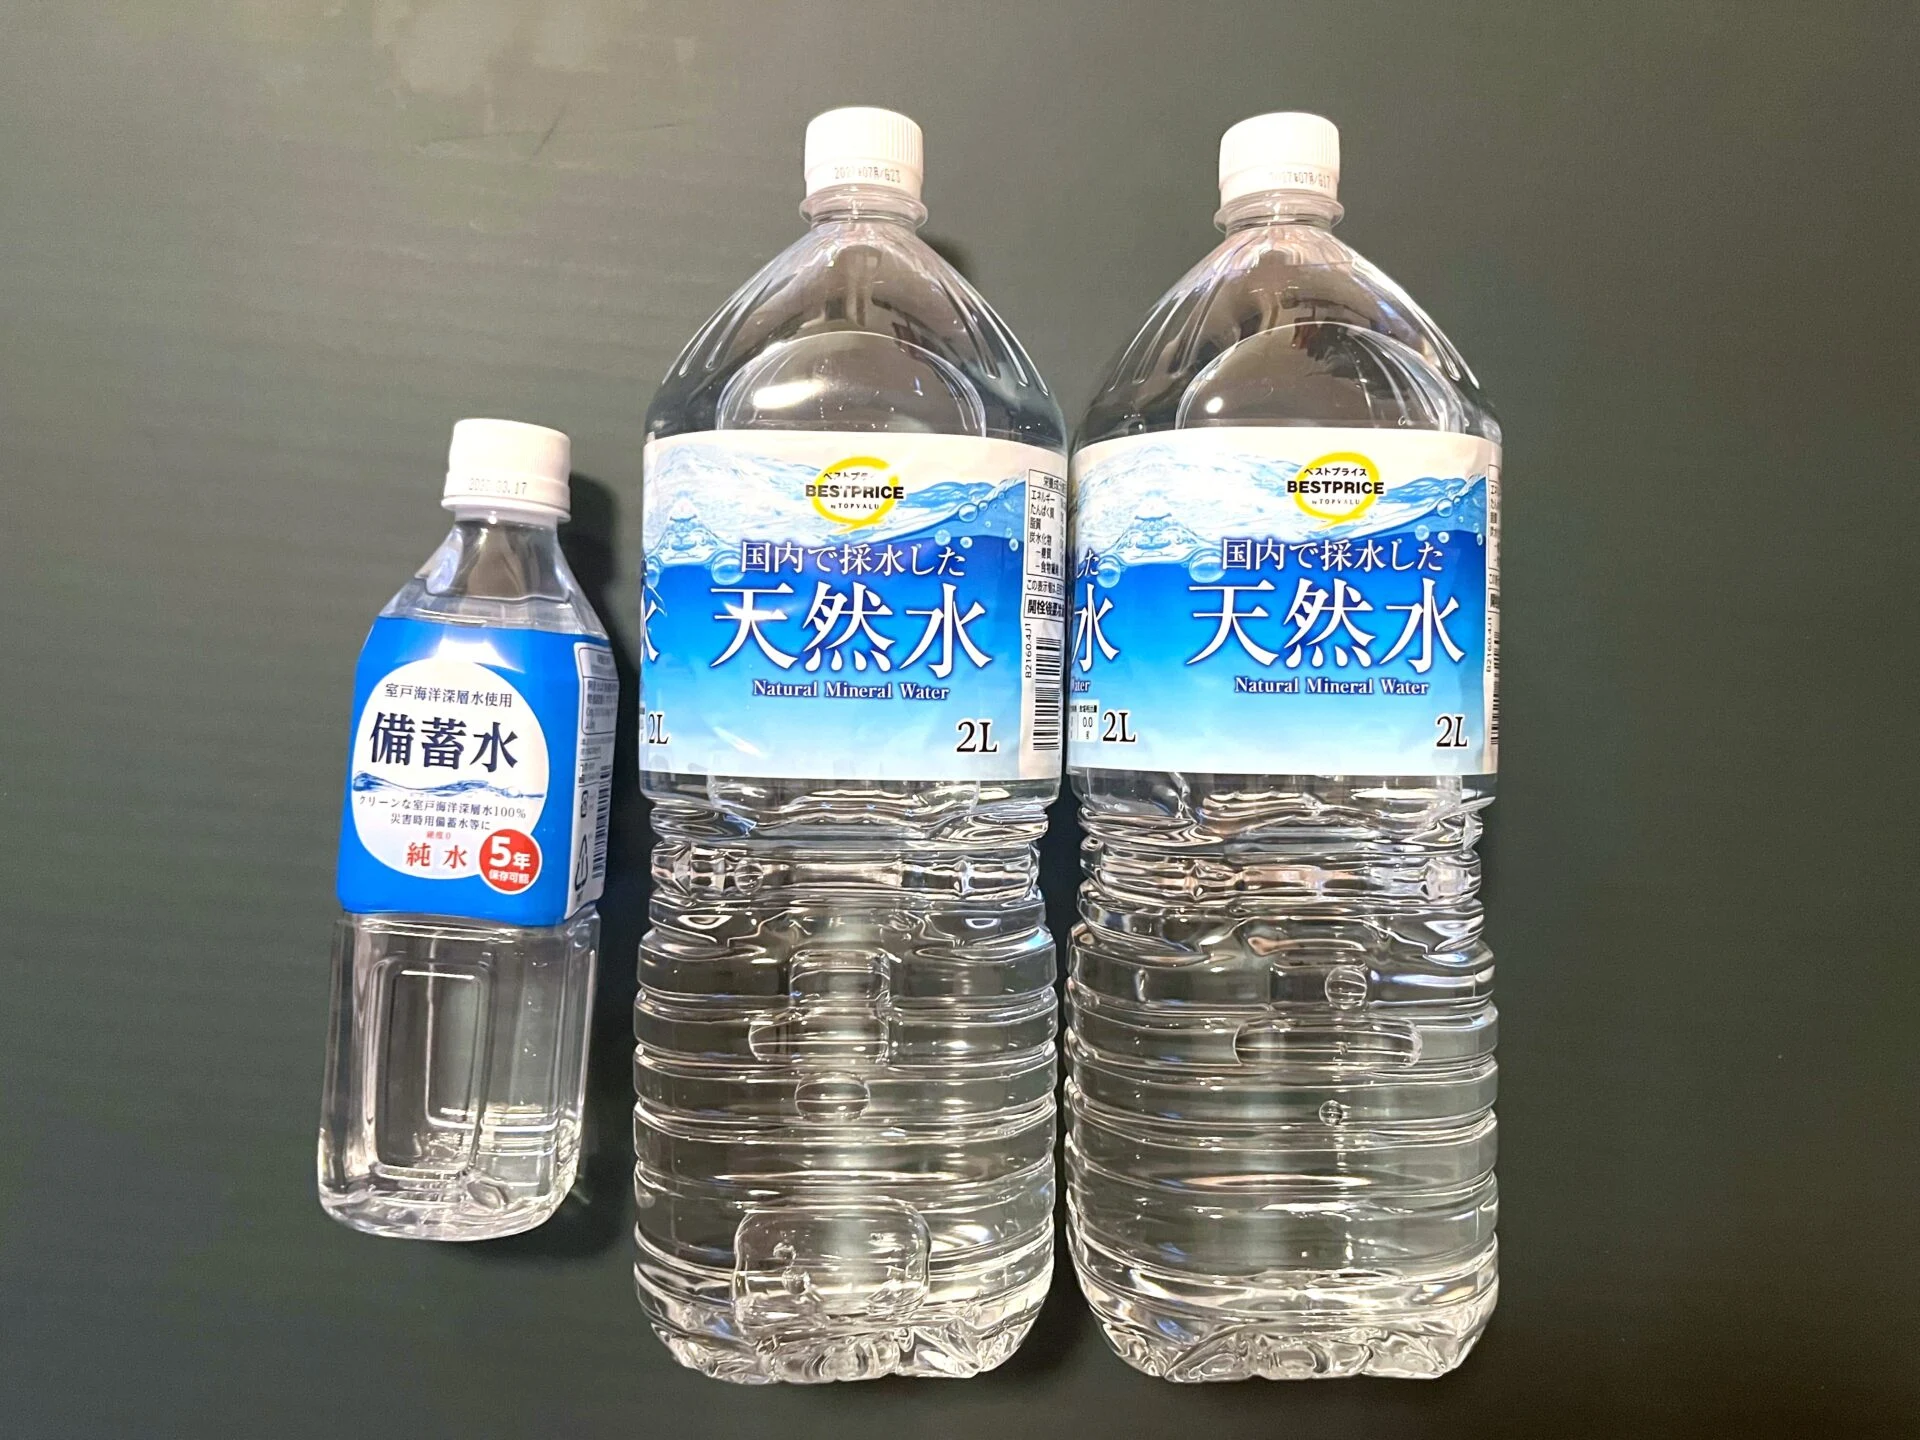
According to the checklist, the daily water requirement per person is 3L, but honestly, I felt that carrying more than this would be difficult.
Additionally, the drinking water I purchased has a shelf life of about two years, so I intentionally bought regular drinking water.
Finally, although it is not listed on the checklist, I also included vitamin supplement tablets.
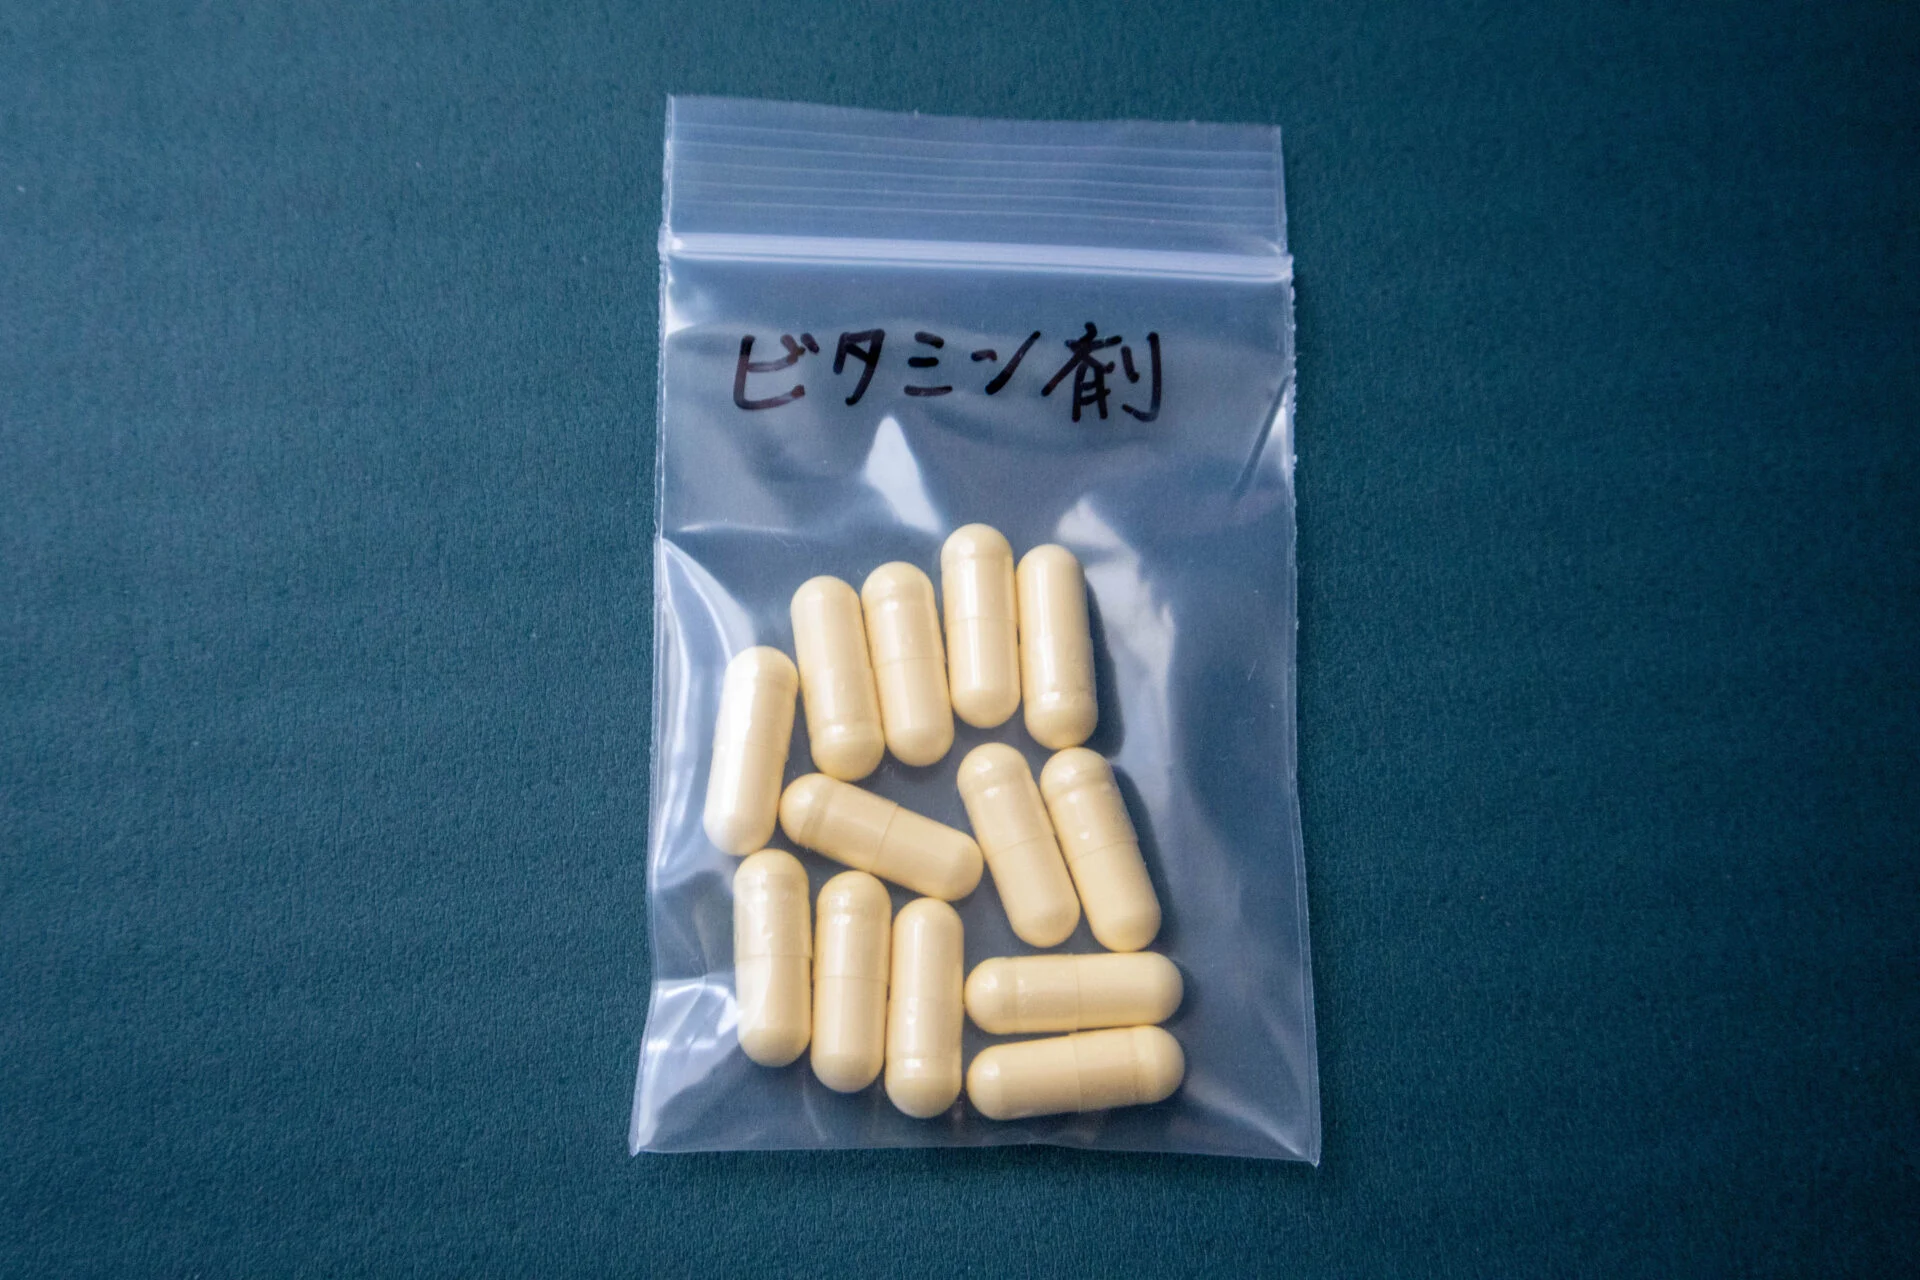
In an emergency when fresh vegetables cannot be eaten, I am concerned about vitamin deficiency, so I plan to supplement my nutrition with these tablets.
Hygiene Supplies
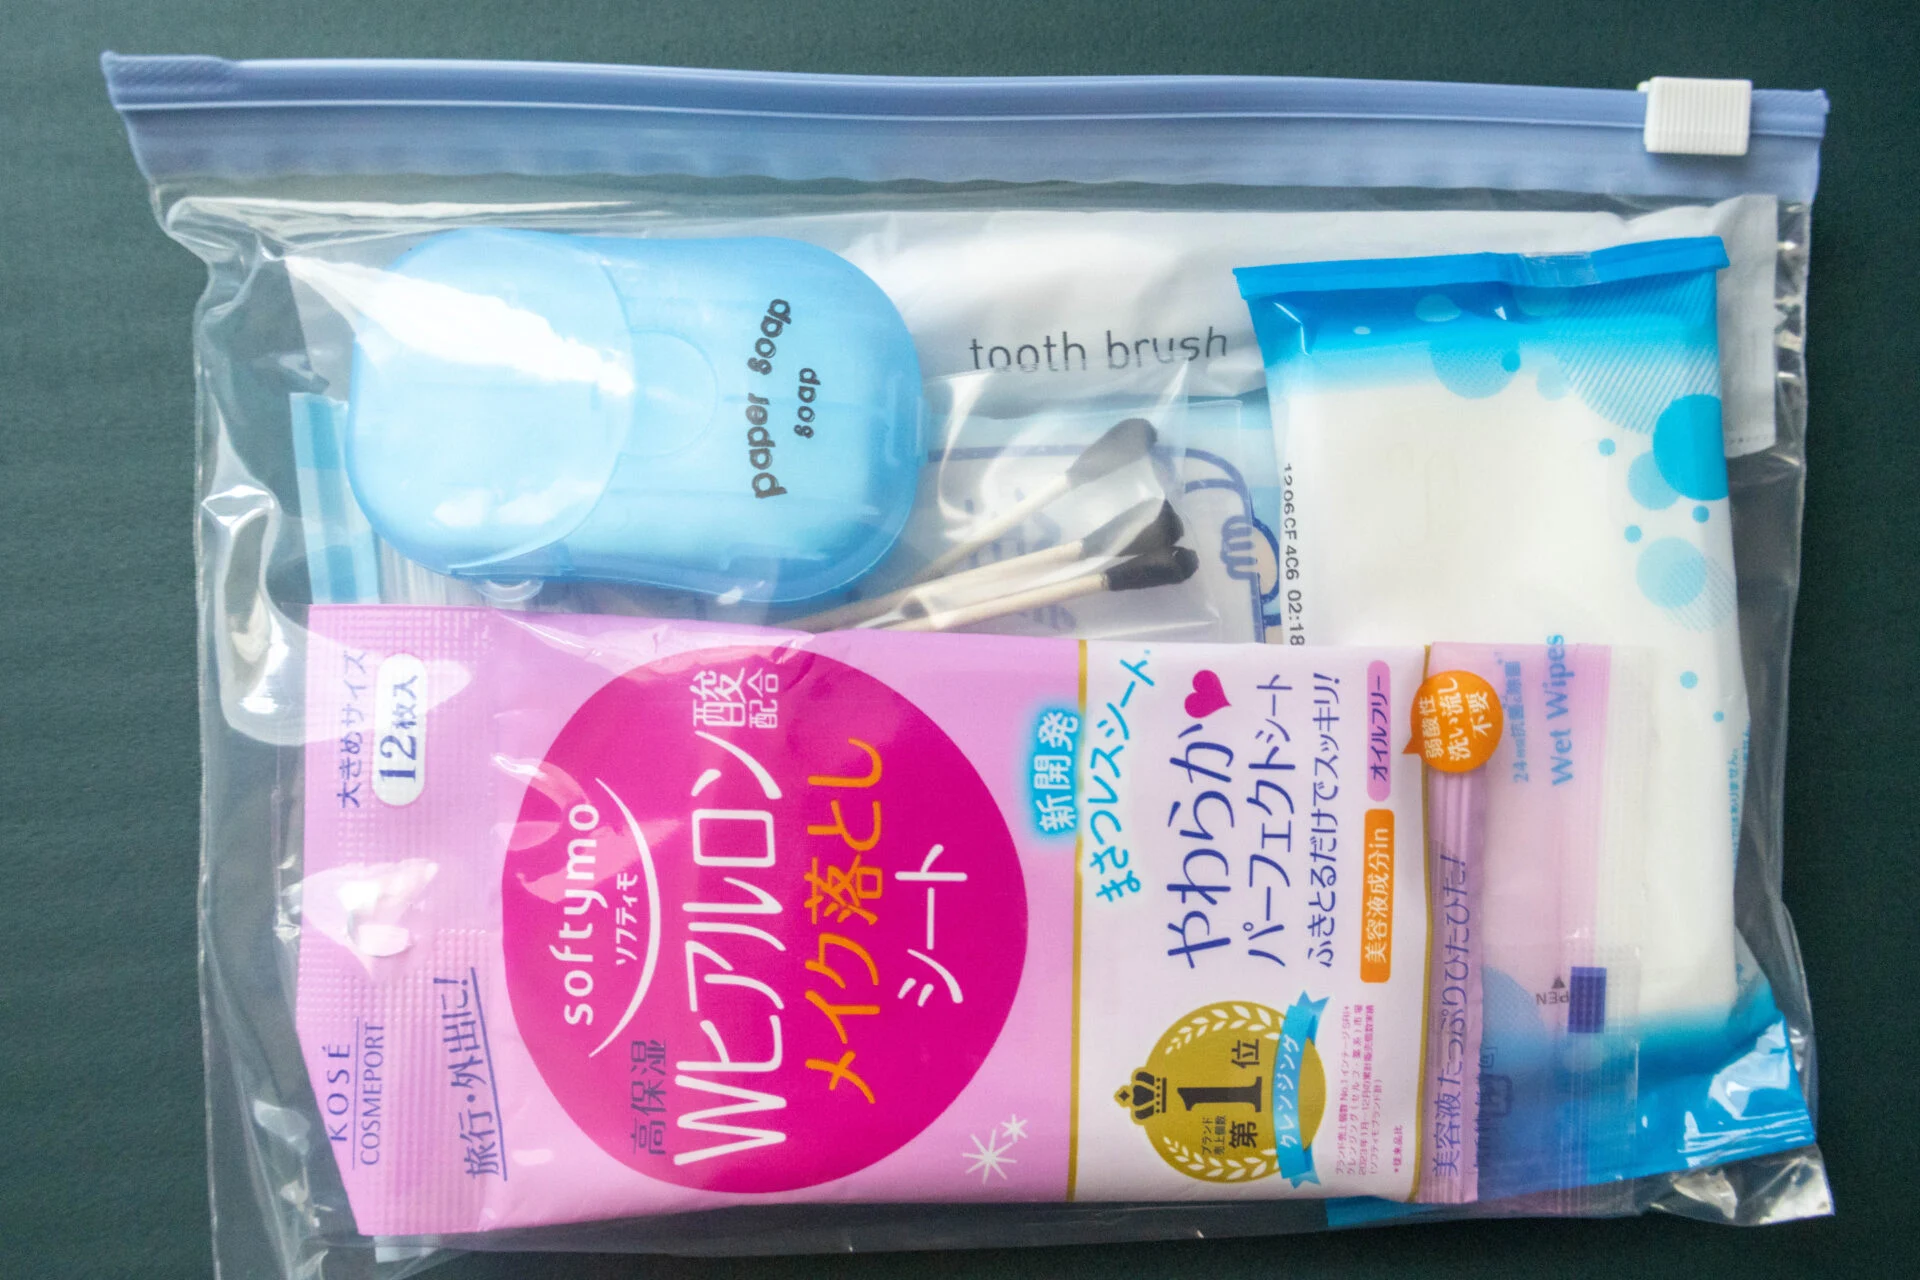
Next, I prepared hygiene supplies.
The author has prepared the following items.
- Wet wipes (alcohol type)
- Paper soap
- Makeup remover sheets
- Body wipes
- Cotton swabs
- Toothbrush and dental floss
- Tissues and handkerchiefs
For women, many may be wearing makeup during evacuation, so it might be reassuring to include makeup remover sheets. I chose a type that does not require washing my face, as I wanted to use it as a substitute for face washing.
Also, since I do not wear contact lenses, I did not prepare them, but those who need spare contact lenses or glasses should include them.
Additionally, I will prepare a thin towel that can be used in various situations.
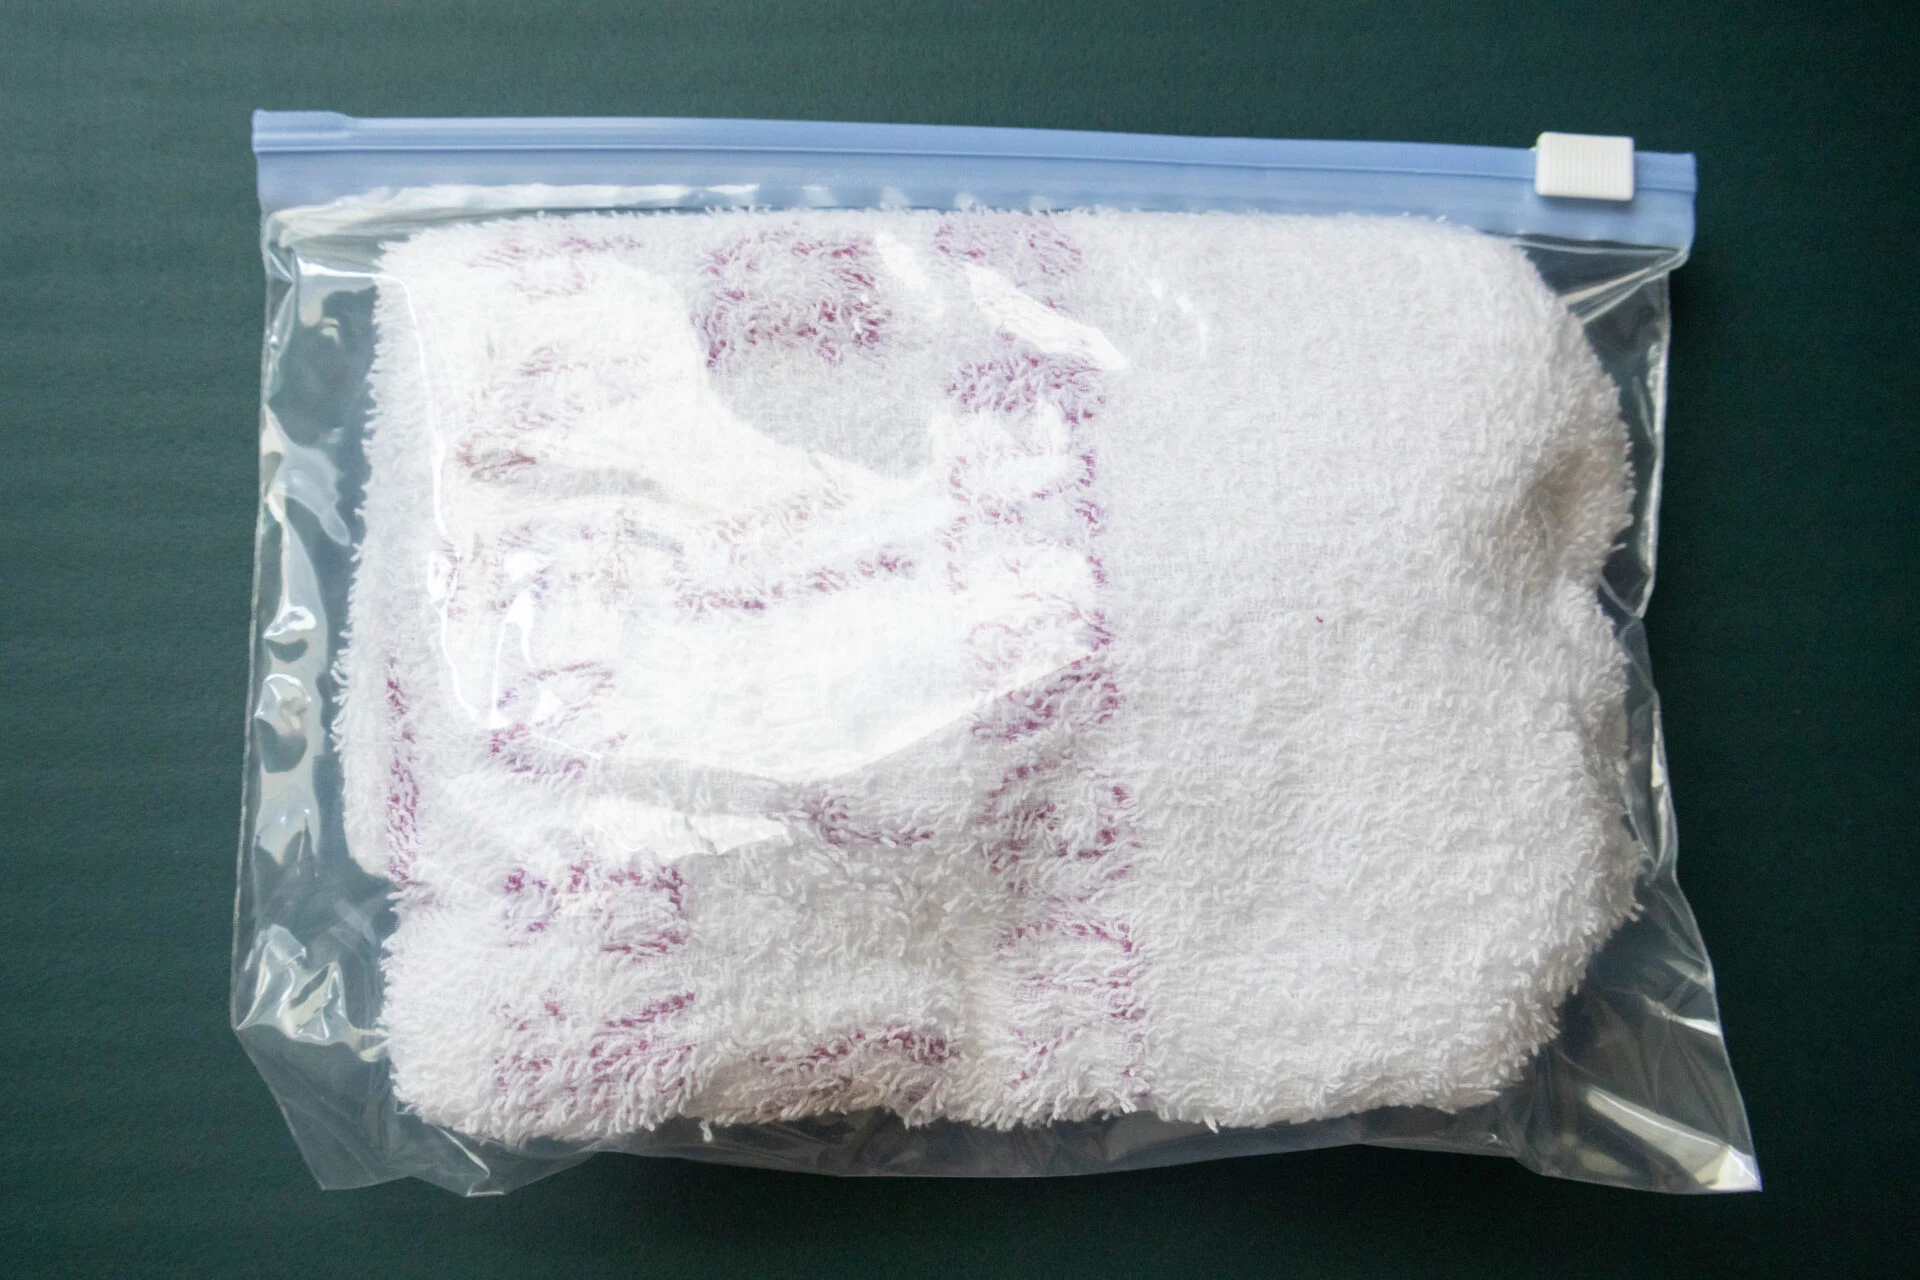
I also prepared sanitary products.
Although they are light, they took up more space than expected, so I purchased thin types this time. I thought that, like sanitary products, hygiene products for diapers would also take up a lot of space.
Seasonal Change of Clothes
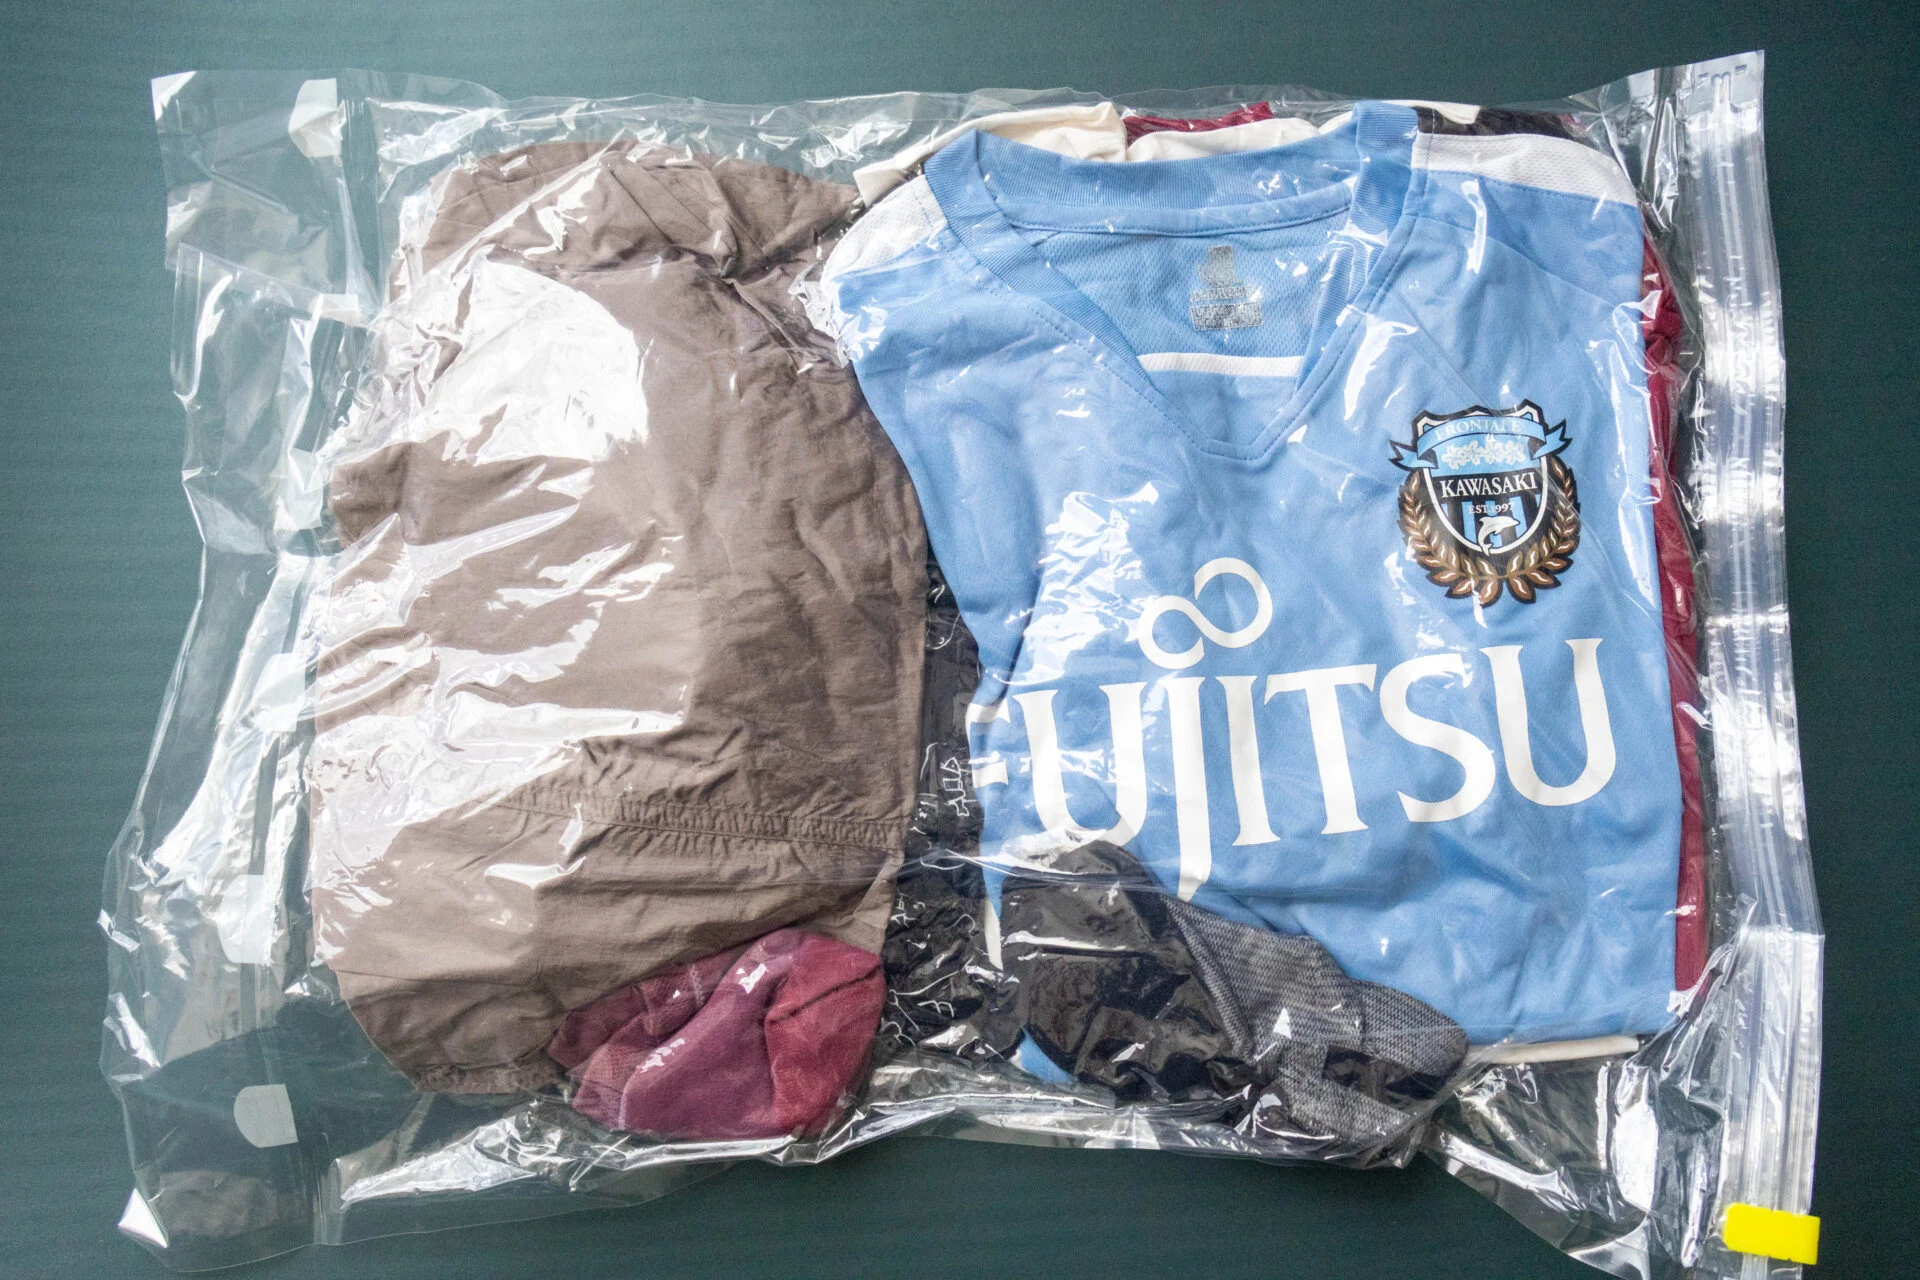
Next, I prepared three days' worth of clothes.
Since I was assuming an evacuation in summer, I prepared three short-sleeved T-shirts for the top and one pair each of shorts and long pants. I chose comfortable clothes like sleepwear or workout clothes.
Supplies for Emergencies
The most challenging part of preparing a disaster backpack was the various small supplies. I think the extent of preparation varies from person to person.
I will introduce 18 types of items that I prepared.
First, electrical devices that require batteries.
Just in case, I also included the instruction manuals.
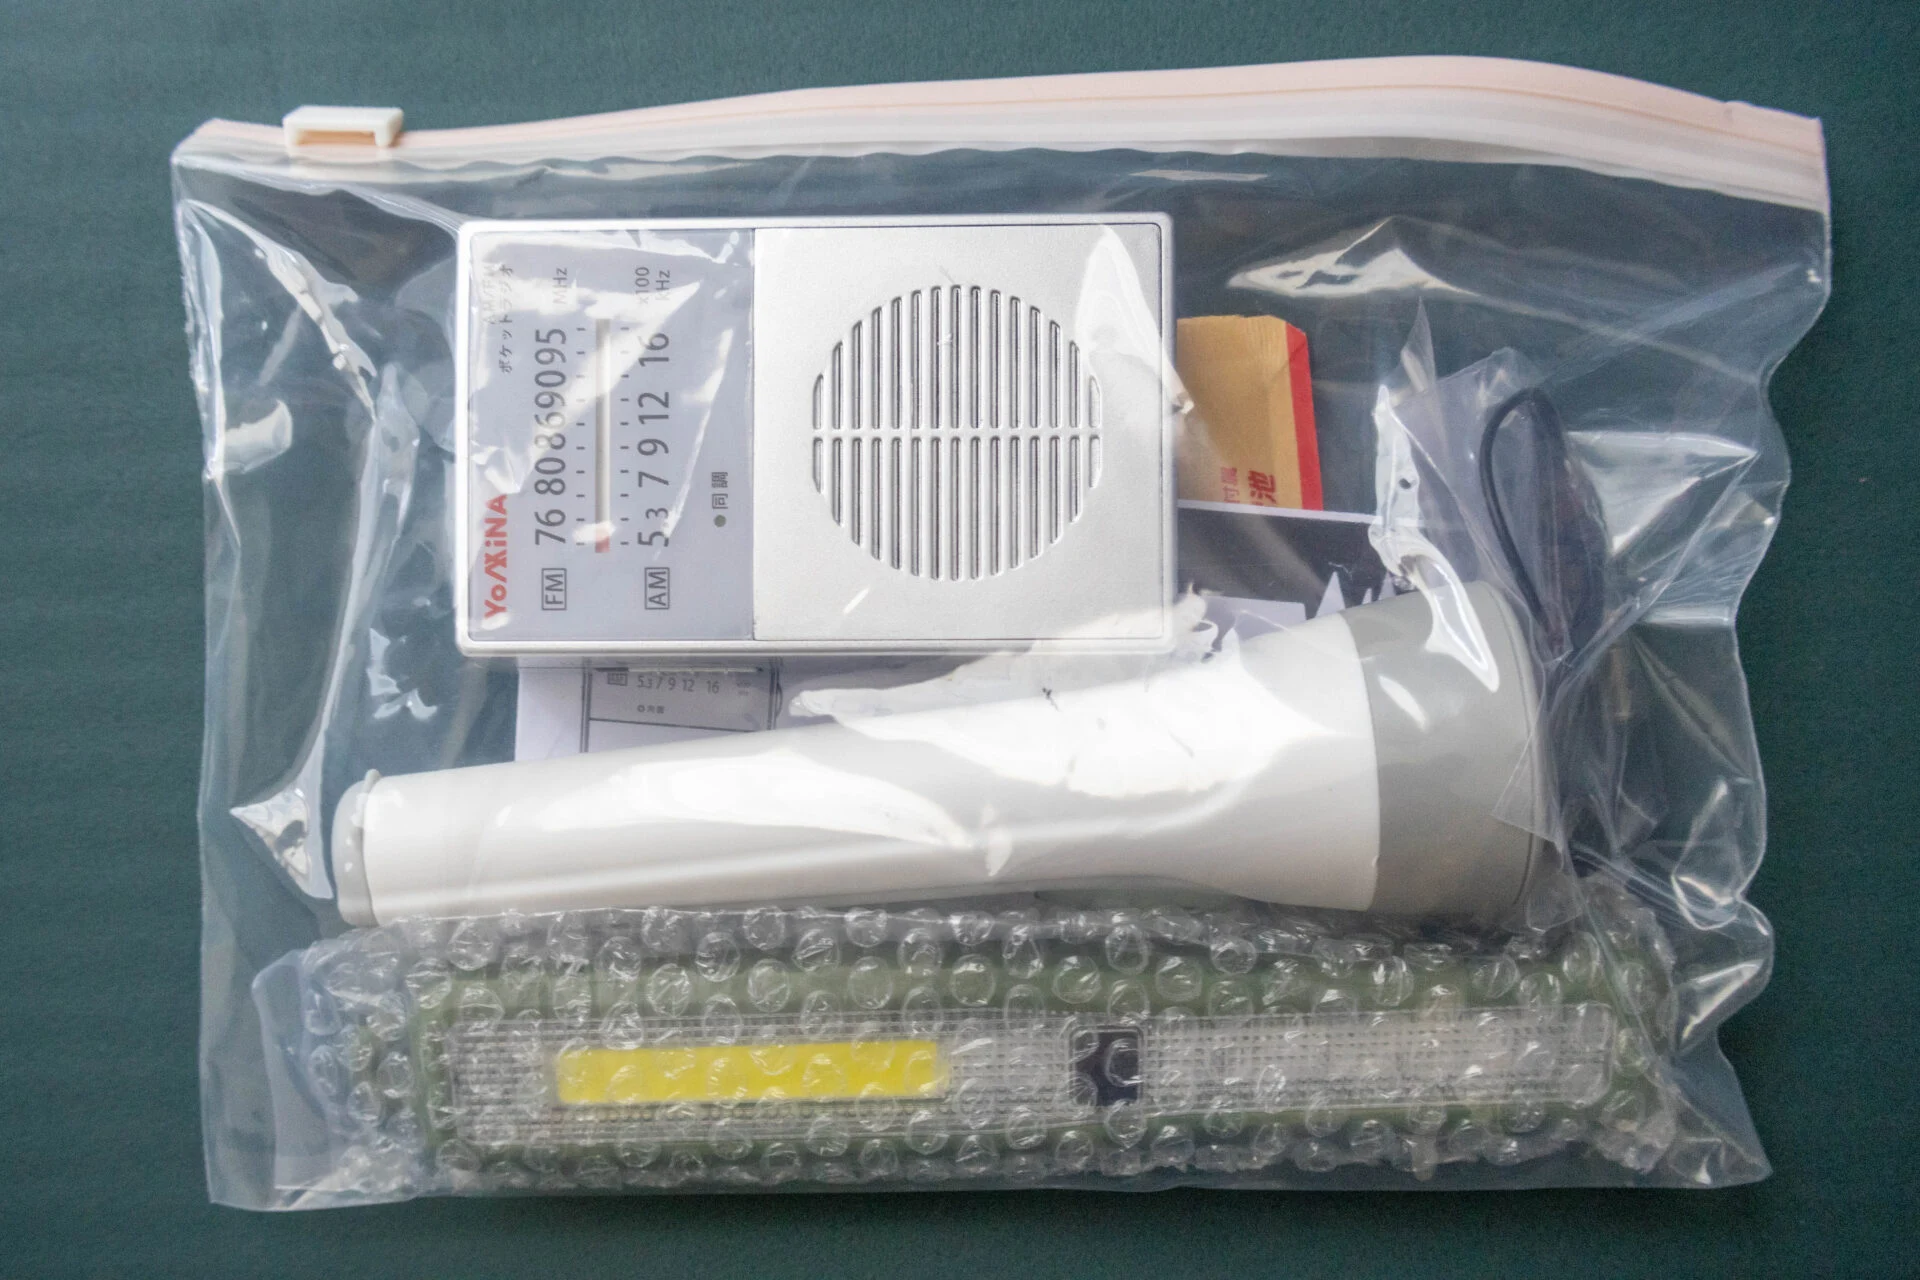
- Flashlight (handheld type)
- LED light (hook type)
- Portable radio
For the devices, it is reassuring to check whether they operate properly, including the operating instructions, before storing them. Also, to prevent leakage and battery depletion, remove the batteries and store them separately.
Regarding the flashlight, I purchased one that was on sale at an electronics store, but it is said that a headlamp that frees up both hands is better during emergencies.
Next, I also prepared items that I personally thought might be "convenient to have."
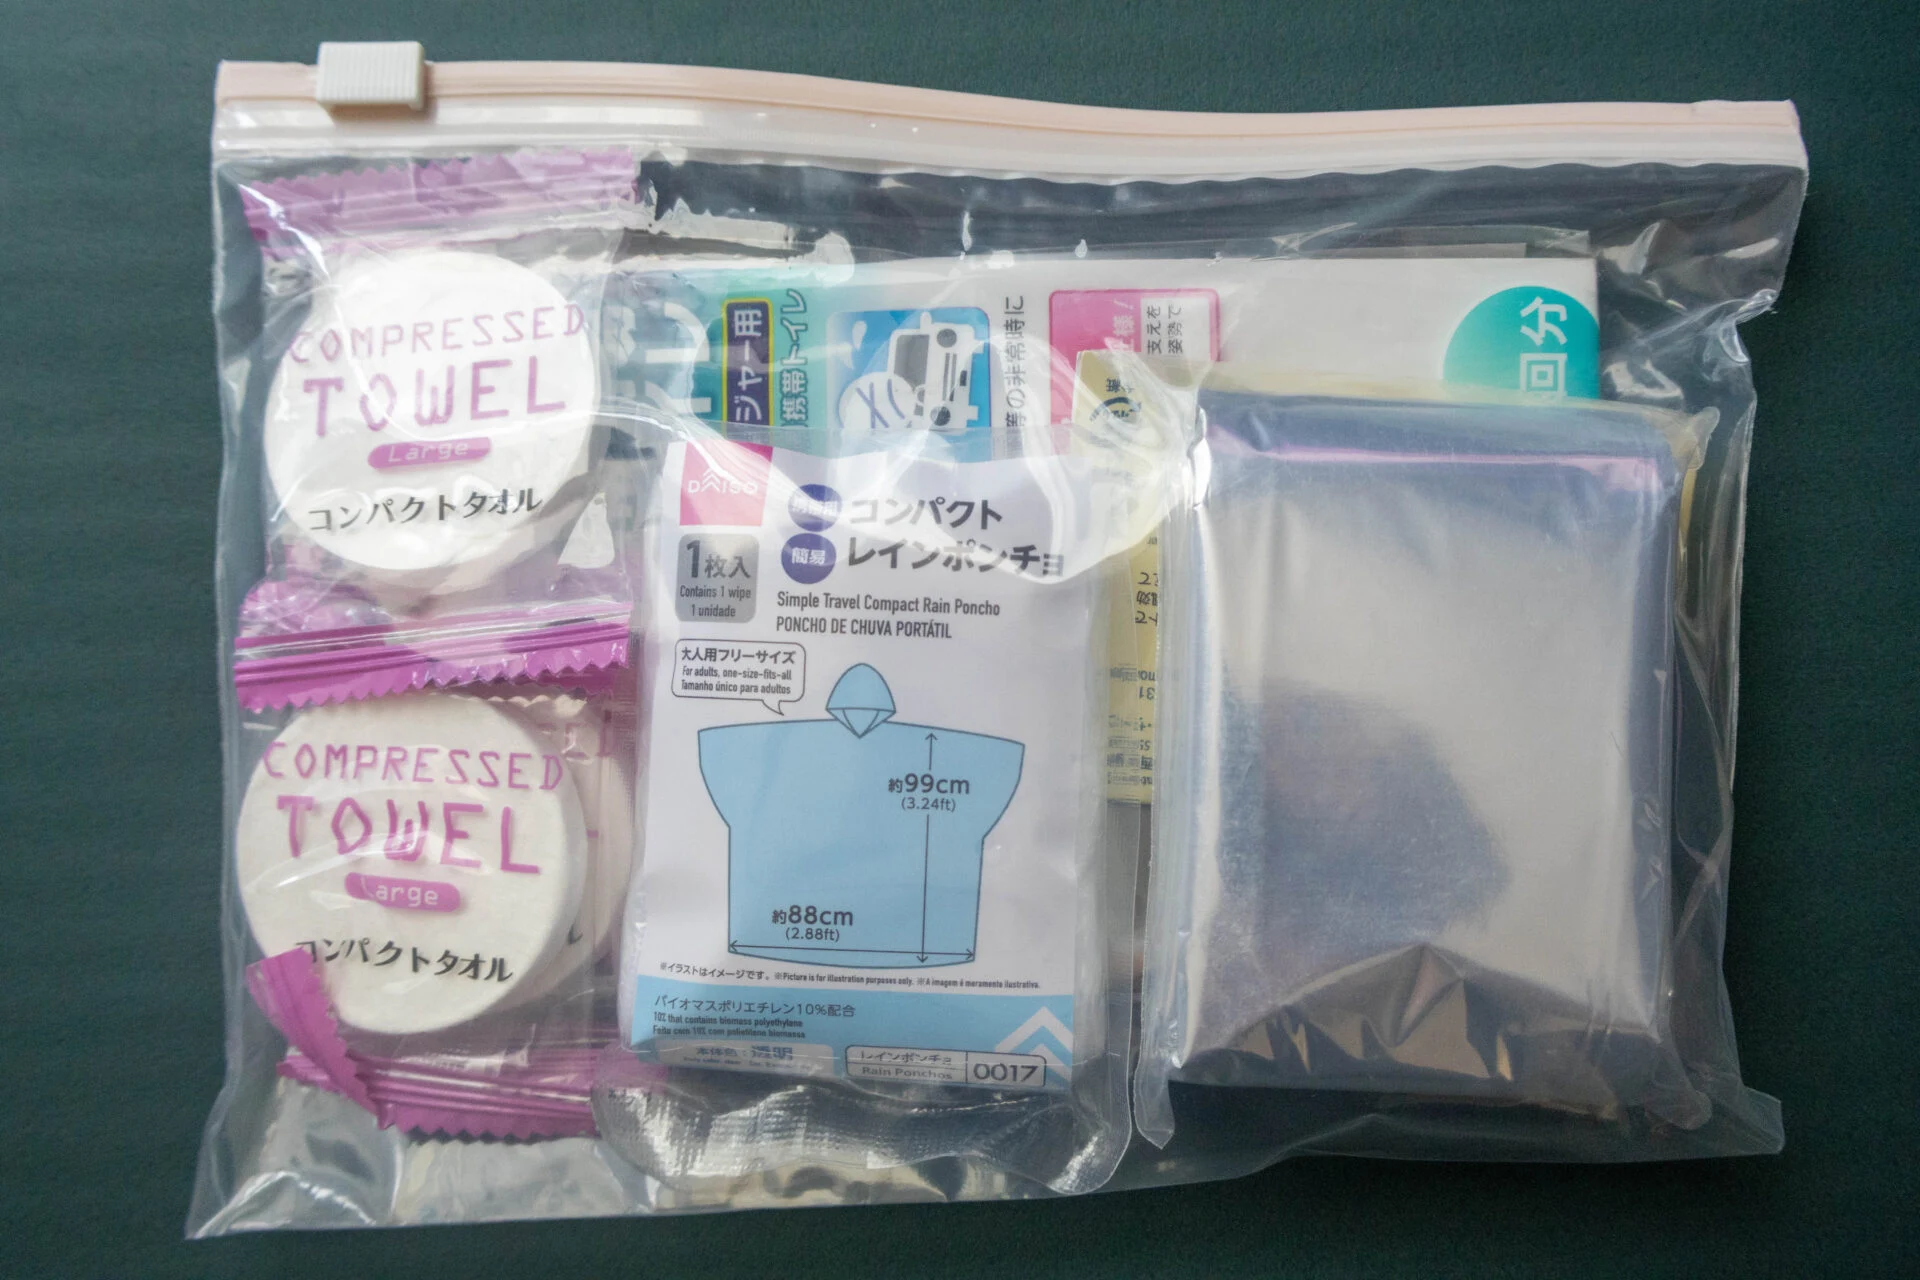
- Insulation blanket
- Raincoat
- Portable toilet (one use)
- Compact towel that expands with water
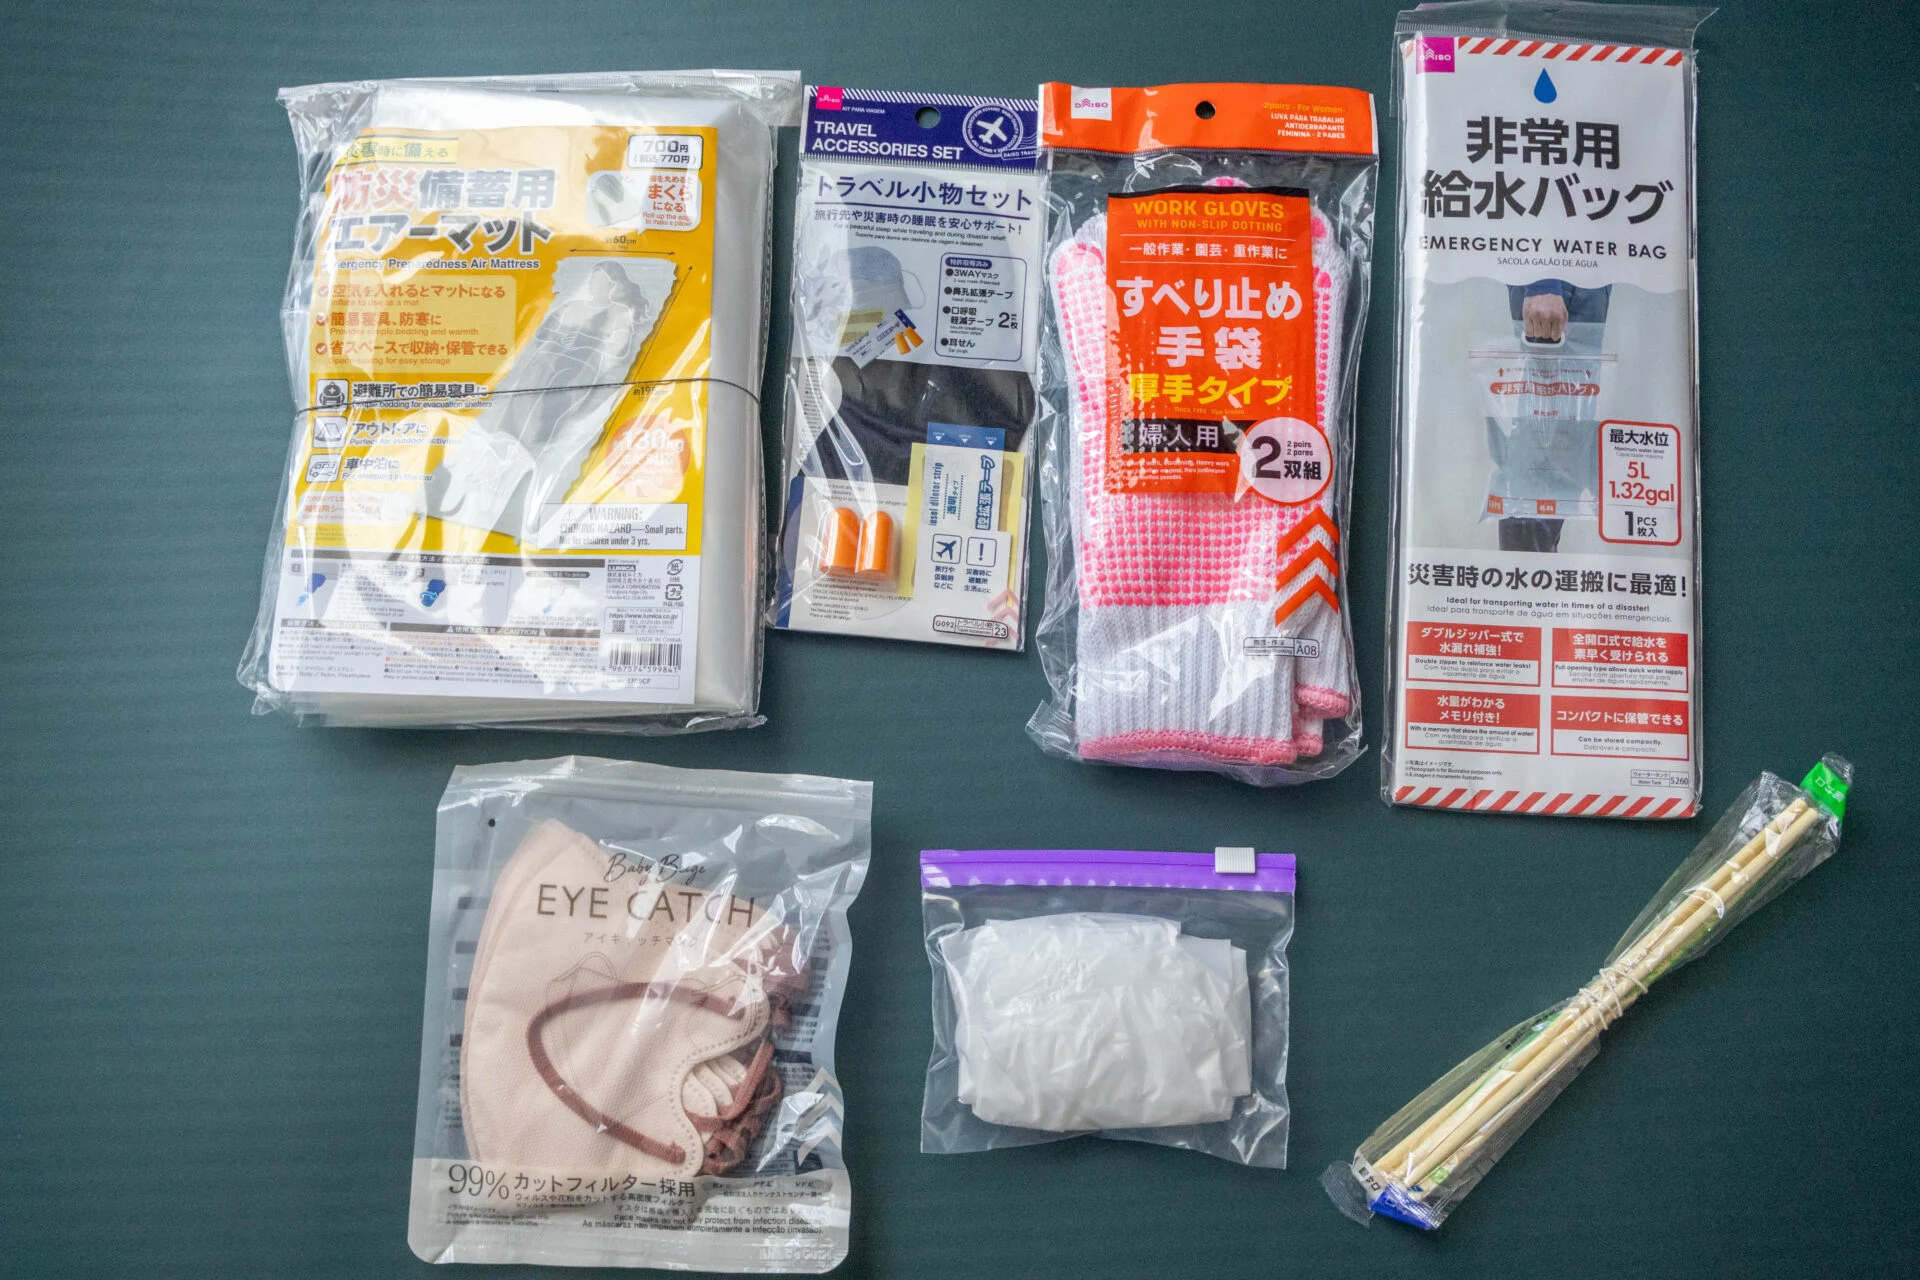
- Air mattress
- Earplugs, eye mask
- Work gloves
- Emergency water supply bag
- Mask
- Plastic bags
- Disposable chopsticks
Except for the insulation blanket, plastic bags, and disposable chopsticks, I purchased everything at a 100 yen shop. I bought the insulation blanket at an outdoor shop, but it is also sold at 100 yen shops.
I never expected to find an air mattress at a 100 yen shop.
The 100 yen shop is a strong ally in preparing disaster backpacks. Some stores even have a disaster preparedness section, so if you have the opportunity, be sure to check it out.
Additionally, I will prepare writing utensils and a notebook, which were also on the checklist. In the notebook, I wrote down emergency contact information and addresses for my family with a permanent marker, just in case.
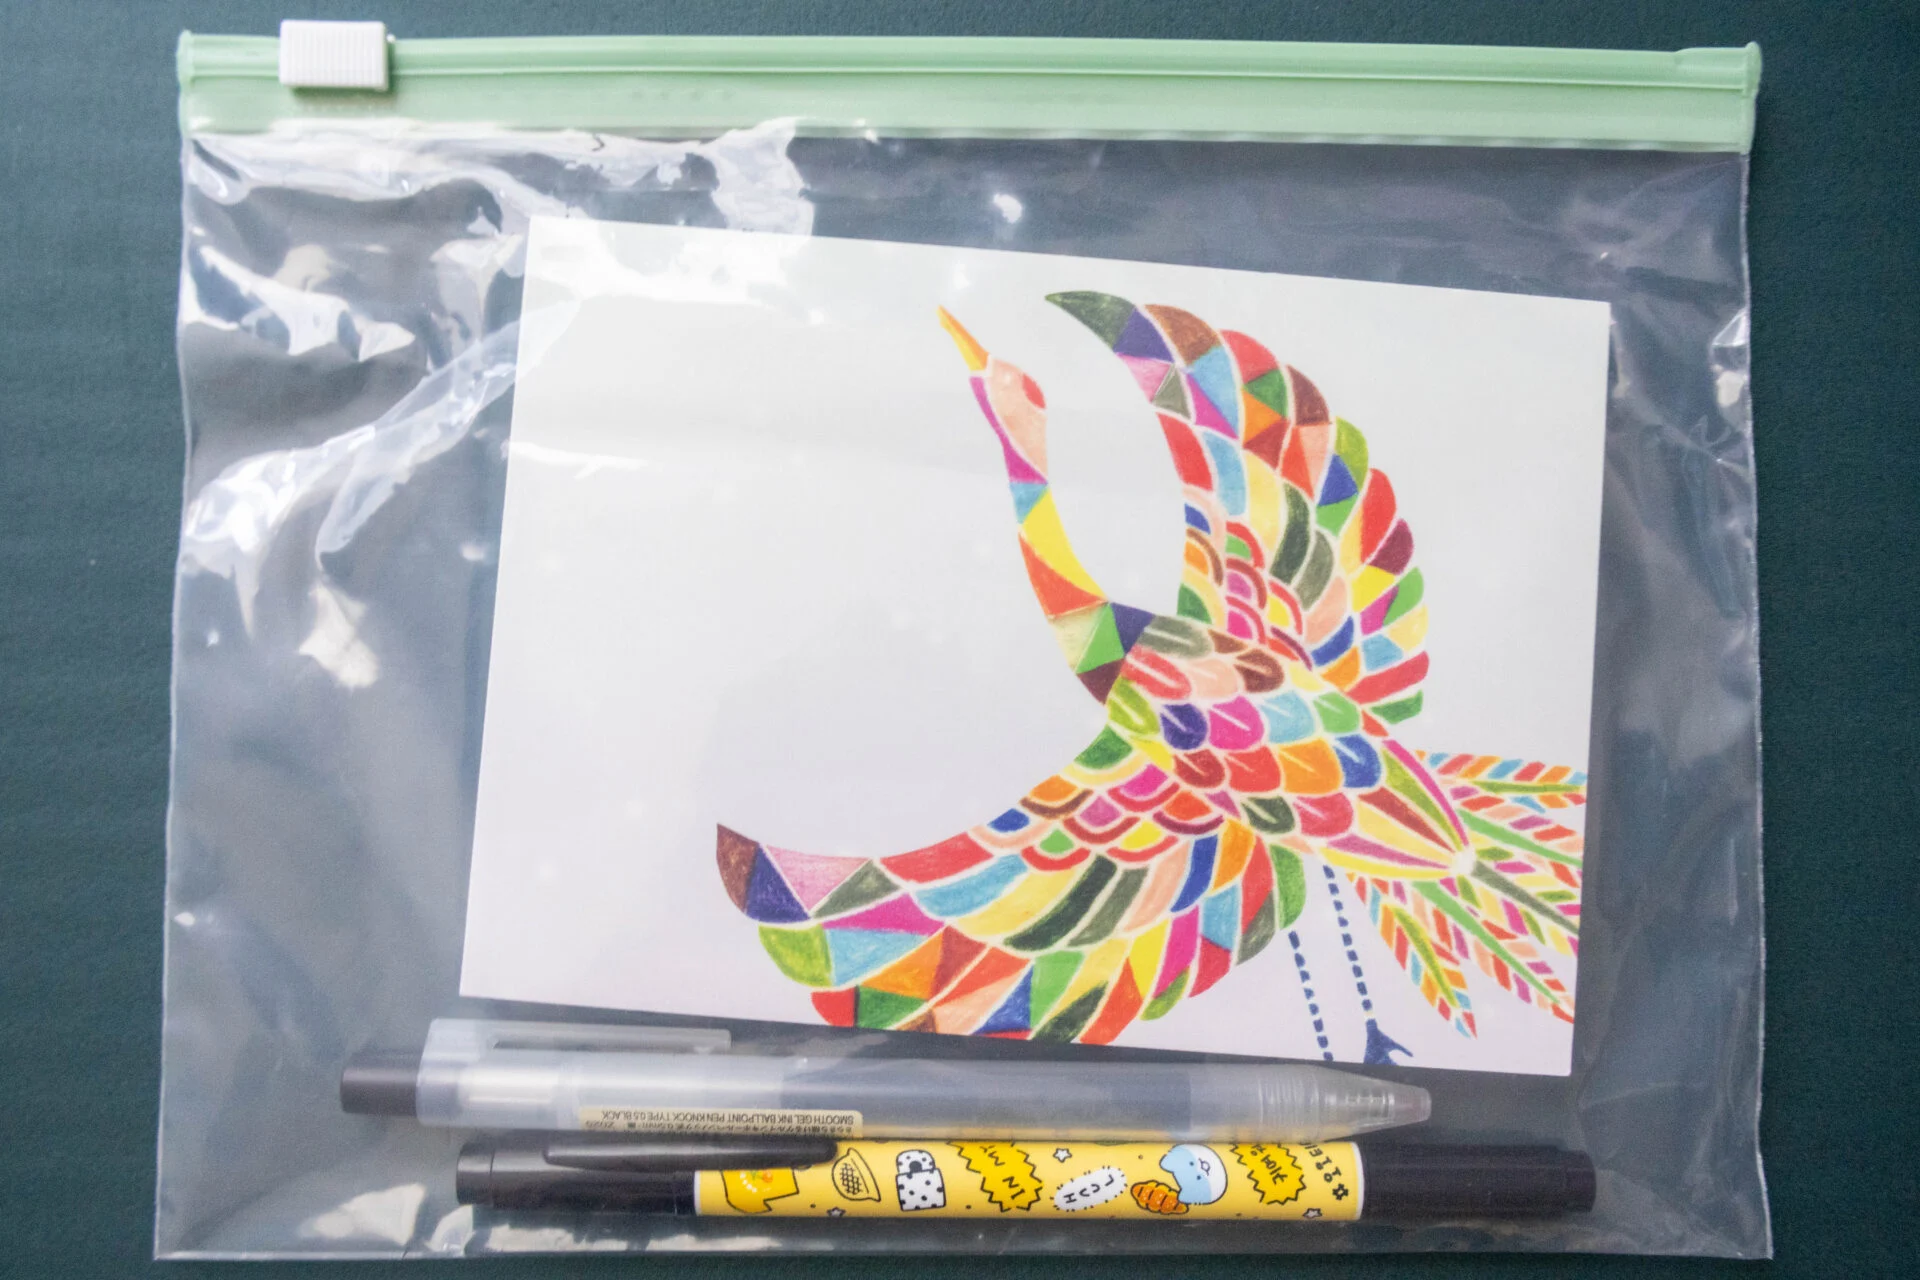
Whistle was purchased at a 100 yen shop.
It also came with an ID card for identification, so I wrote my name and contact information and placed it inside the whistle.
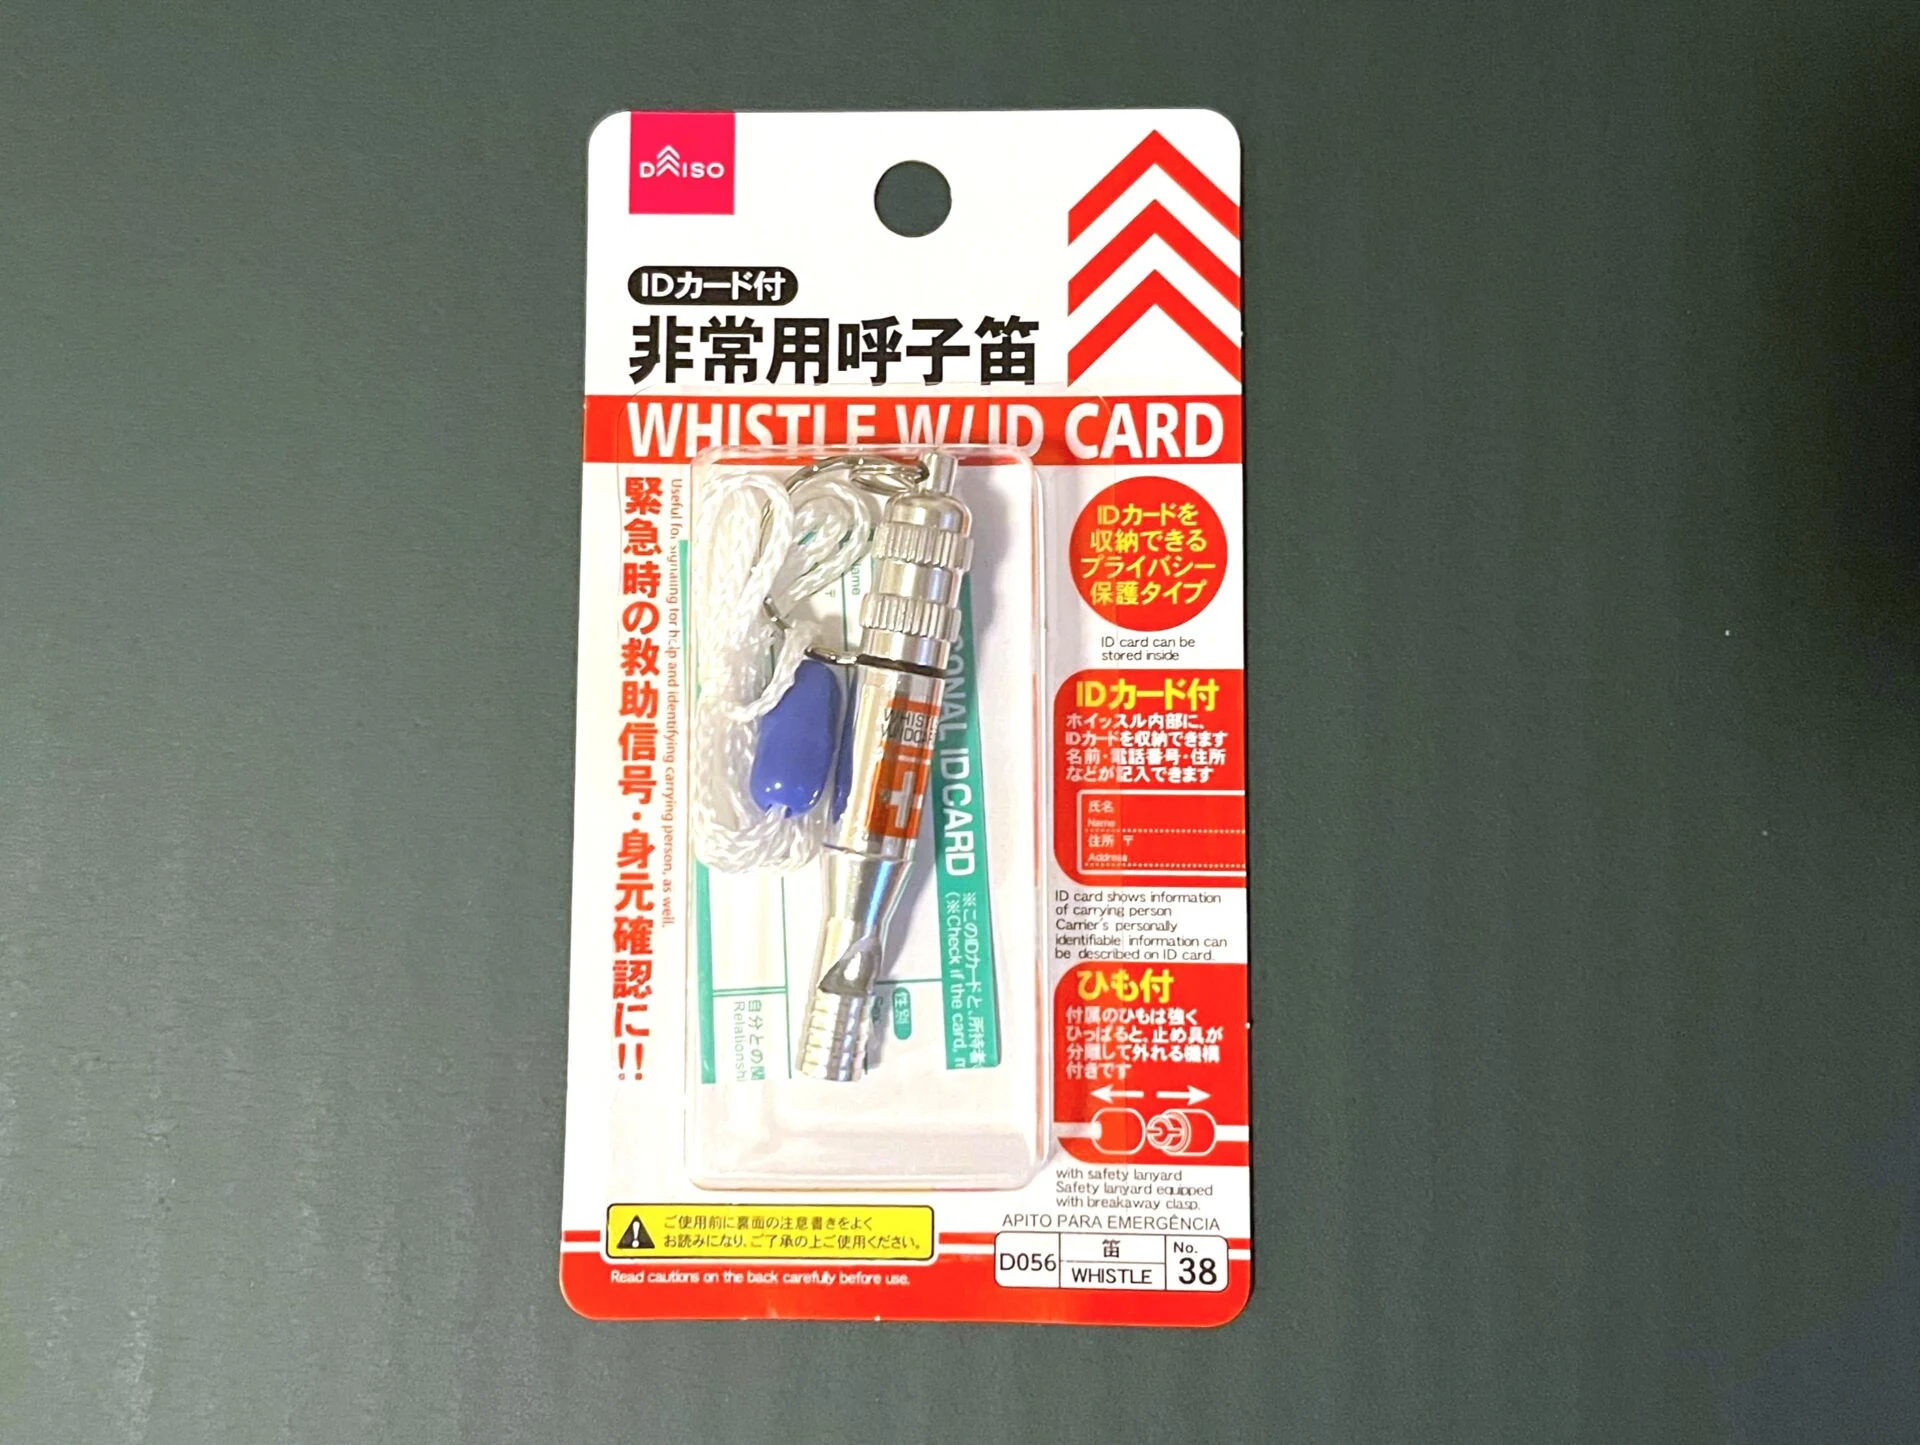
Imagining the time when the ID card will be useful makes me feel a bit down, but this is also an important part of disaster preparedness. To ensure it is readily accessible in an emergency, keep it in an easy-to-reach place.
Since I prepared the disaster backpack in the summer, I also included a fan. I chose a paper fan, but a folding fan might also be a good option as it doesn't take up much space.
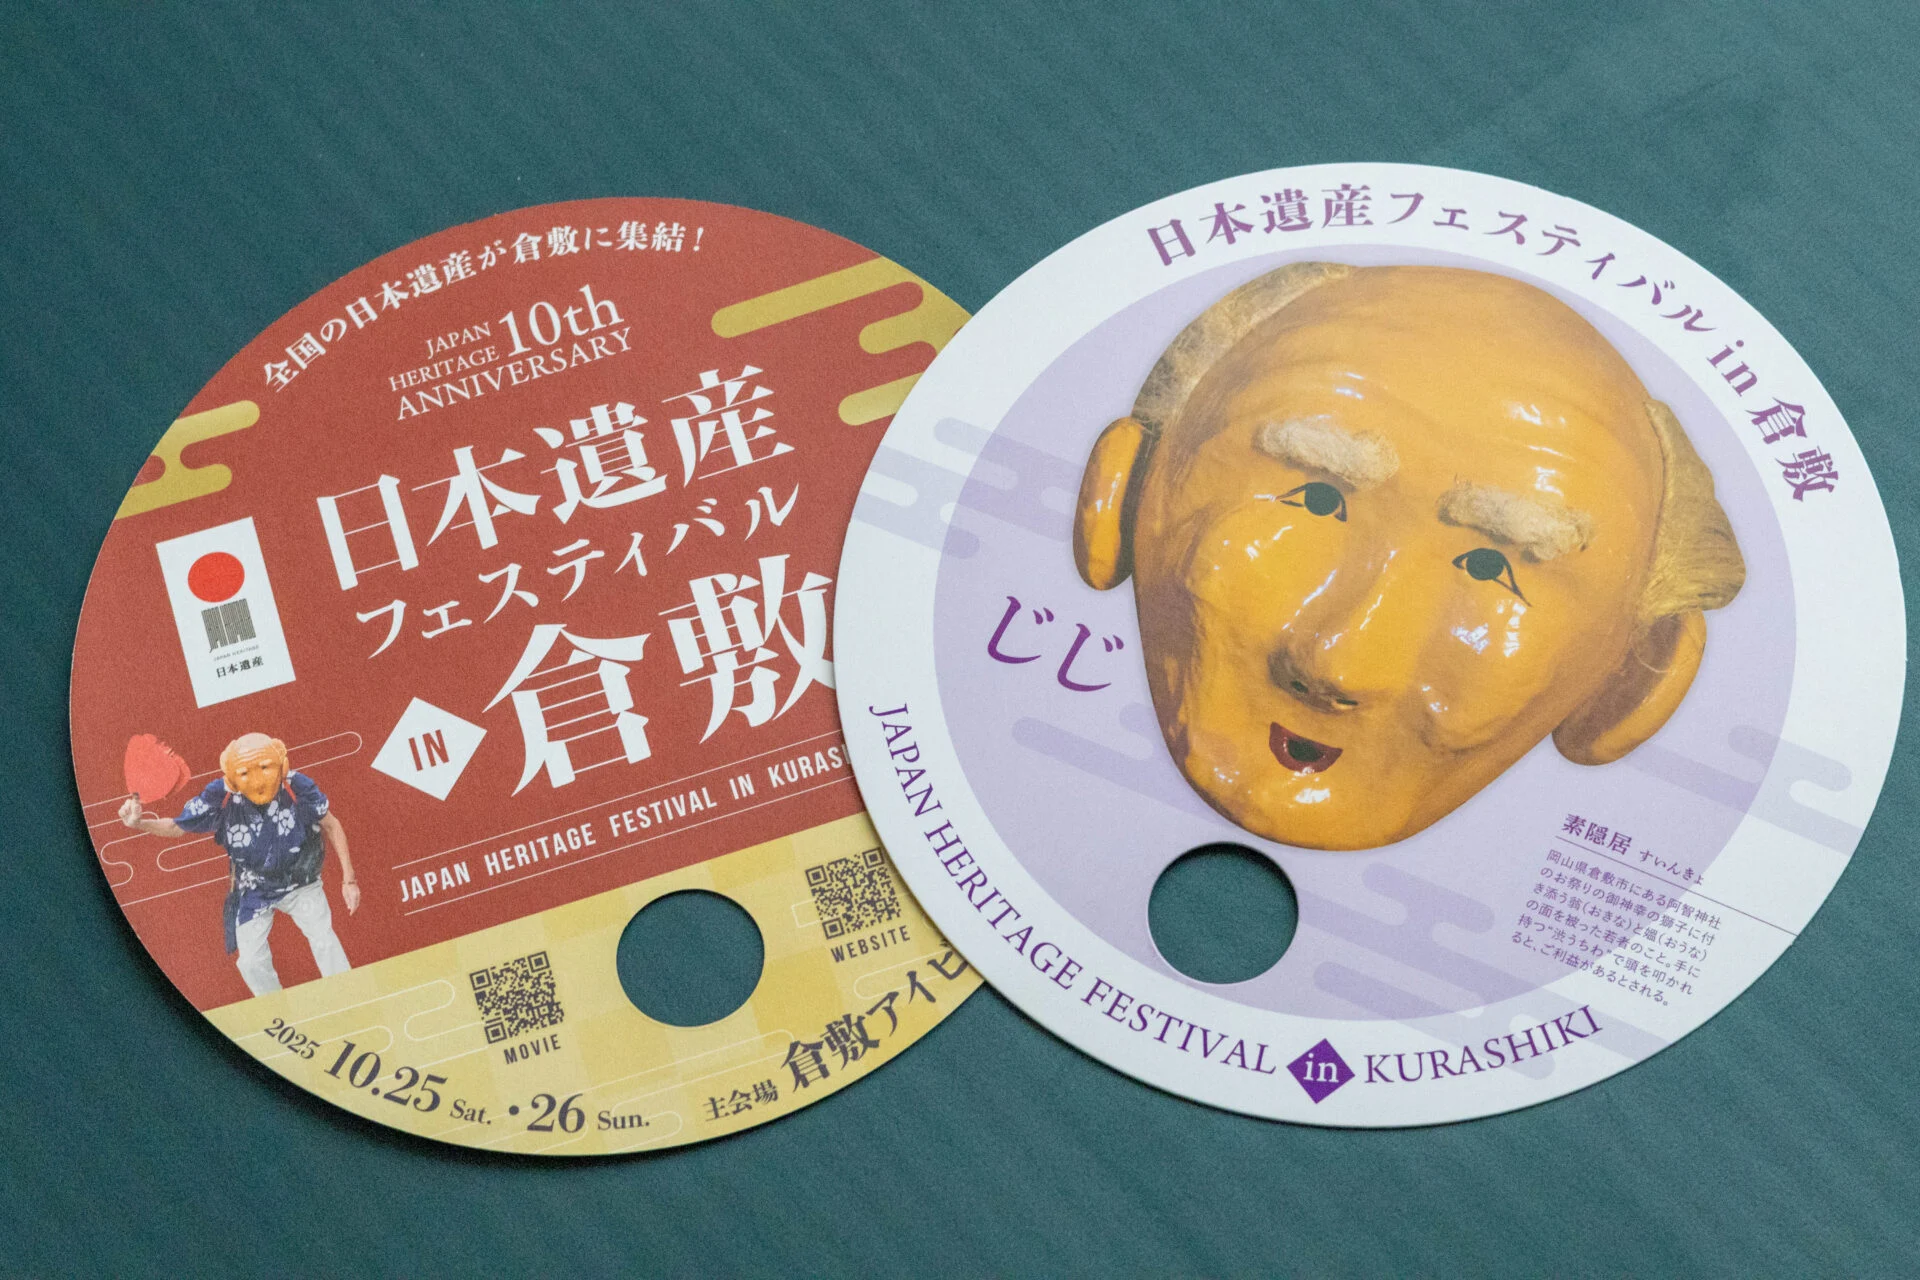
Since I made the disaster prevention backpack in the middle of summer, I included items to cope with the heat, but I thought that it would be necessary to add hand warmers and cold weather gear after summer ends.
It seems better to check it twice a year, also coinciding with the change of clothes.
If I also include a charger for smartphones and a mobile battery, the disaster prevention backpack will finally be complete.
Wearing the completed disaster prevention backpack, heading to the actual evacuation site
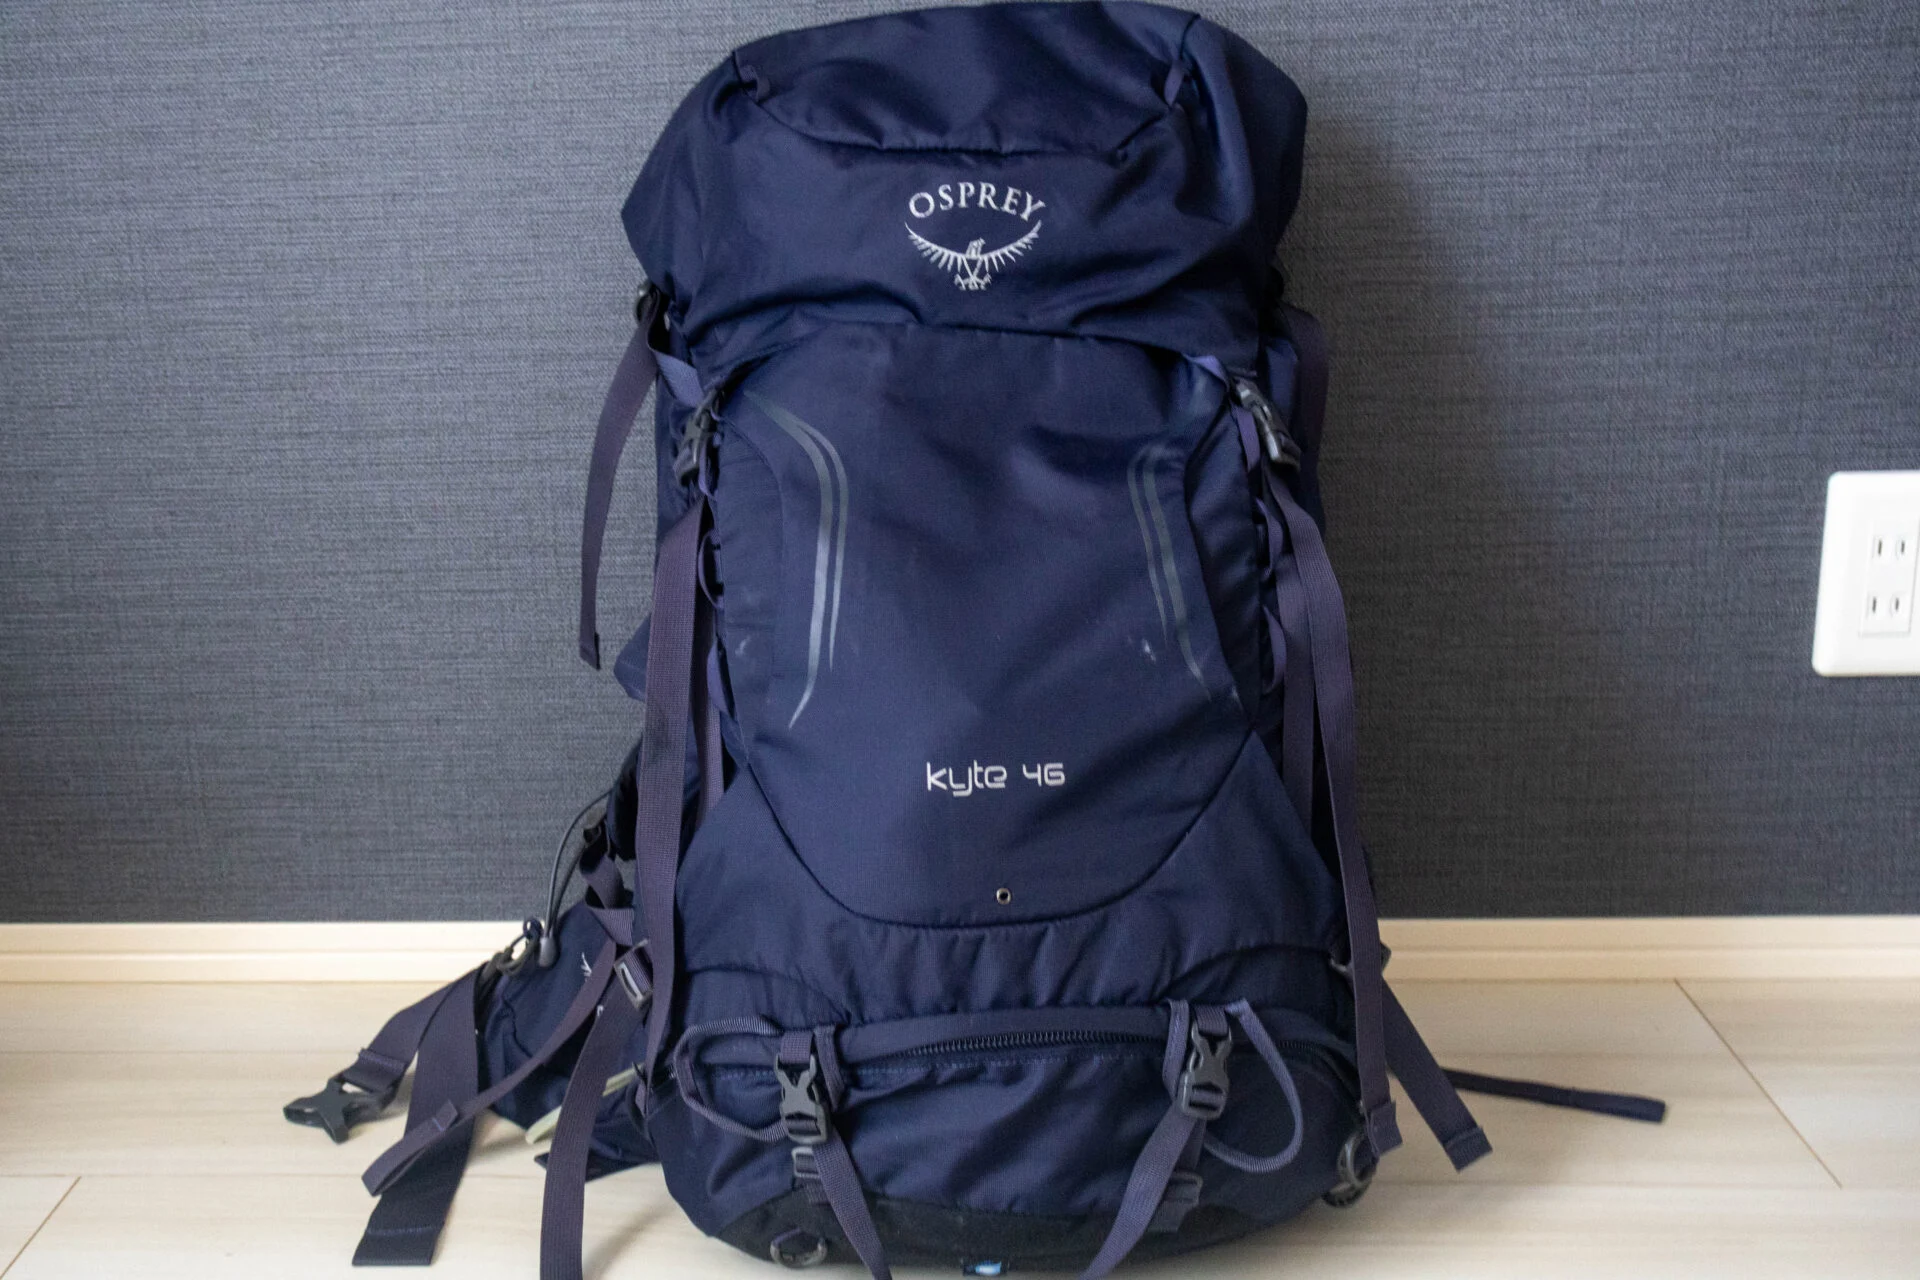
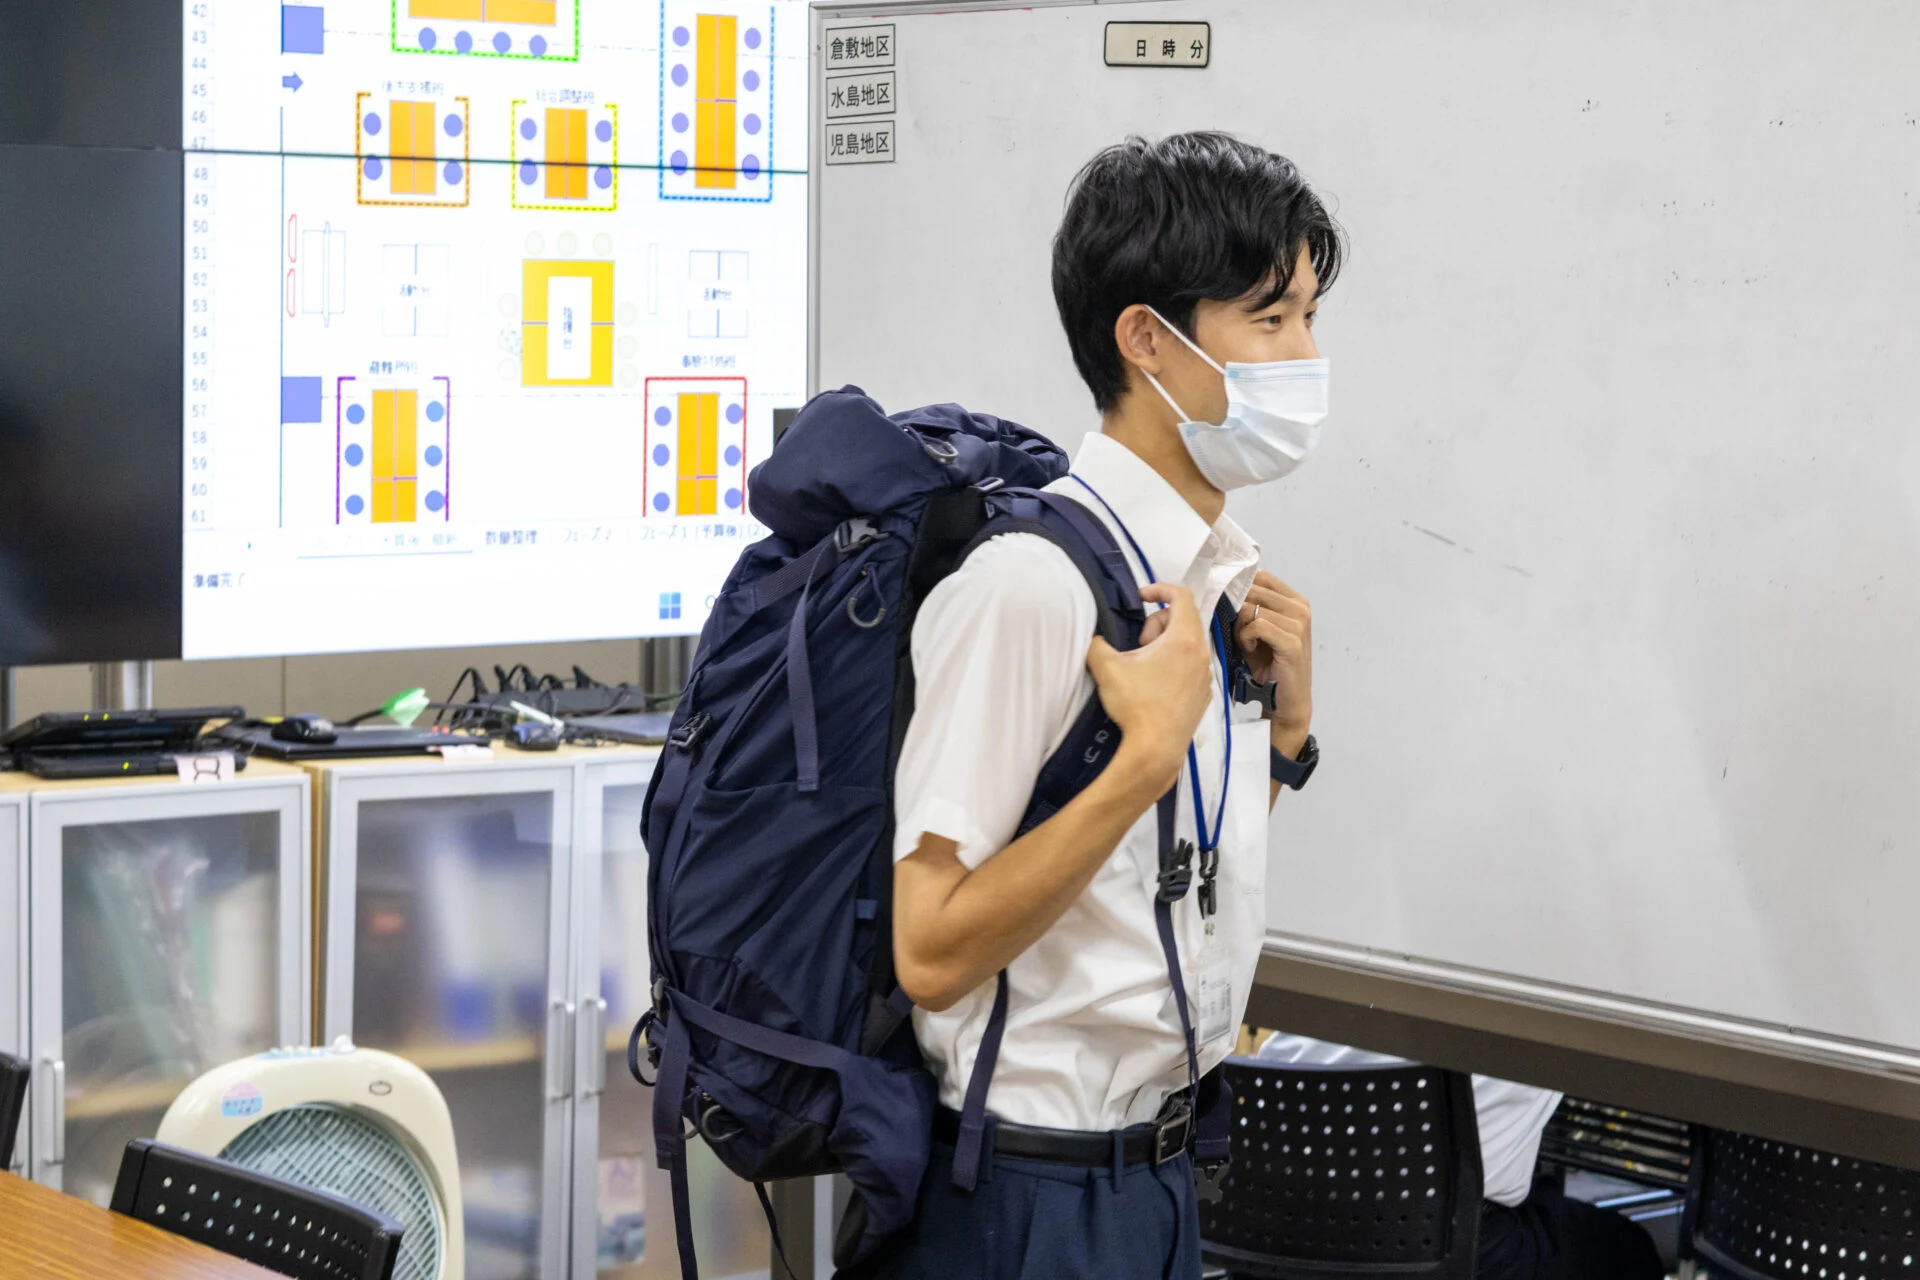
The backpack used for the disaster prevention backpack was a 46L mountaineering backpack.
The size of the backpack I initially planned was much smaller, but since it couldn't fit at all, I had to change to a mountaineering backpack at the last minute.
As soon as I tried it on, I was surprised by how heavy it was.
When I measured the weight, it turned out to be about 11kg. Even for the author, who is confident in their physical strength, it seems like it would be tough to walk with this weight.
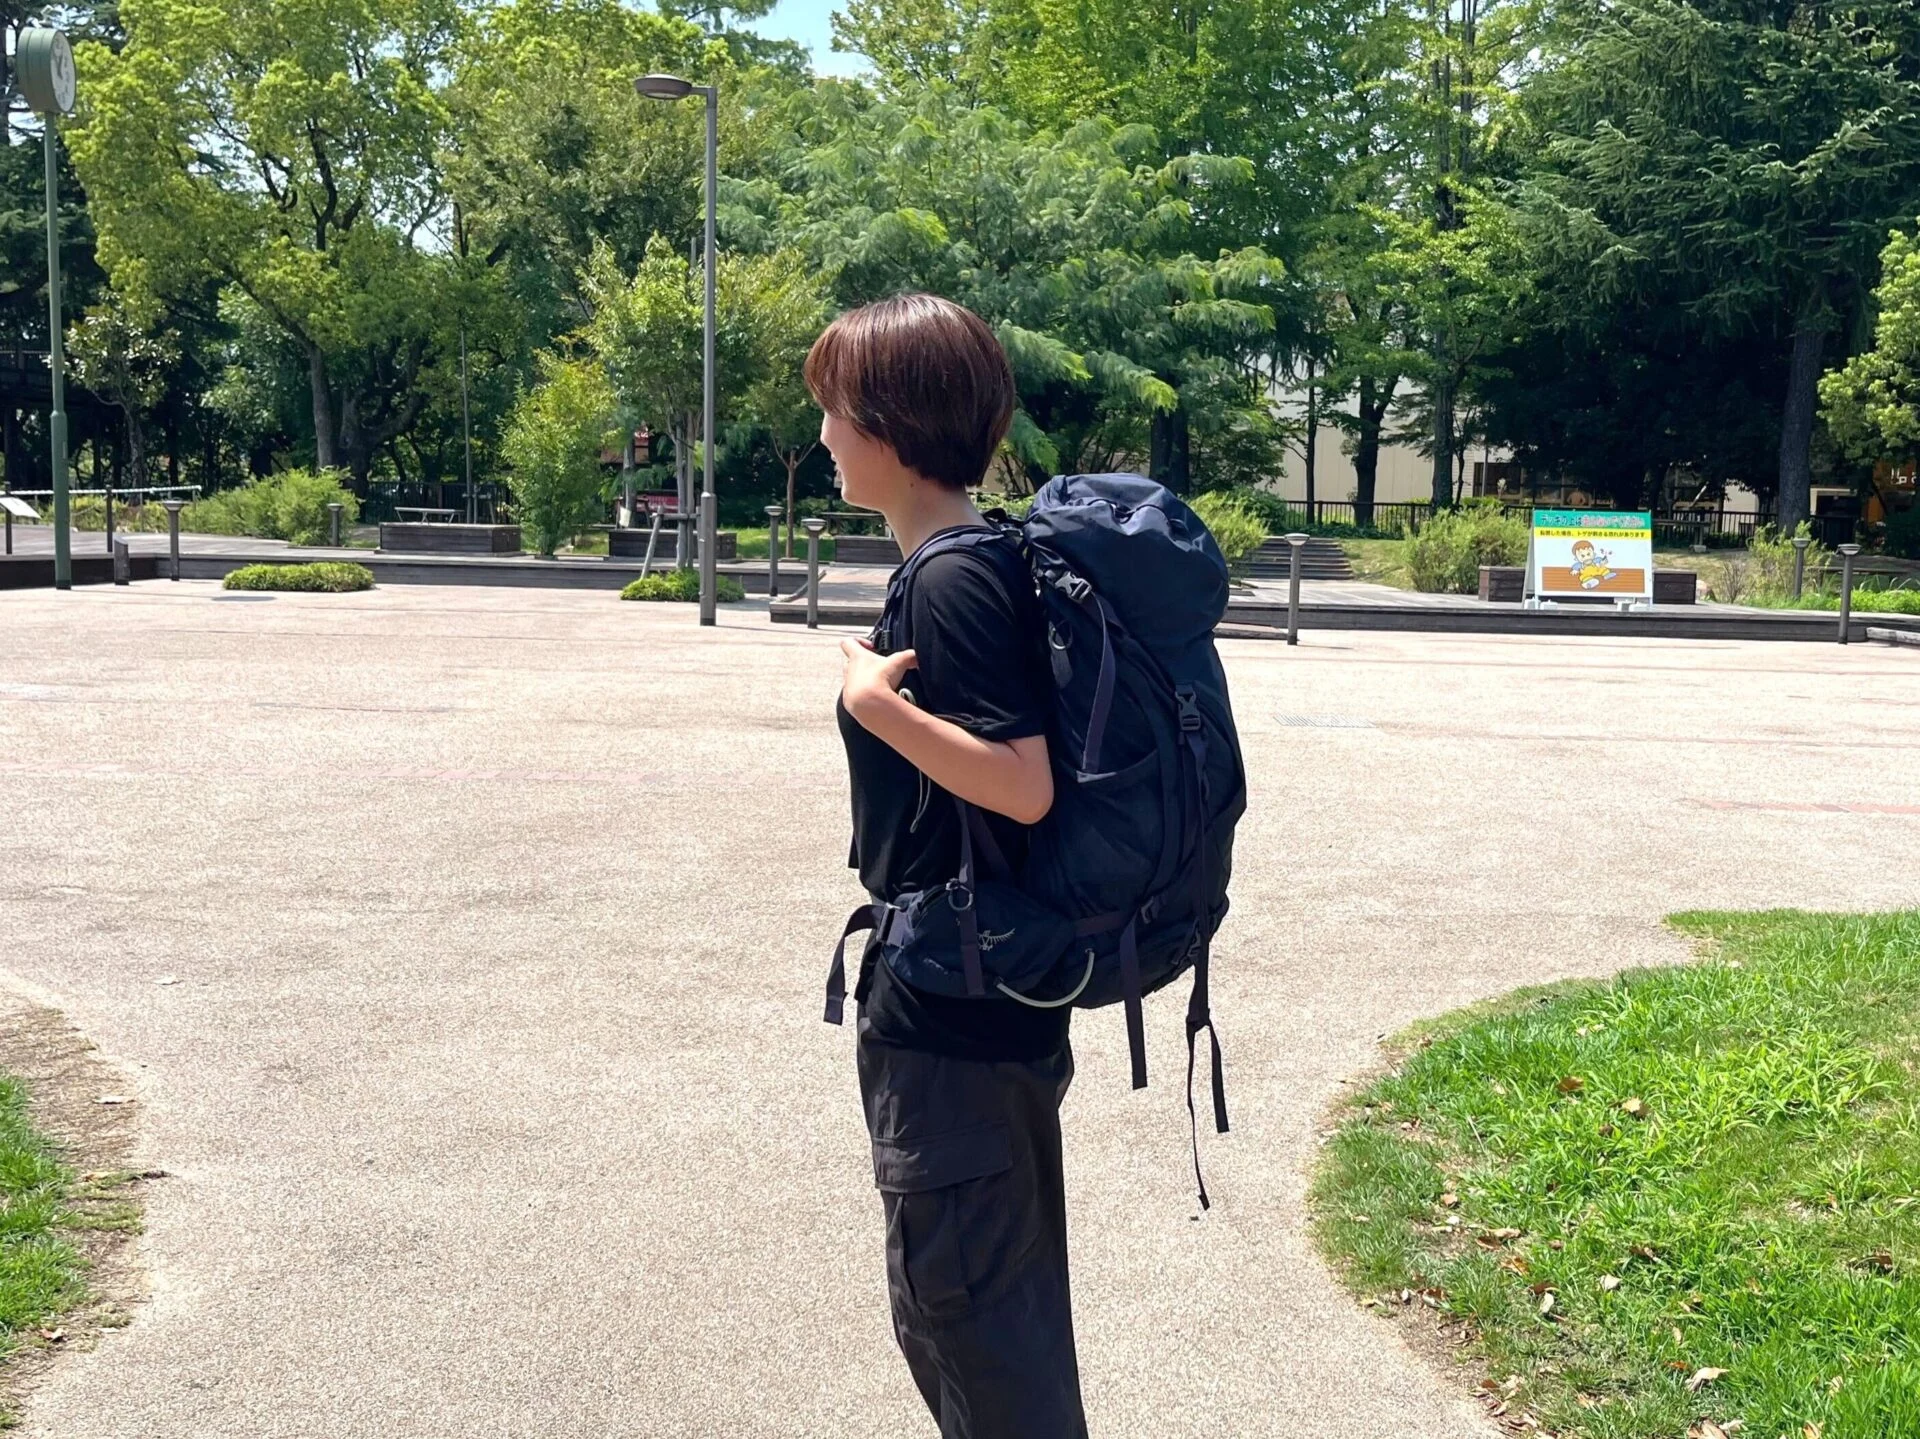
"I wonder if I can evacuate with a backpack of this weight."
Thinking that, I actually walked to the evacuation center while wearing the disaster prevention backpack. The 15-minute journey felt unexpectedly long. I was able to arrive safely, but with this weight, I became anxious that I might not be able to "evacuate lightly."
However, even if I wanted to lighten the disaster prevention backpack, I had only prepared items that I thought were necessary. I only included 4.5L of drinking water, which is enough for 1.5 days.
How should I lighten the disaster prevention backpack from here…
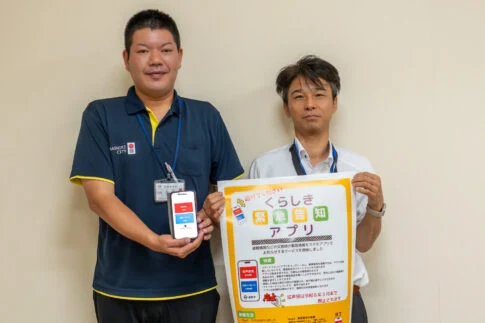
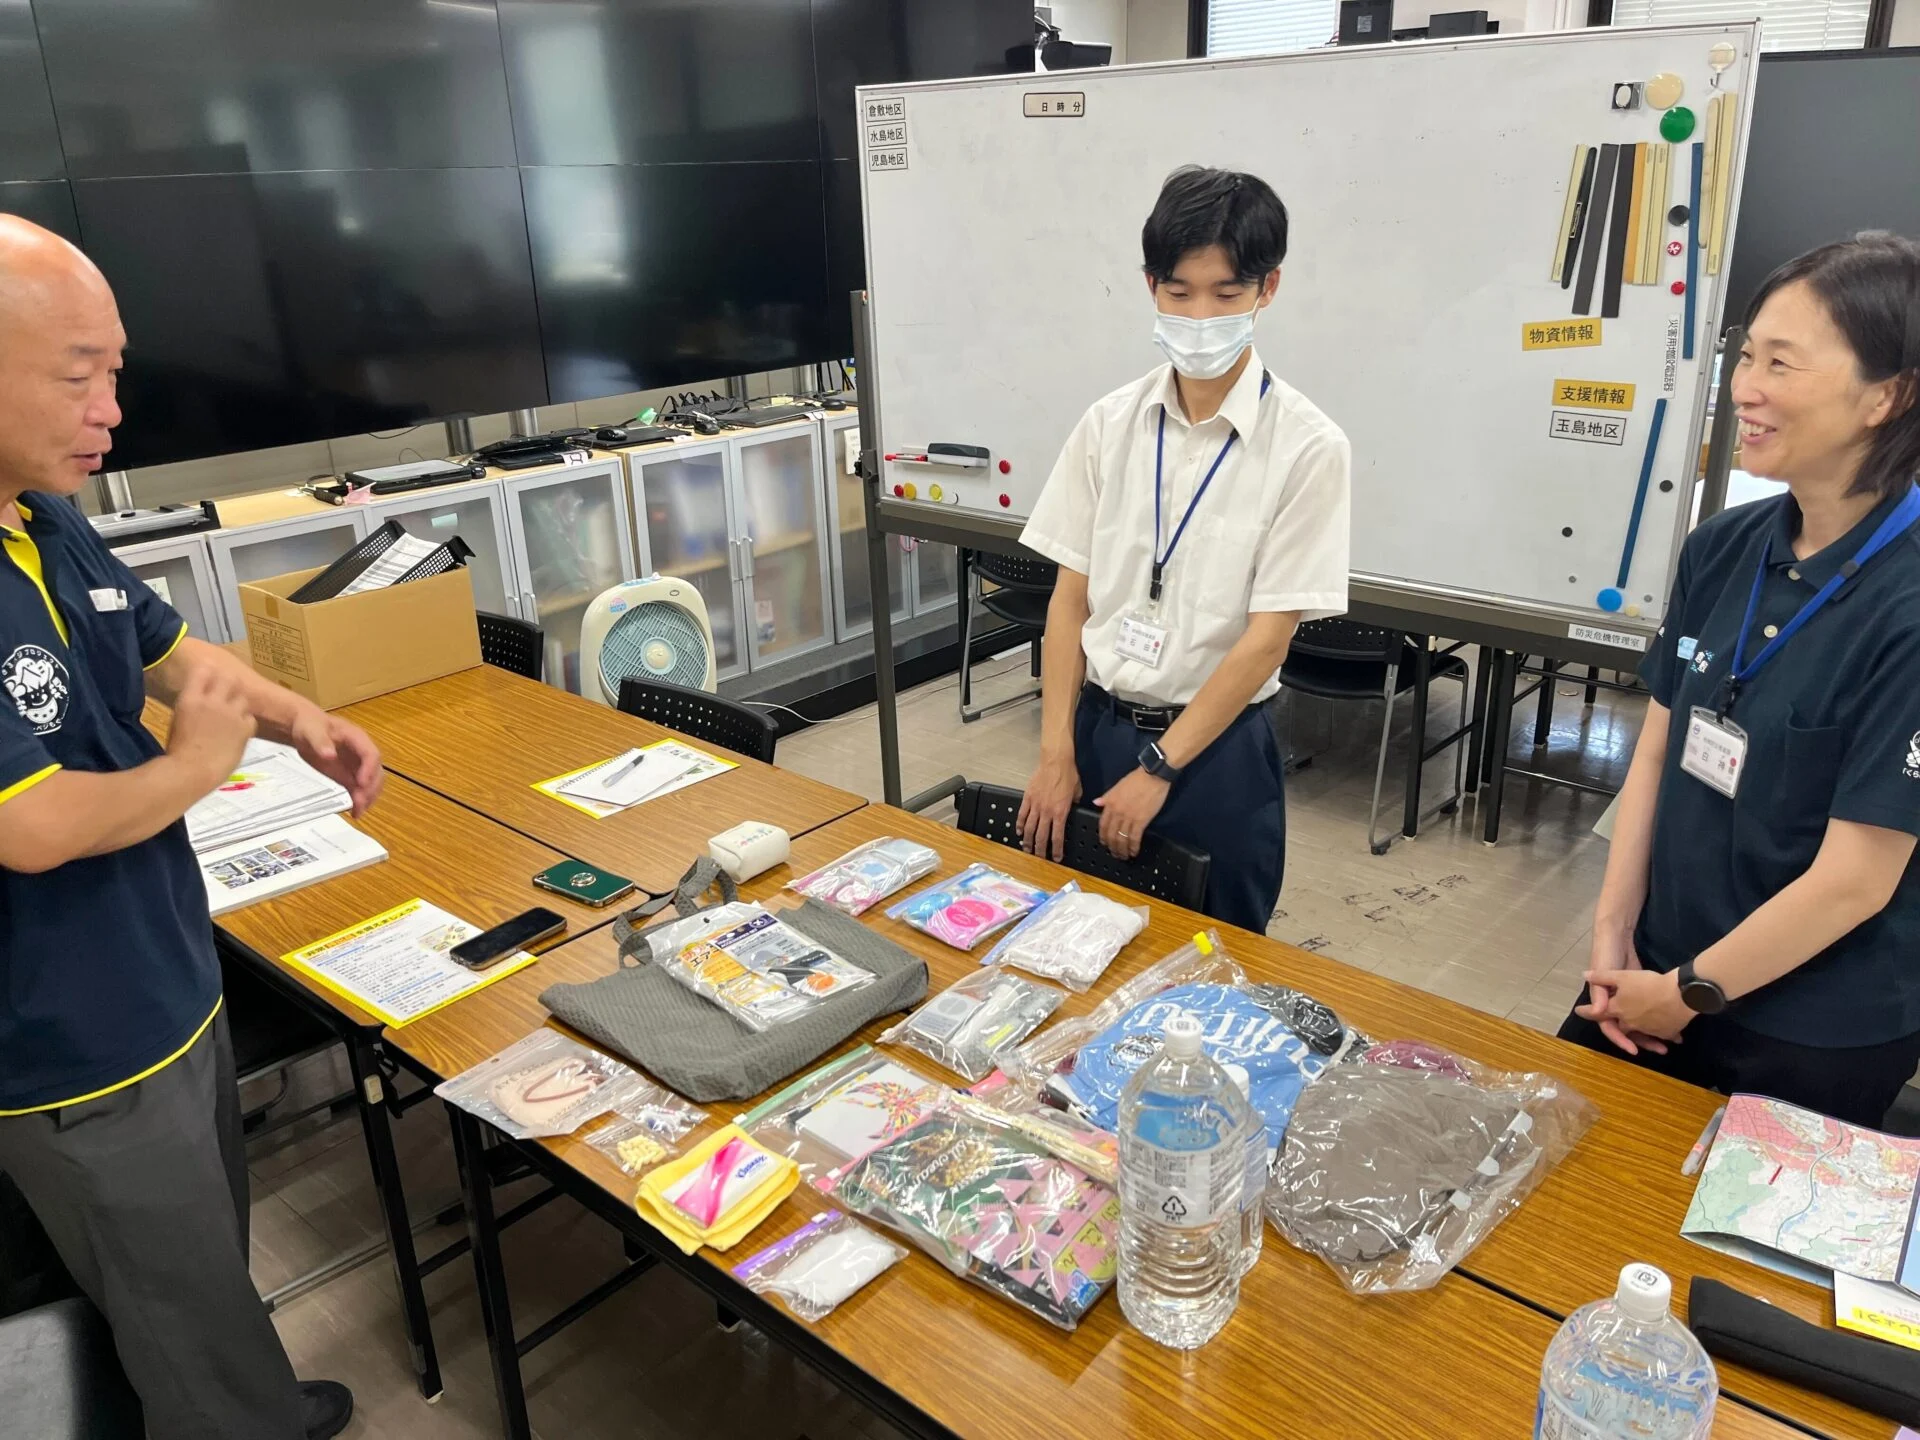
To get some advice, I brought the disaster prevention backpack to the Disaster Prevention and Crisis Management Office, Community Disaster Promotion Division of Kurashiki City.
I also asked various questions about evacuation during this visit.