Fukiya, located at an elevation of 550 meters in Takahashi City, surprises visitors with its sudden appearance amidst lush mountain paths and its red townscape.
Fukiya flourished from the Edo period to the Meiji period as a town known for its copper mines and the red pigment "bengara."
The wealthy merchants who amassed fortunes adorned their buildings with bengara, and that townscape remains as it was back then.
Aren't you curious about what kind of pigment "bengara," which brought prosperity to Fukiya, is?
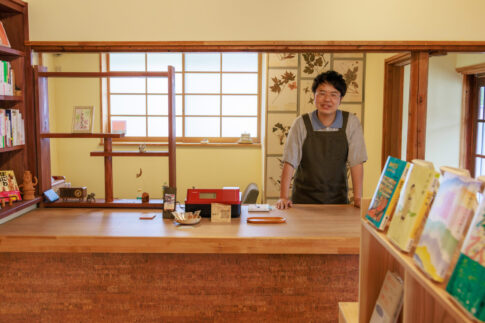
At the "Fukiya Information Center Shimomachi Flat" (hereafter "Shimomachi Flat"), you can experience bengara dyeing in a nostalgic space renovated from a traditional house.
What color will the pure white cloth be dyed?
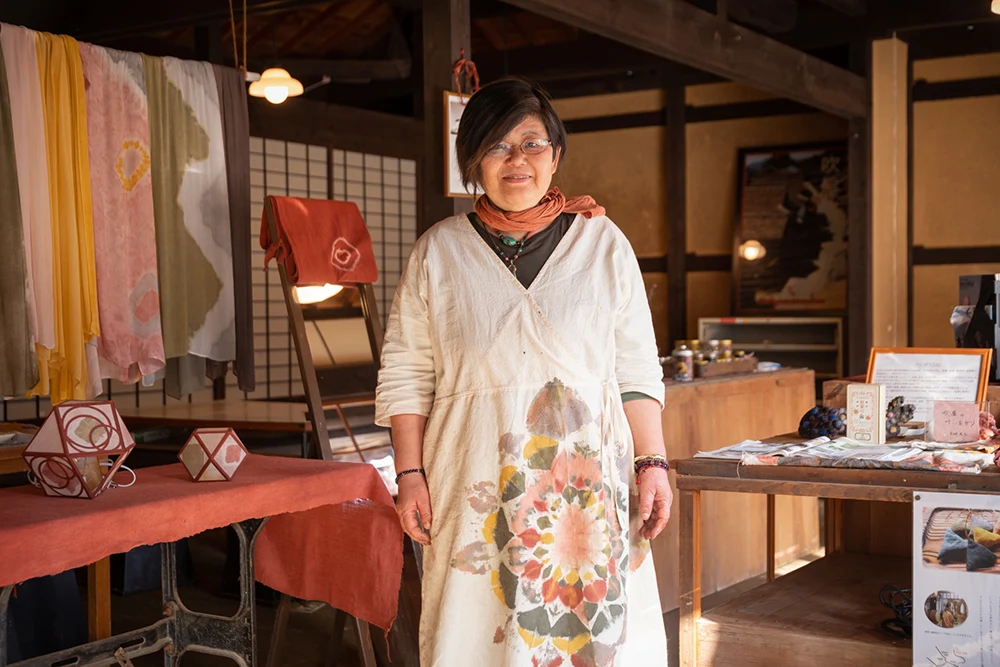
I experienced bengara dyeing of a stole while listening to stories about Fukiya from Kuniko Ogura.
The Bengara-colored Townscape of Fukiya
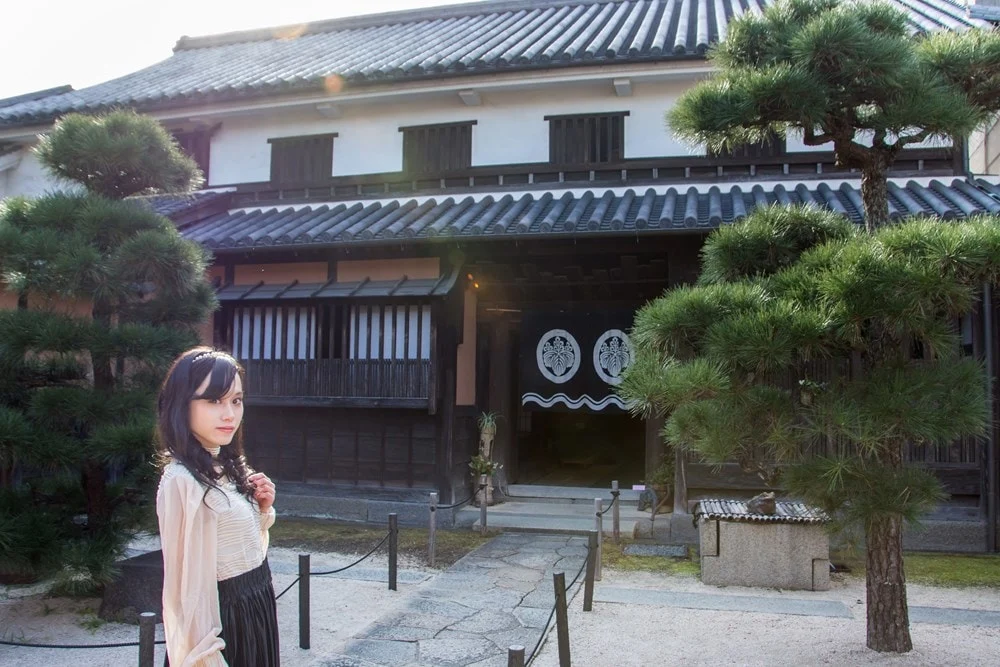
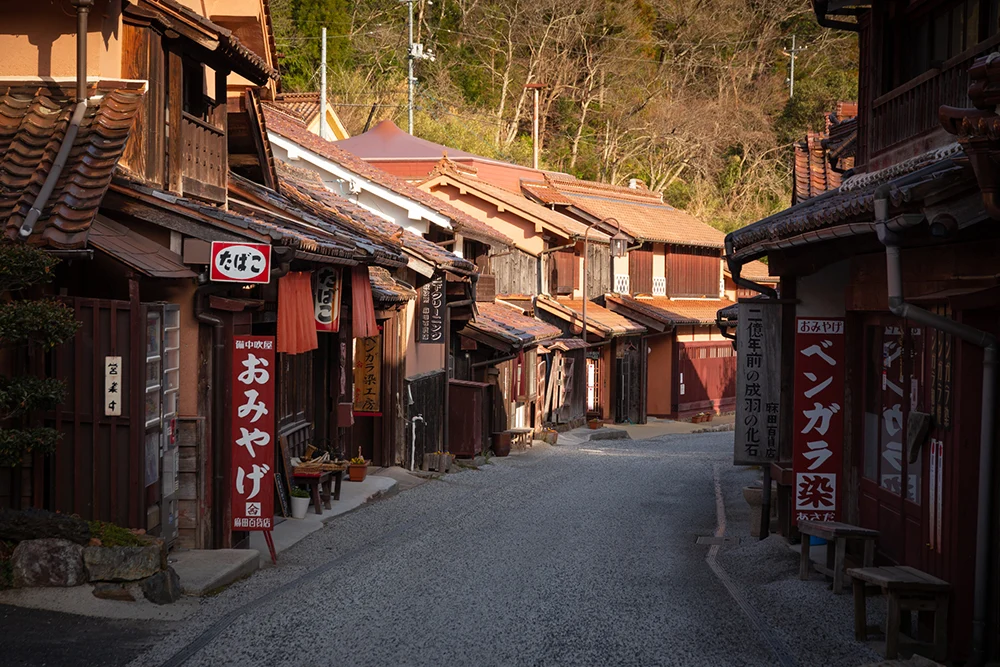
The Red Townscape of Fukiya
The reddish-brown Sekishu tiles and the lattice and walls dyed red with bengara.
The unique buildings that line the streets of Fukiya were created by wealthy merchants who built immense fortunes with bengara.
The bengara industry in Fukiya itself ended in 1974 after the closure of the copper mine in 1972.
Although bengara is no longer produced in Fukiya, it was designated as an Important Preservation District for Groups of Traditional Buildings by the national government in 1977, and the people living in Fukiya have been working to preserve the historic townscape.
In June 2019, it was recognized as a Japan Heritage site as the "Birthplace of 'Japan Red' - The Town of Bengara and Copper, Bitchu Fukiya."
The red townscape is lined with restaurants and souvenir shops, where the depth of history merges with modernity.
The Fukiya Post Office also has a charming appearance that blends into the town.
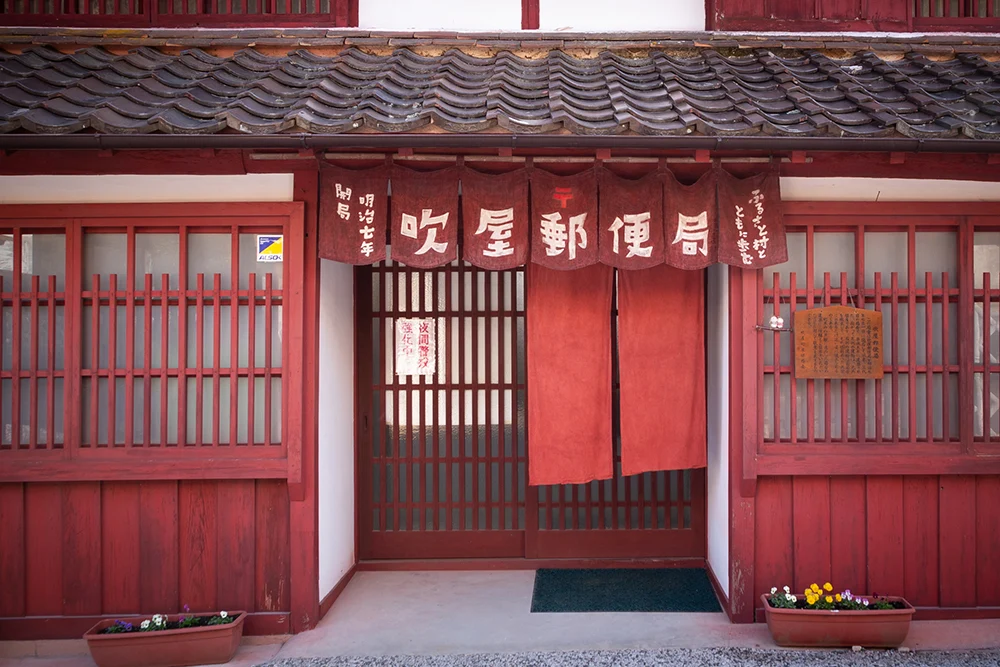
Fukiya has many tourist spots where you can learn about the former bengara industry.
| Spot | Details |
|---|---|
| Former Katayama Residence | A long-established business that manufactured and sold bengara for over 200 years in Fukiya |
| Bengara Museum | A spot created by restoring the factory that produced bengara until the end |
| Asaune Mine (Sasaune Kodo) | The remains of the copper mine where iron sulfide ore, the raw material for bengara, was excavated |
| Hirokane Residence | The residence of the Hirokane family, who became wealthy by manufacturing "Roha" (green vitriol), the raw material for copper and bengara Filming location for movies such as "Yatsuhaka Mura" |
Shimomachi Flat
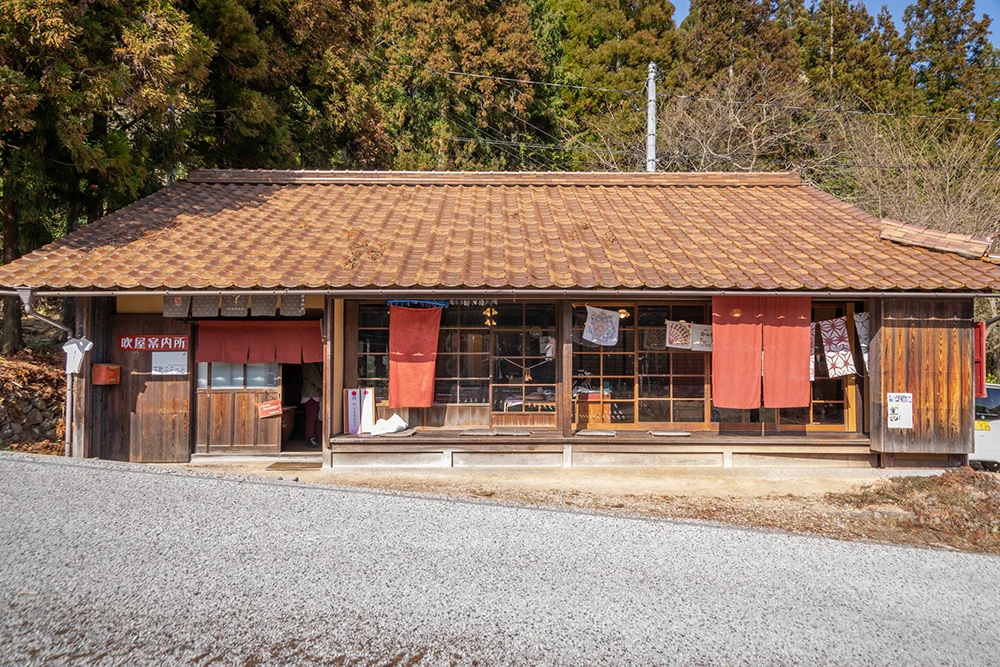
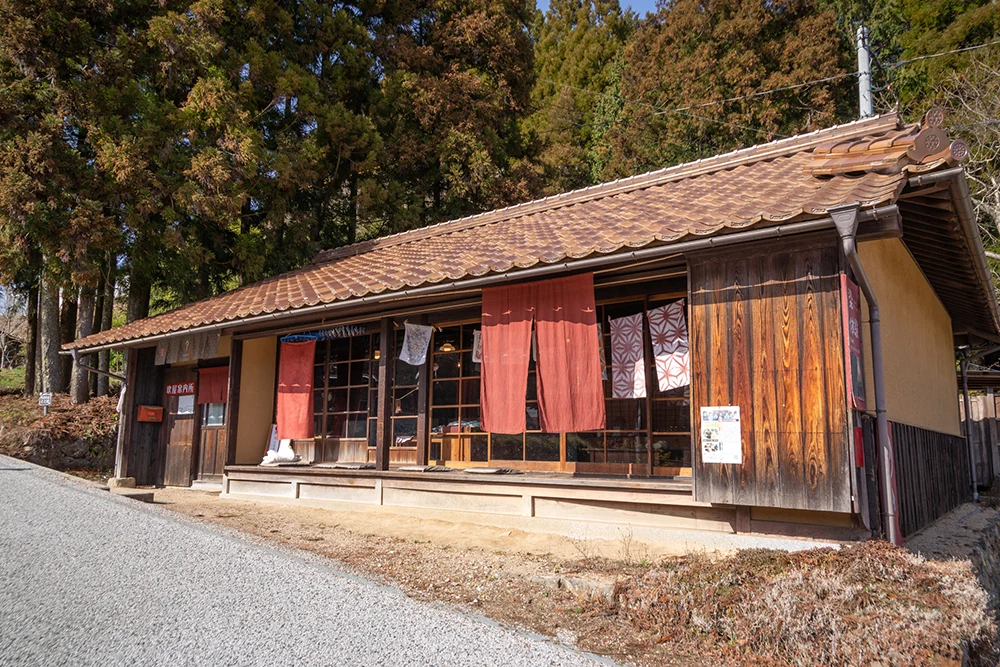
Shimomachi Flat is a tourist information center located in a renovated traditional house at the southern end of Fukiya's townscape.
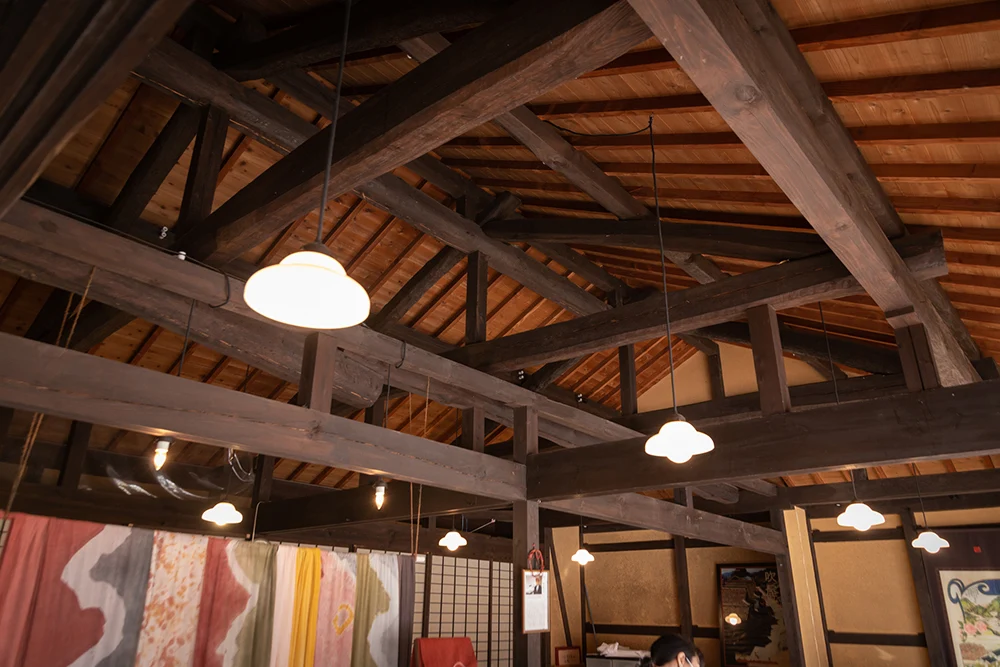
The interior was designed by Eiji Mitoaka, who was responsible for the design of the Kyushu Shinkansen.
The beams of the ceiling are magnificent.
At the storefront, there were bengara-dyed handkerchiefs, masks, and charms on display.
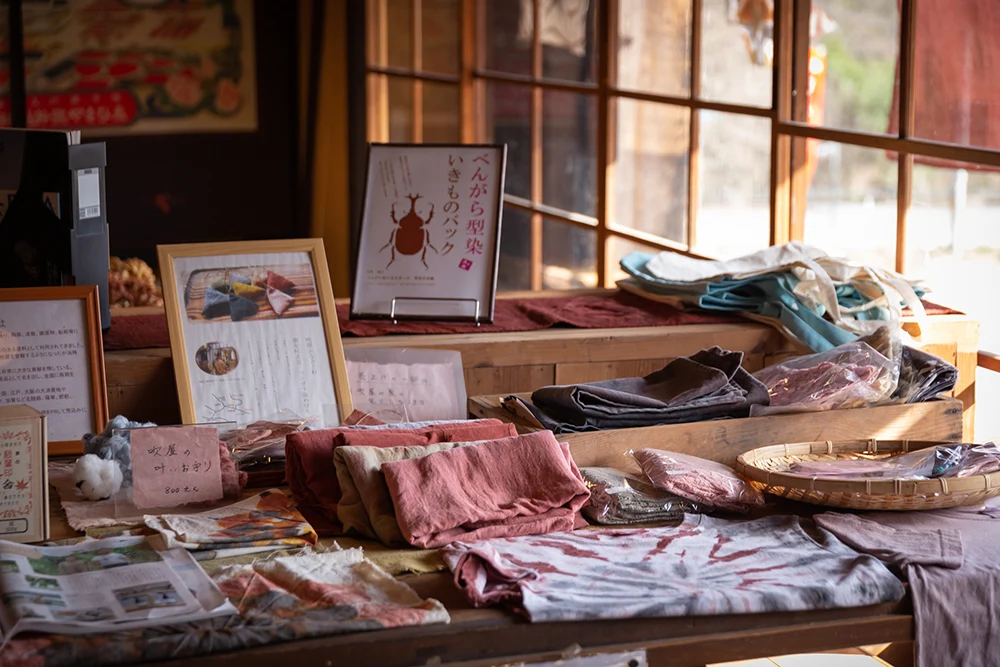
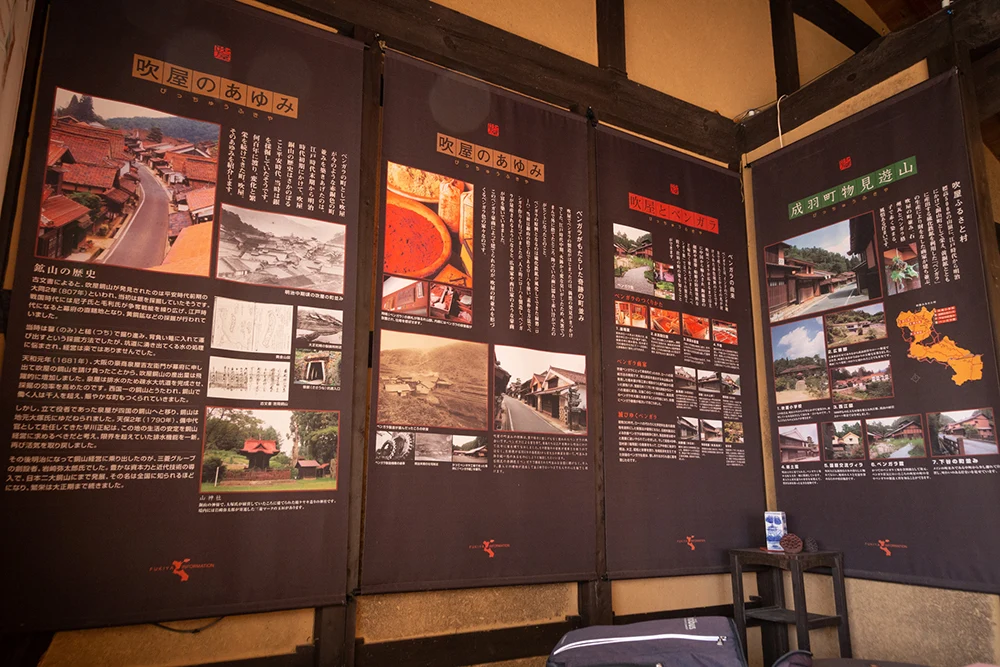
There are also displays of materials where you can learn about Fukiya's bengara industry.
A large noren (traditional shop curtain) depicted the lively scene from the time when bengara production was thriving.
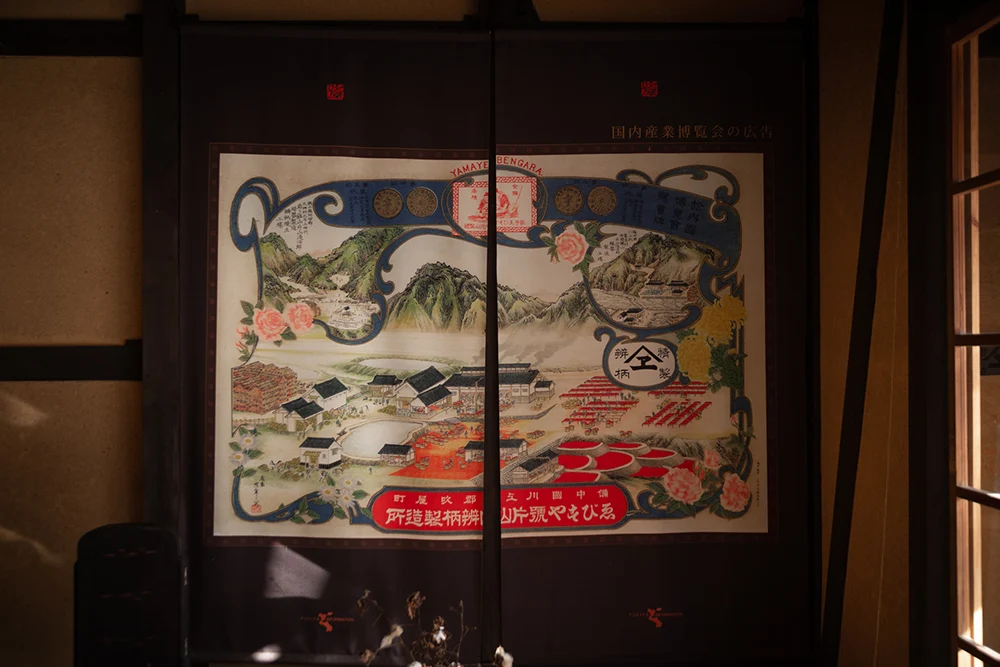
As of 2021, although bengara is no longer produced in Fukiya, you can experience dyeing using industrial bengara at Shimomachi Flat.
Why Did Fukiya Prosper with Bengara?
Bengara is a powdered pigment primarily composed of iron oxide obtained from the soil.
It is said that the name comes from the method of production that was transmitted from the Bengal region of India.
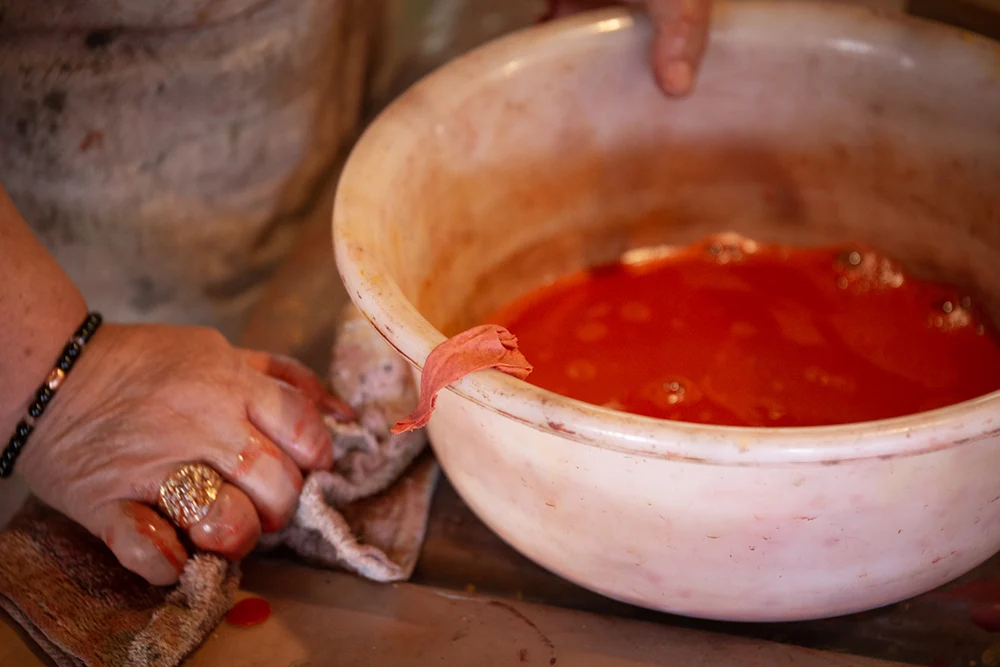
Currently, what is in circulation is industrial bengara made through chemical synthesis.
On the other hand, in Fukiya, natural bengara was produced from minerals until 1974.
Bengara is not found directly in the soil; it was made through a labor-intensive process of producing the mineral "Roha" (green vitriol) from iron sulfide ore, grinding it with a stone mill, leaching the acid in water, and then drying it.
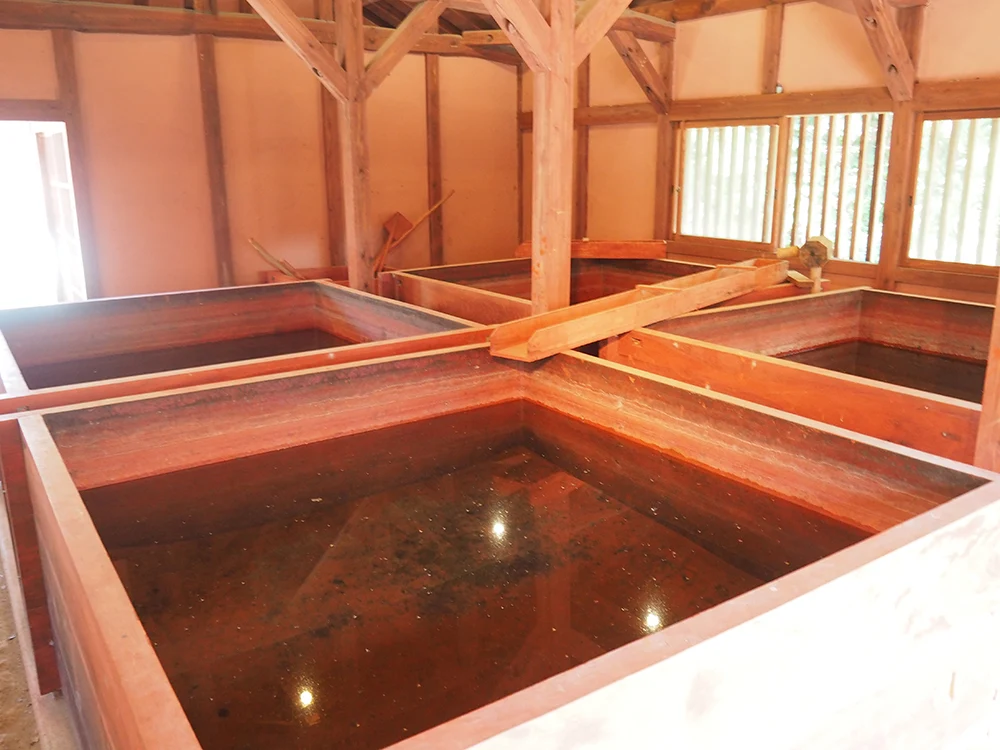
In addition to the wealthy merchants, many workers were likely involved in the production and lived in Fukiya.
What made Fukiya's bengara special was the discovery of a mine that produced high-quality iron sulfide ore during the Edo period.
They invited Yahachi Hara, who had extensive knowledge of mining, from Yamaguchi Prefecture to conduct research on the production of Roha and succeeded in its development.
Fukiya, having acquired the technology to produce high-quality bengara in large quantities, prospered greatly.
Fukiya's high-quality bengara was used not for tiles or daily necessities, but for artworks such as Kutani ware and Imari ware.
This is because even when fired at high temperatures, the vivid red color remains unchanged and does not turn black.
Although Fukiya's bengara is no longer produced, many people still cherish it.
Ogura says, "Real bengara is special. The color is completely different from industrial bengara when used for dyeing."
Colorfully Dyeing at Shimomachi Flat's Bengara Dyeing Experience
Bengara Dyeing Experience Menu
At Shimomachi Flat, you can experience "stencil" dyeing using templates, "katazome" (resist dyeing) where parts of the cloth are coated with paste, and "bengara dyeing" where the cloth is soaked in bengara liquid.
Each experience takes about 30 minutes, and you can take your work home on the same day.
Reservations can be made through Shimomachi Flat's Facebook or Jalan.
- Coaster 880 yen (tax included)
- Handkerchief 1,800 yen (tax included)
- Eco bag 2,300 yen (tax included)
- T-shirt 2,500 yen (tax included)
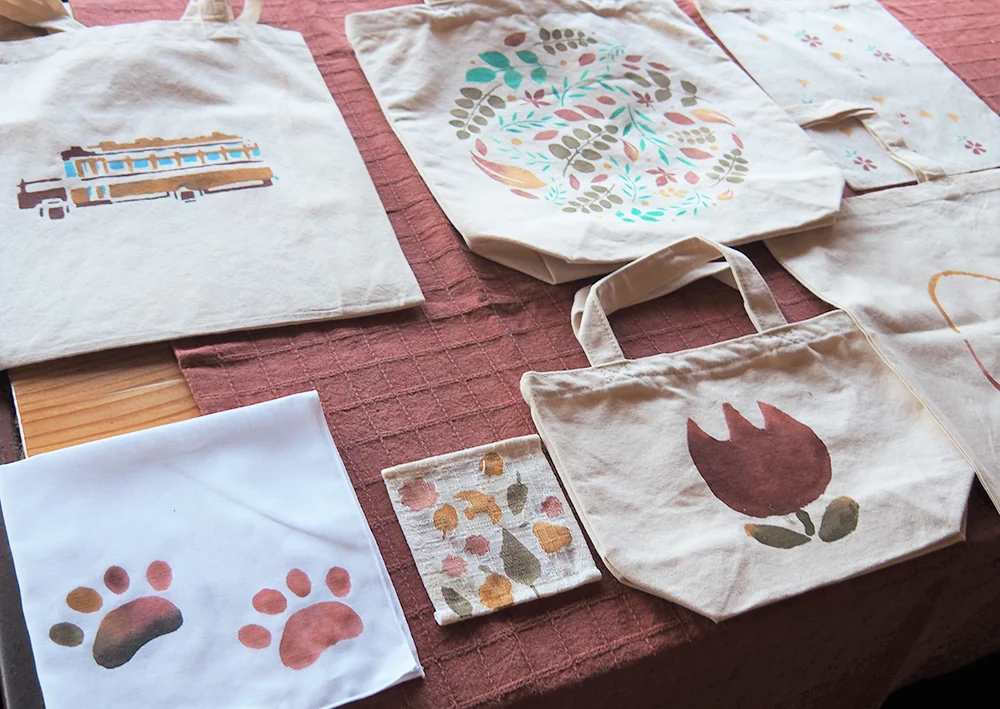
- Handkerchief 1,800 yen (tax included)
- Tenugui (Japanese hand towel) 2,300 yen (tax included)
- T-shirt from 2,500 yen (tax included)
- Stole from 3,000 yen (tax included)
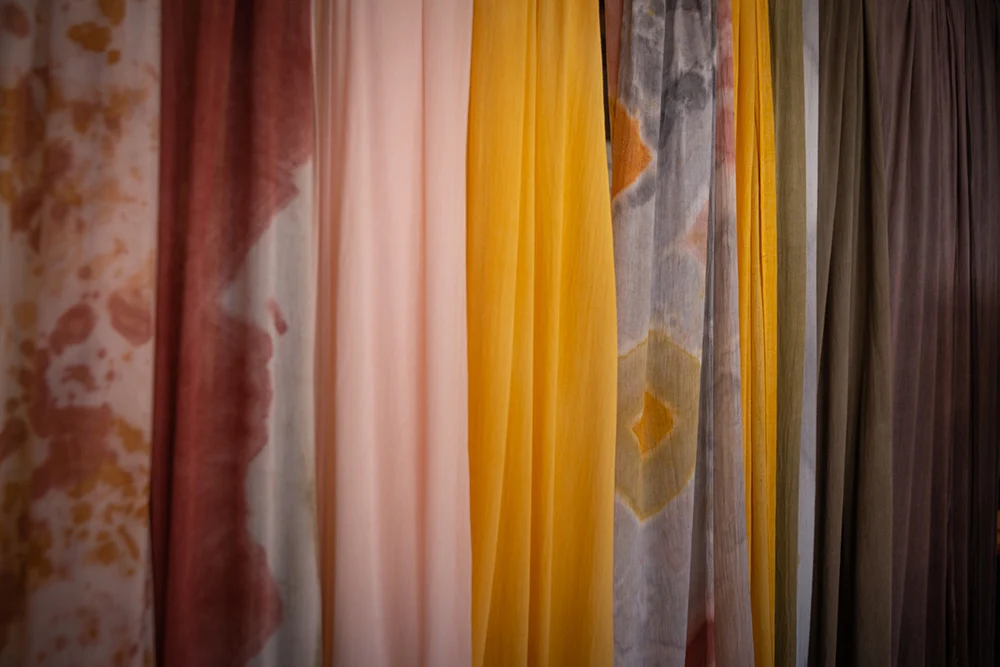
In the bengara dyeing course, you can also bring your own fabric. In that case, the price will vary depending on the size and weight of the fabric.
If you have clothes you want to dye, please inquire.
This time, I will dye a pure white stole provided by Shimomachi Flat. It is made of a soft material that feels good to the touch.
What color will it be dyed?
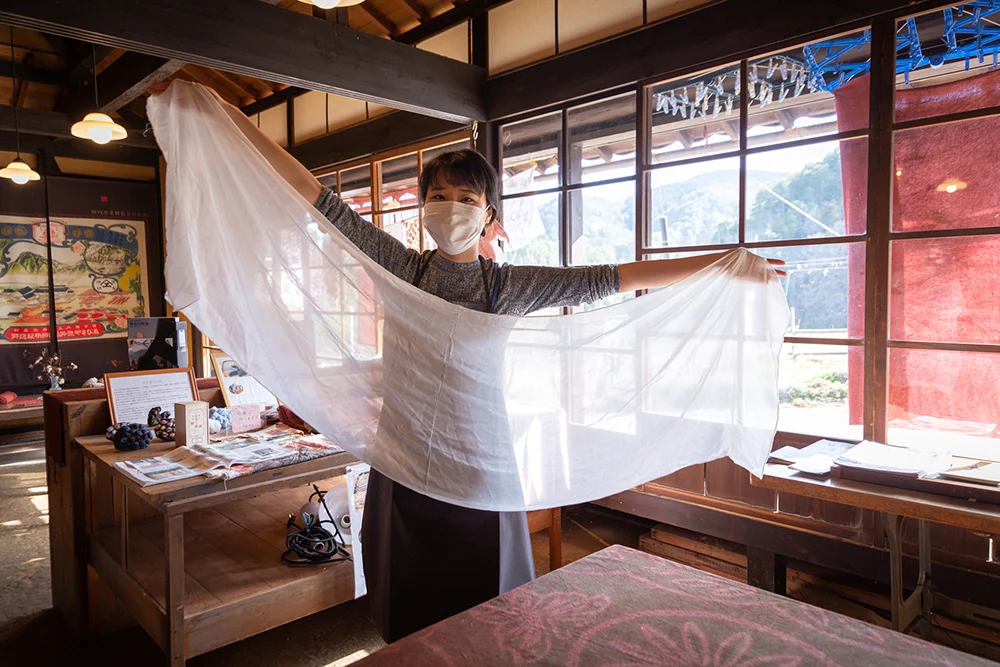
The following steps were taken to perform the bengara dyeing.
- Color selection
- Preparing to add patterns
- Dyeing with bengara liquid
- Sun drying
- Completion
Color Selection
First, we decide what color to dye.
Pointing to the colorful fabrics lined up, Ogura says, "You can make any color or pattern from here."
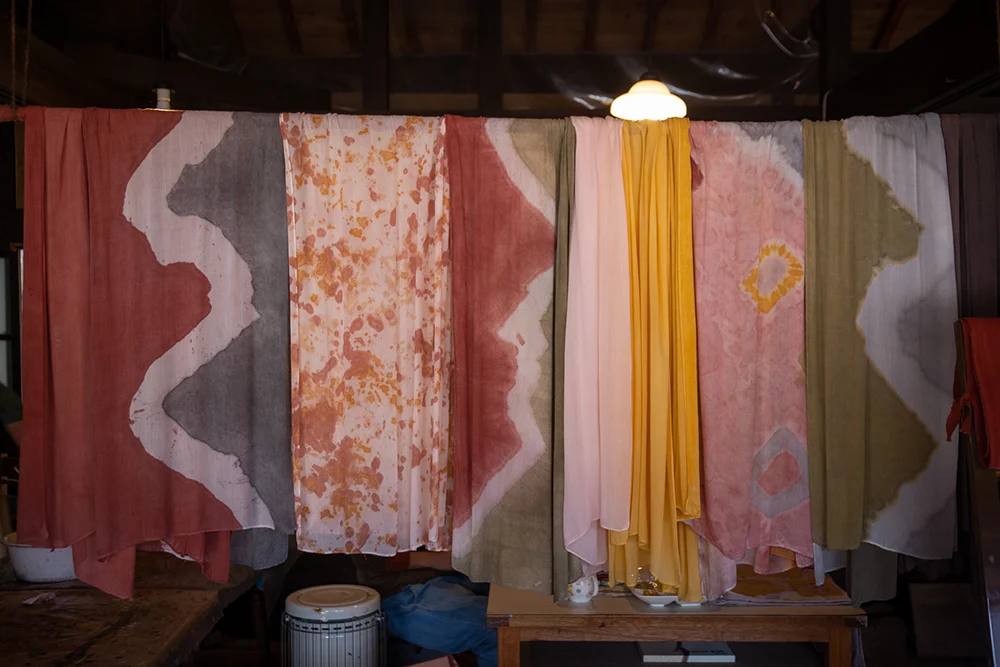
Surprised by the various colors!
When it comes to bengara, there is an image of red, but it seems that when you heat yellow bengara, it turns red, and when you heat red, it turns black.
In fact, Mr. Ogura has heated yellow bengara in a frying pan, and it properly turned red. Isn't that mysterious?
At Shitamachi Furatto, they stock not only red but also yellow and black bengara.
Mixing yellow bengara liquid and black bengara liquid creates green.
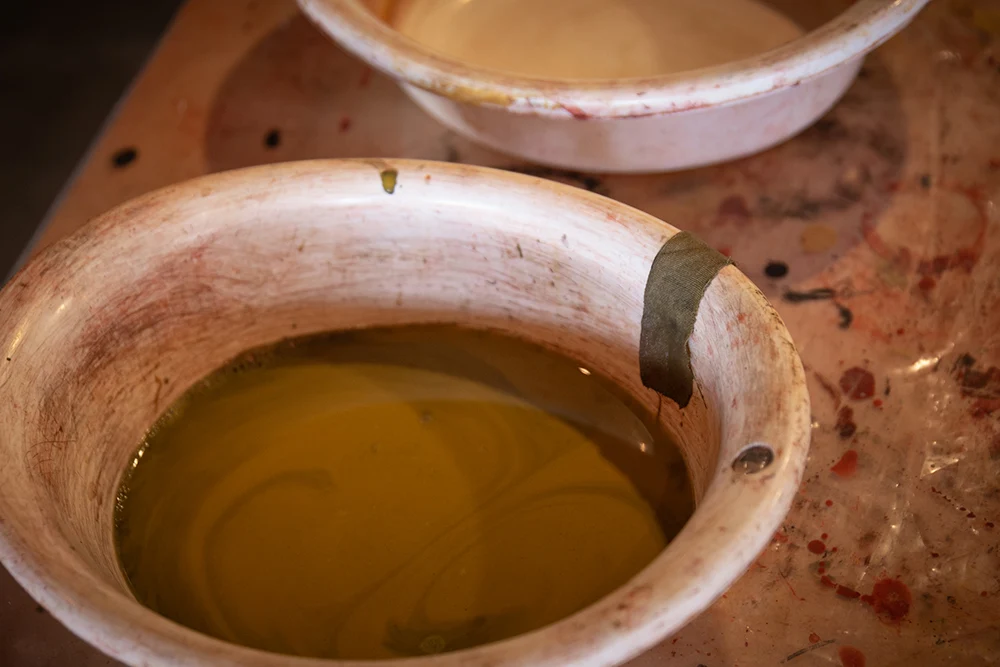
Additionally, by combining colors, you can express colors such as red, pink, black, yellow, green, orange, purple, and brown.
Moreover, you can adjust the shades by diluting.
To dilute the color, Mr. Ogura uses his homemade gojiru (a mixture of soybeans and spring water from Fukiya).
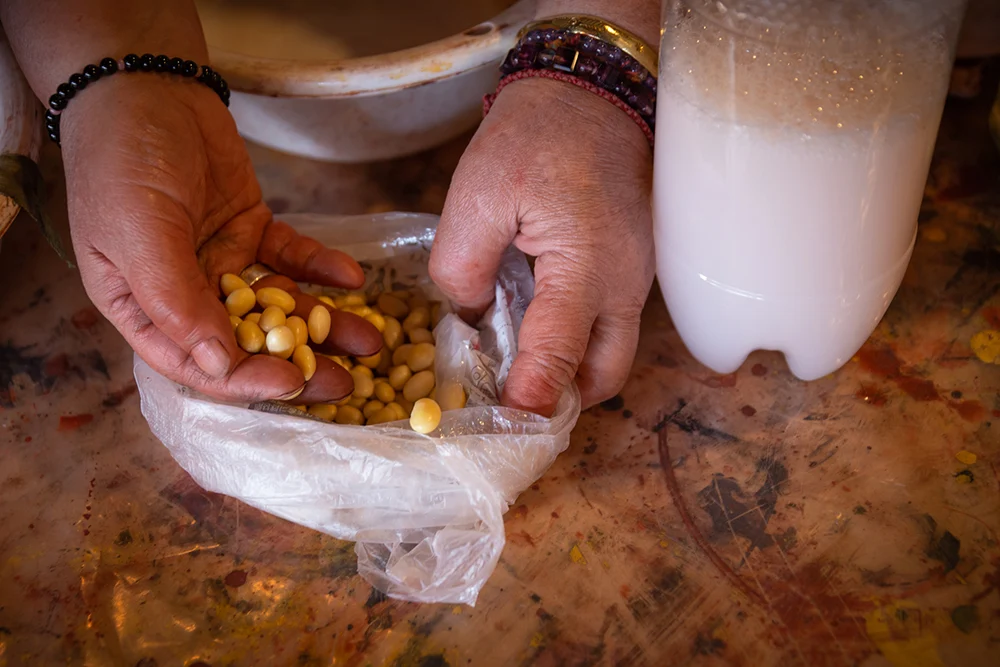
The spring water used for gojiru is collected by Mr. Ogura, who runs around the mountains the day after it rains.
"The water from Fukiya is a good match for bengara. It's rich in minerals, and bengara loves it," says Mr. Ogura.
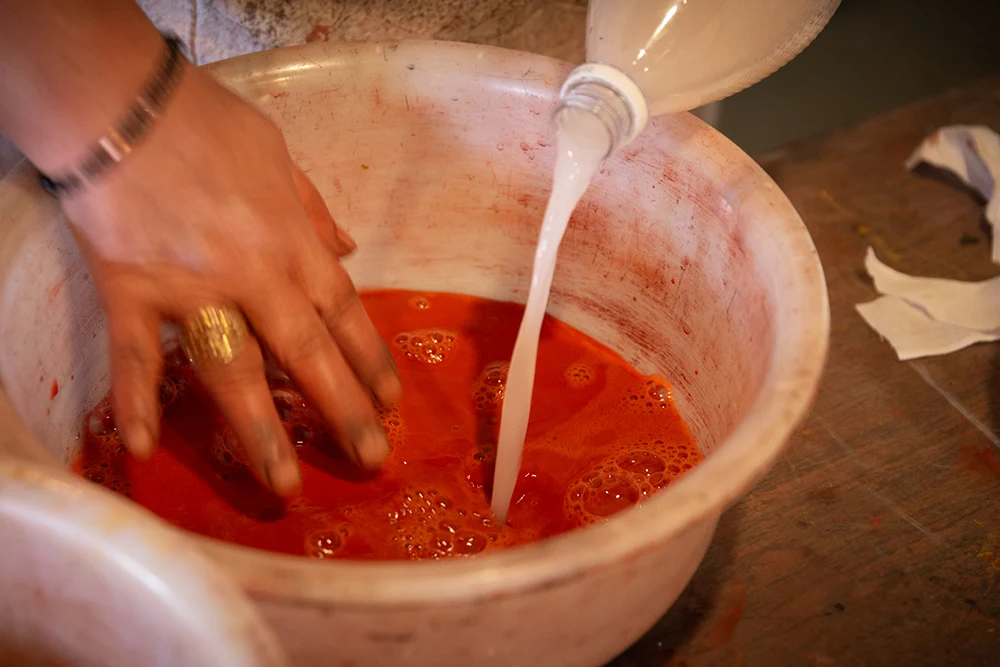
I decided to challenge myself with four colors: dark red, light red, dark green, and light green.
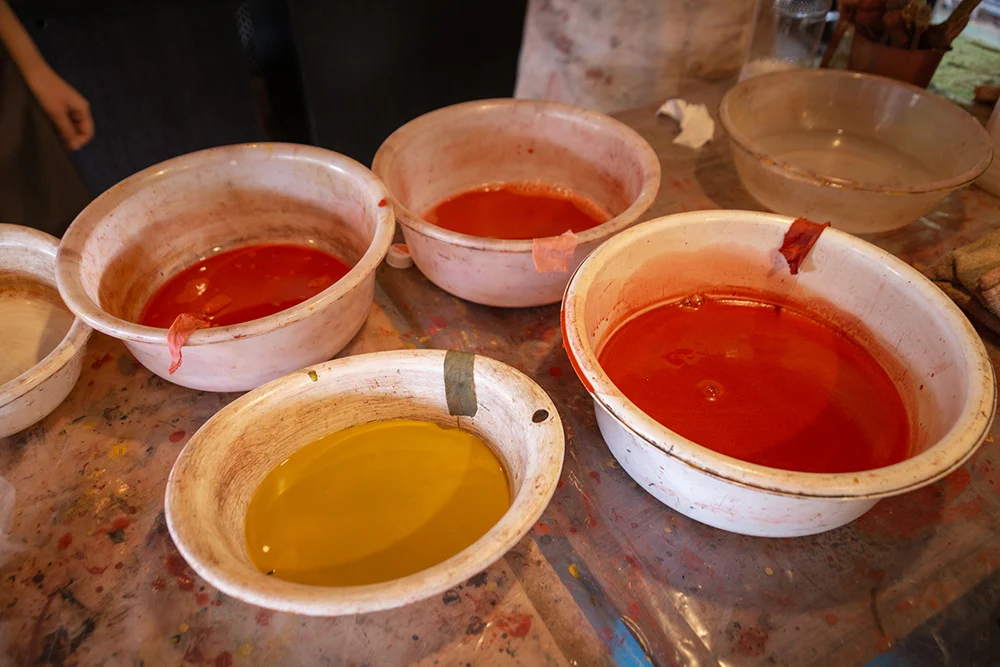
Mr. Ogura made the bengara liquid while asking, "Shall I make it a little thinner?"
Preparing to Add Patterns
Once the colors are chosen, we prepare to add patterns to the scarf.
By tying rubber bands in various places on the scarf, the areas with rubber bands will become the boundaries of the colors.
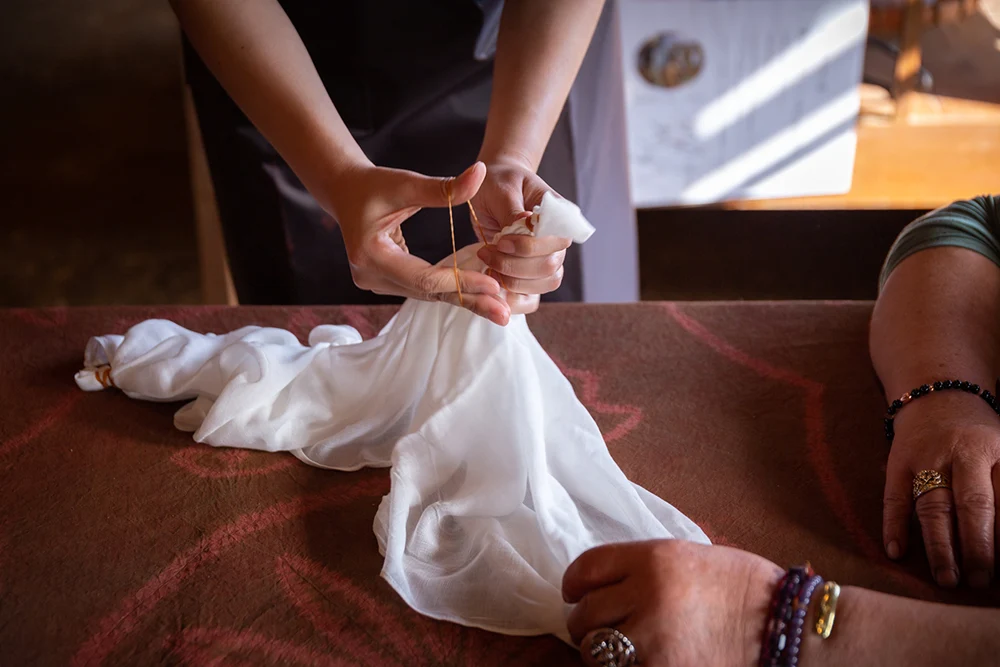
It's important to wrap tightly so that the rubber bands don't come off!
As I think about whether to make large or small loops, I find it hard to imagine, so I ended up being a bit random.
I decided to enjoy random patterns.
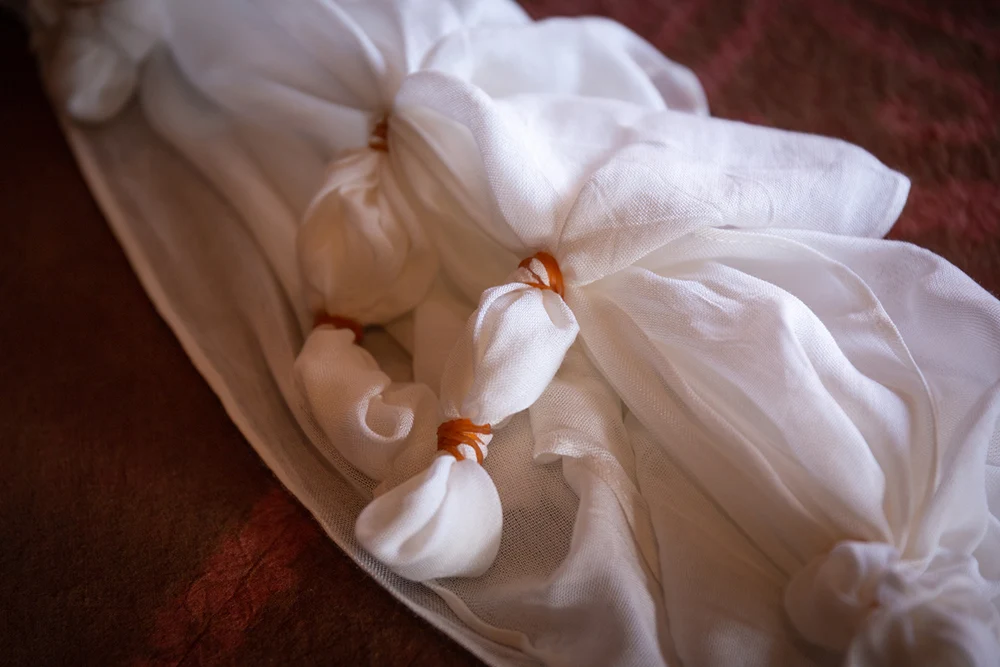
On the other hand, there are also those who are particular and bring a diagram of their ideal finish, asking, "Can you do this?"
Whether you are someone who prepares with a specific pattern in mind or someone like me who can't quite imagine it, you can enjoy bengara dyeing, so it's all good.
I ended up with many knots. I wonder what kind of pattern it will become.
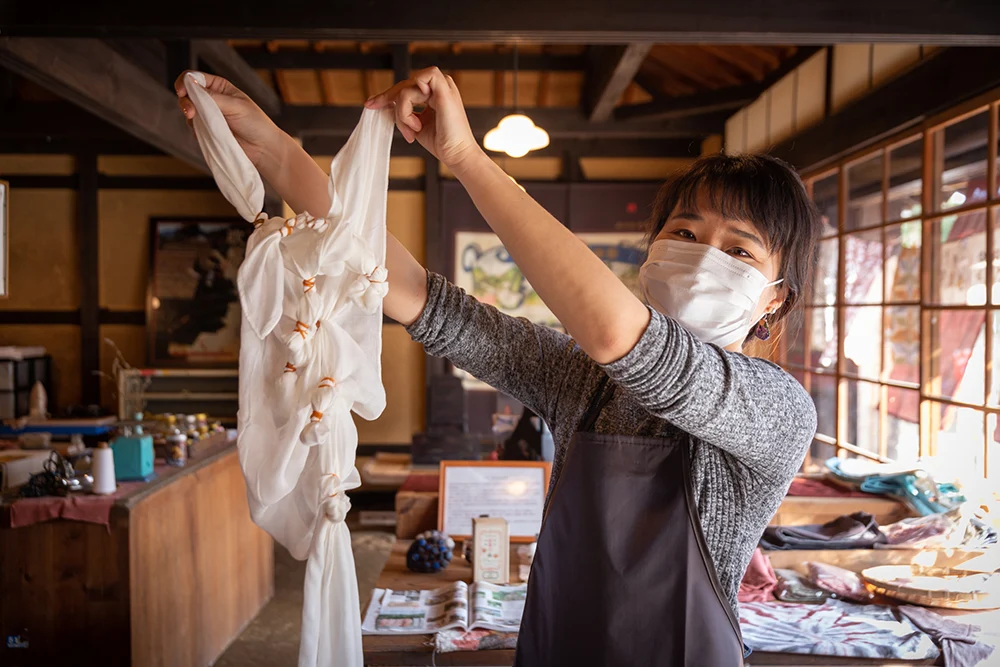
Now, it's time to dye with the bengara liquid.
Dyeing
Before dyeing with the bengara liquid, first, soak it in a fixative. This makes it easier for the bengara color to penetrate.
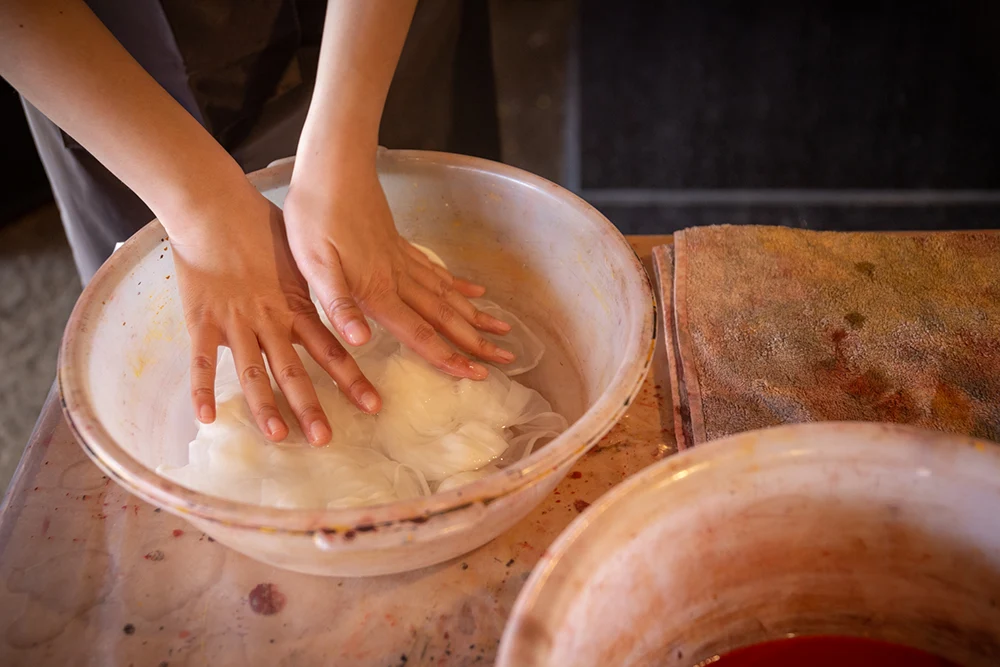
Squeeze it well and remove the moisture with a towel.
Take the bengara liquid with a brush and apply it to the scarf, and it will start to color.
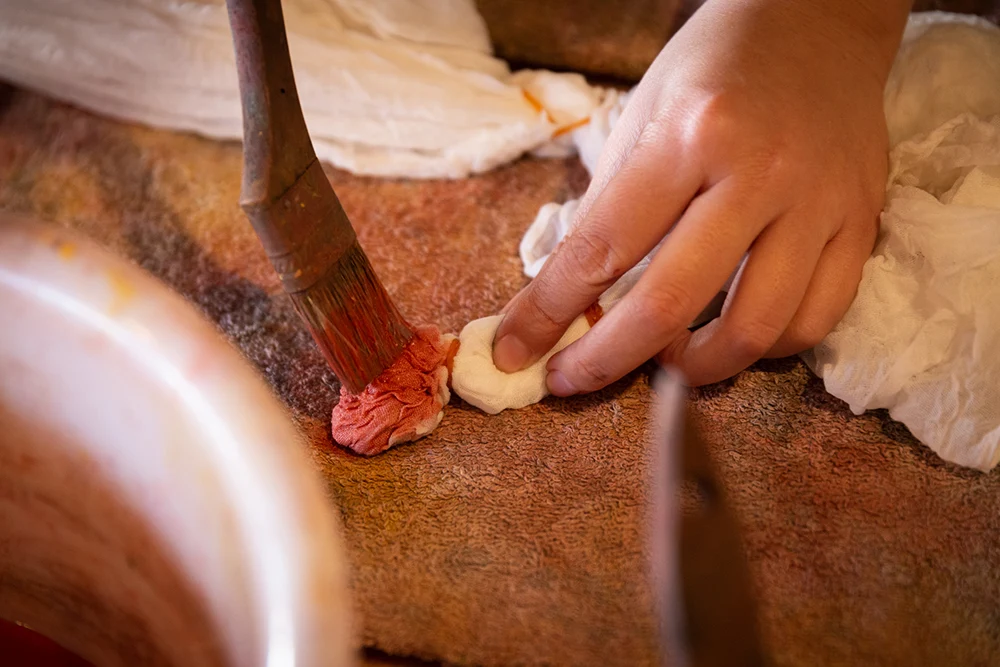
Dab the color with the brush, rub it with your hands, and remove the moisture; repeat this process.
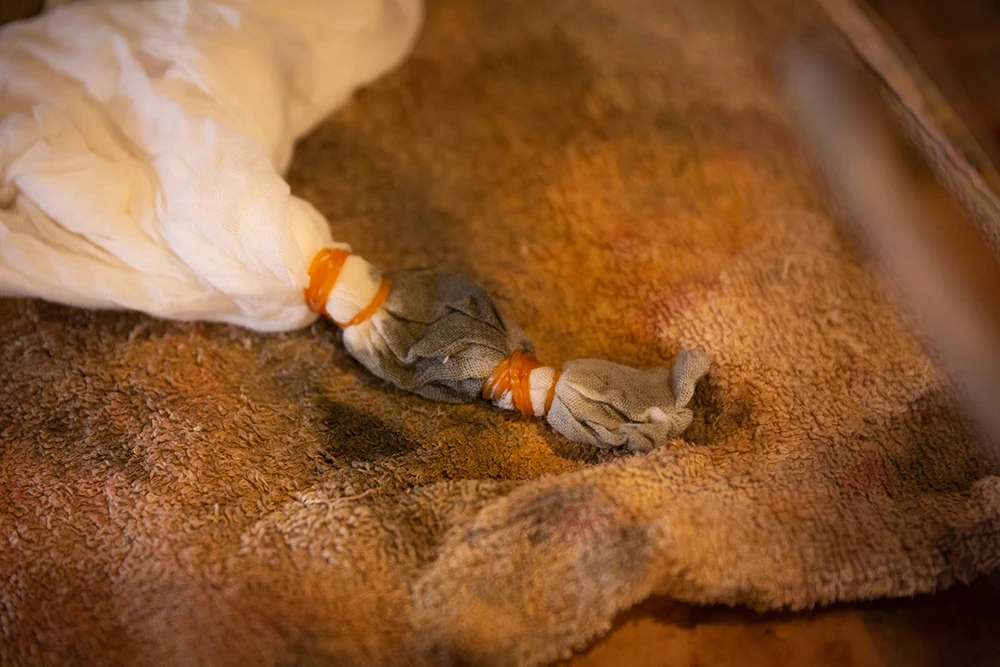
If you want to get a strong color, repeat the coloring in the same spot multiple times.
This way, you can adjust the shades of color.
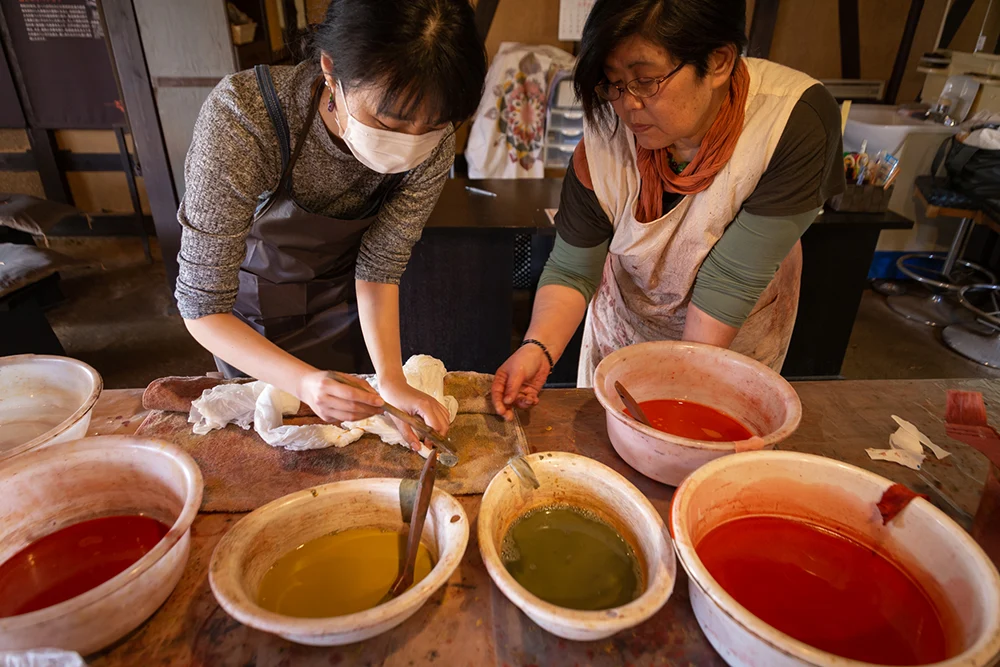
The green bengara liquid, which is a mixture of yellow and black, tends to separate, so take it with the brush after mixing.
At first, I was cautious, but once I got used to it, I was able to apply the color freely.
I created parts where the color changes sharply at the rubber band marks and parts where multiple colors are placed randomly. I felt like an artist.
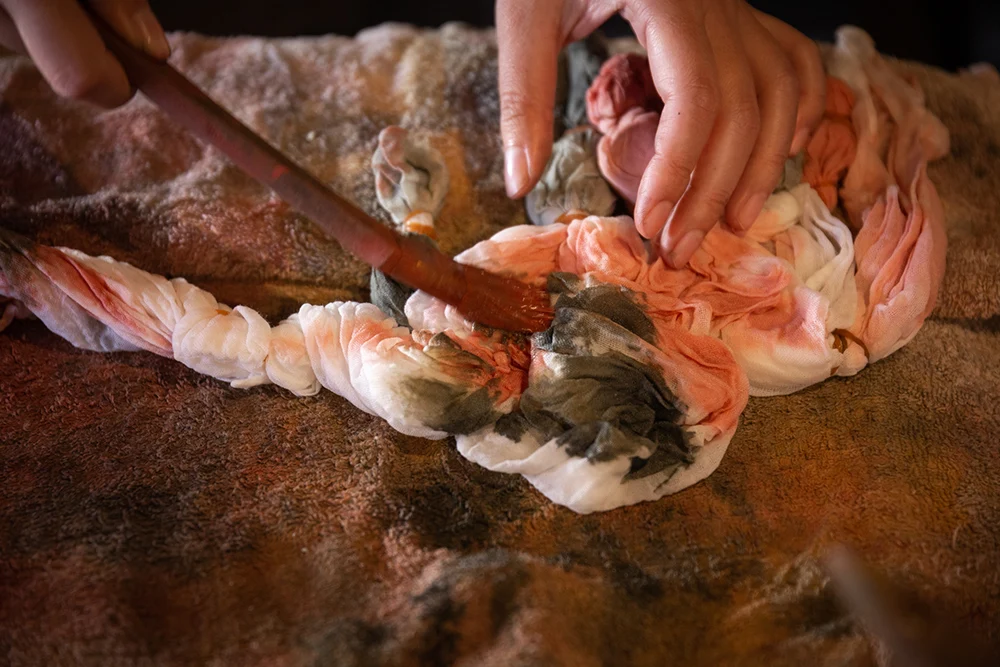
After finishing the dyeing, carefully remove the rubber bands so as not to damage the fabric.
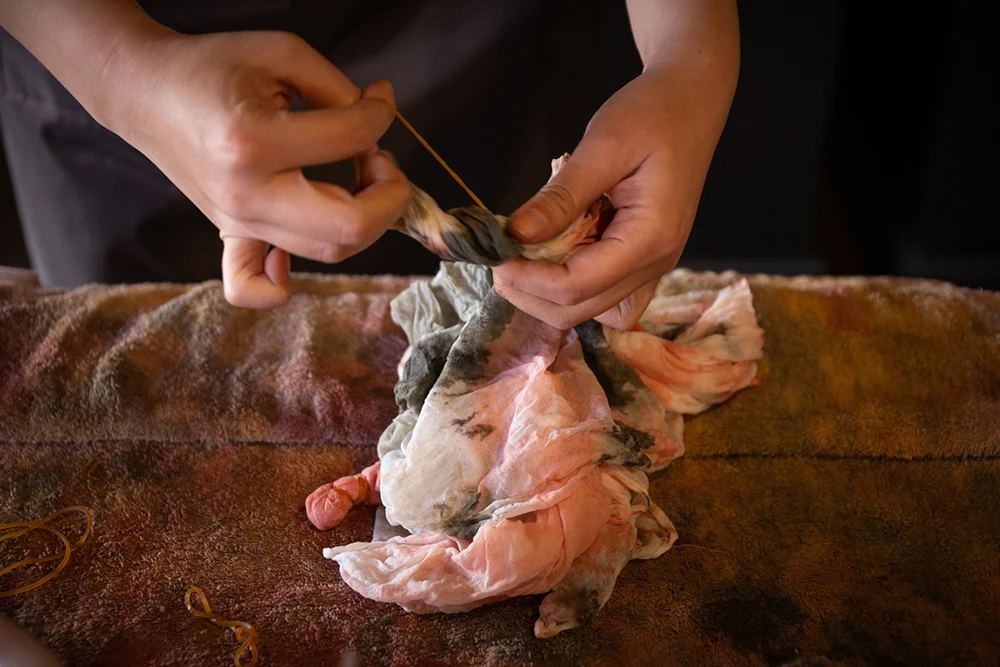
Now, what kind of pattern has emerged?
Drying in the Sun
Once dried outside, it's complete.
The pattern I was looking forward to turned out like this when I spread it out!
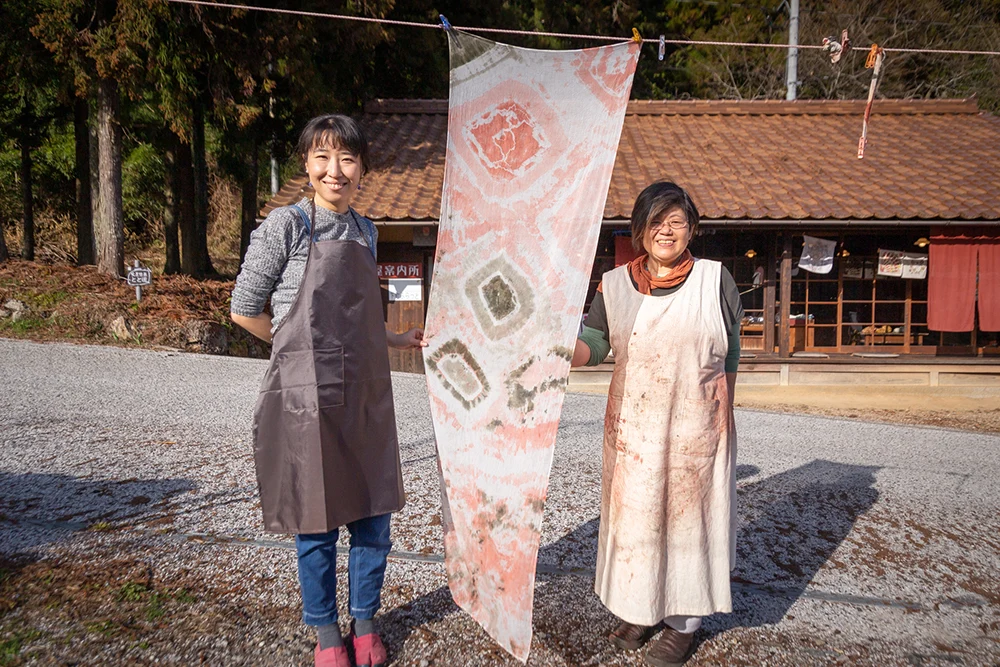
The tied parts are circular. The faint outline of the rubber bands remains, creating a delicate nuance.
The randomly applied brush strokes have created a mottled pattern. It turned out to be unique.
Completion
On sunny days, it dries in about 10 minutes, and you can take it home the same day.
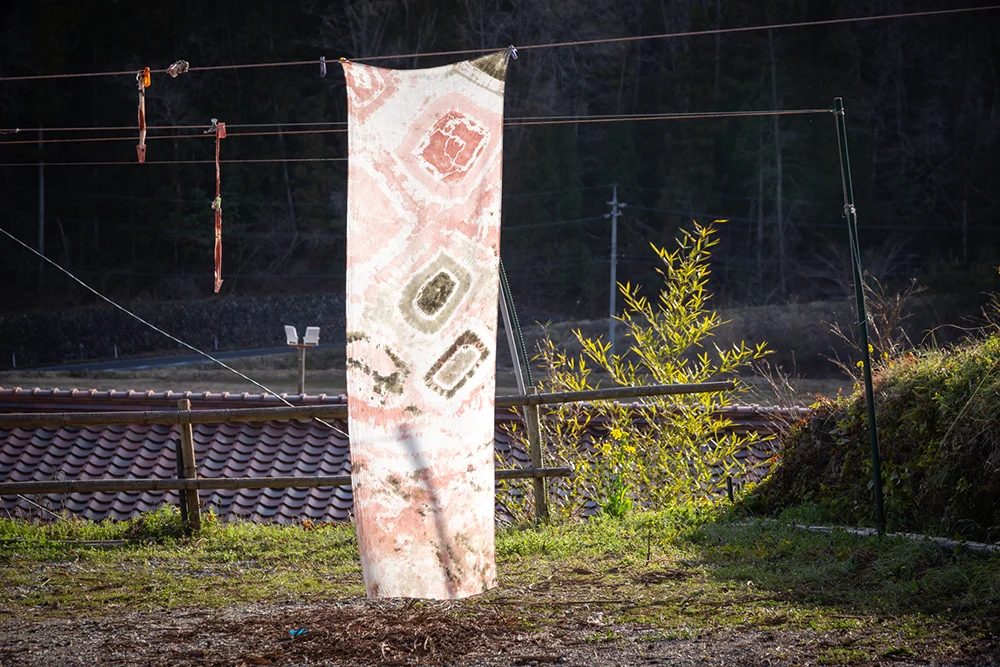
When you get home, it is recommended to dry it outdoors for about a week to ten days.
"Bengara loves the sun and wind. Dry it and check its mood," says Mr. Ogura.
Bengara dyeing is said to be "the color does not fade even if the fabric decays," making it resistant to color fading. Exposing it to the sun allows it to be used for a longer time.
Since I couldn't imagine what kind of work it would turn out to be until the moment I spread it out, I was very moved during the drying moment.
I was also happy that Mr. Ogura shared my joy, saying, "It's wonderful! The gradient is nice."
I found it interesting that bengara dyeing results in a truly diverse finish depending on color selection and pattern creation.
When I wrap it around my neck, the smooth texture feels nice.
The original pattern will be an accent to my outfit, so I want to use it a lot.
In Conclusion
I really enjoyed the time spent observing the process of the bengara color entering the fabric.
The conversations with Mr. Ogura, who loves bengara, were also a highlight of the experience.
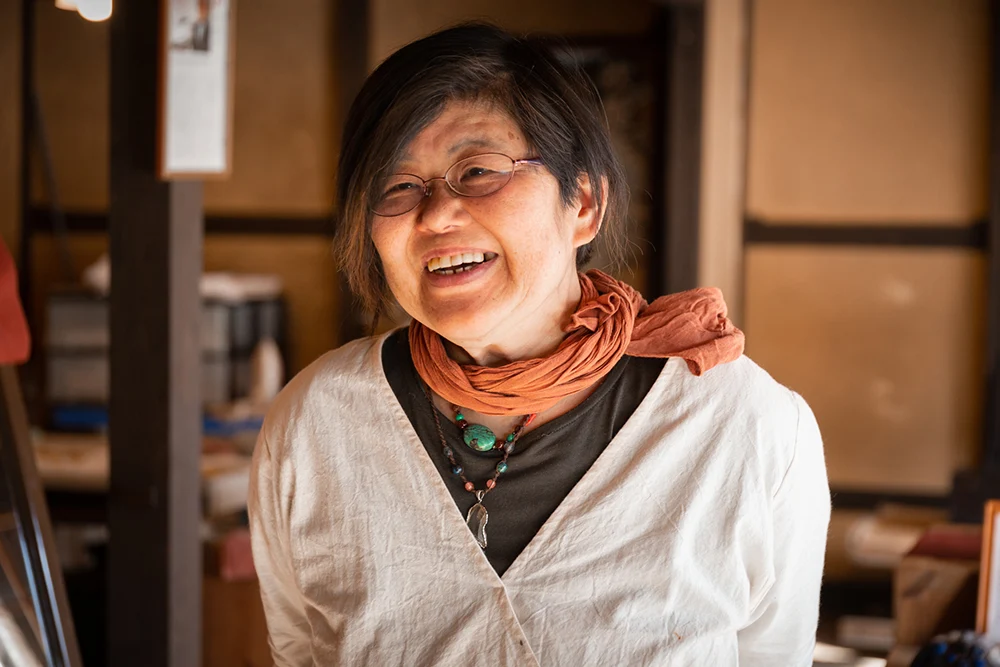
As Mr. Ogura said, "Everyone seems busy, so when you come to Shitamachi Furatto, I hope you can enjoy a relaxed time," I felt a warm atmosphere flowing in Fukiya.
Bengara dyeing while reflecting on the history of Fukiya. Why not create a special piece for yourself?
- Photography: Sasaki Toshiyuki
Fukiya Information Center Shitamachi Flat Data
| Name | Fukiya Information Center Shitamachi Flat |
|---|---|
| Location | 890 Fukiya, Nariwa-cho, Takahashi City |
| Contact | 090-8999-0477 |
| Parking | Available Park at the nearby free parking lot "Fukiya Furusato Village Parking" |
| Business Hours | 10:30 AM – 4:00 PM |
| Regular Holidays | Irregular holidays |
| Usage Fee (including tax) | 880 yen (including tax) – (varies by work) |
| Payment Method |
|
| Reservation Availability | Yes Reservations required for experiences by the day before |
| Restroom | Public restroom |
| Website | Fukiya Information Center Shitamachi Flat | Facebook |